Announcement

Collapse
No announcement yet.

A pair of 1:12th Mustangs

Collapse
X
 
  • Filter
  • Time
  • Show
Clear All
new posts

  • A pair of 1:12th Mustangs

    With all of the model building going on, I decided it was time to rescue my large scale stuff from storage and see if I can get some work done on them. I ordered one of the new 1:12th Scale GT500 kits to hopefully finish up my '65 build. The goal for it is an updated pro-touring theme, originally it was going to be all scratch built. Essentially all updated components, including the engine, constructed from sheet and rod styrene. With revell releasing their 1:12th 2010 GT500 kit, it only seems natural that these new pieces find their way onto my old OOP Mustang kit.

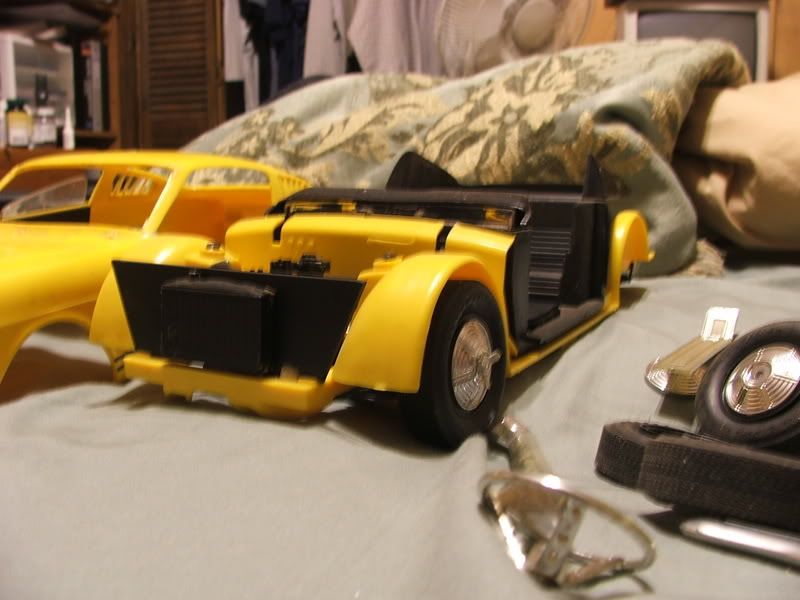
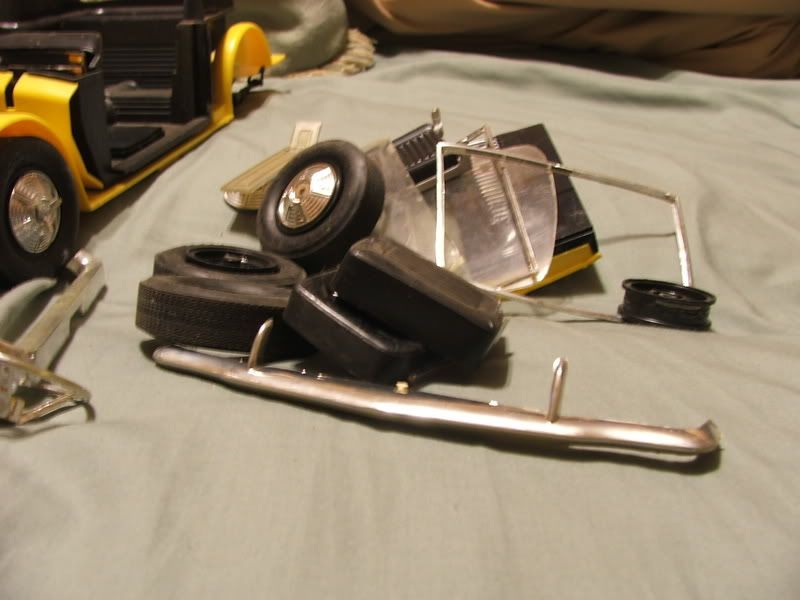
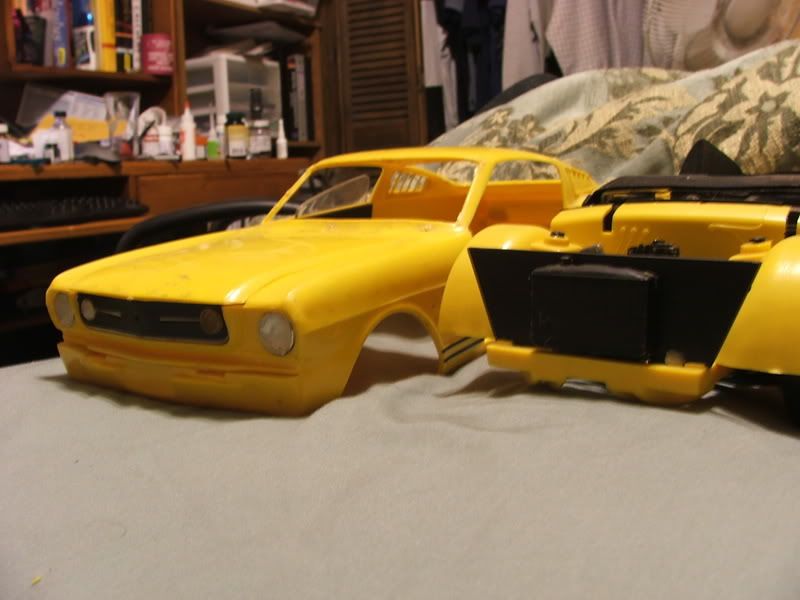
    The second part of this is, with me robbing vital parts from the new kit, it leaves me with a large plastic shell that looks like a 2010 Mustang. It only seems natural that it receives proper treatment. I'm thinking a full tube frame chassis, either road race or drag race. I've attached some pictures of what the '65 looked like when I got it, and what it looks like now.

    Here is what I would like from the members of our fine forum. Give me some inspiration on the 2010. Post some pictures. We will see what happens.
    Originally posted by Leah
    Best balls I've had in my mouth in a while.

  • #2
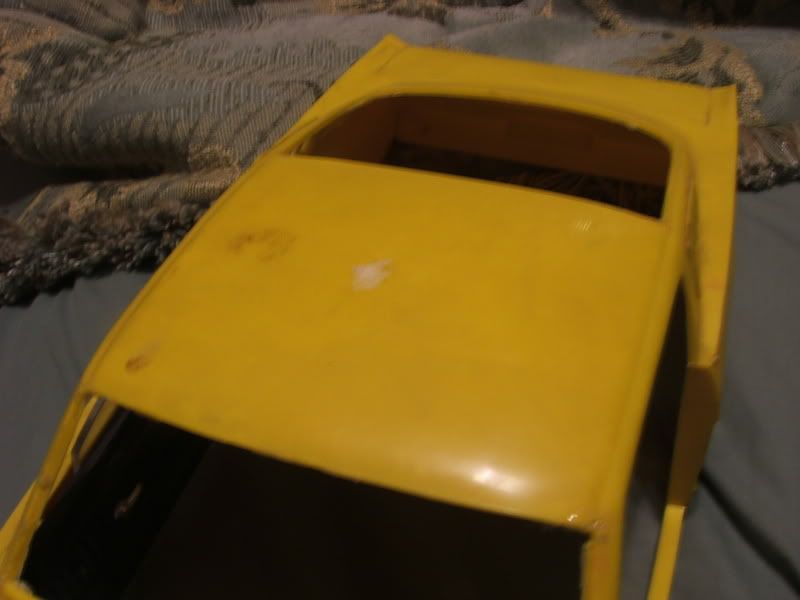
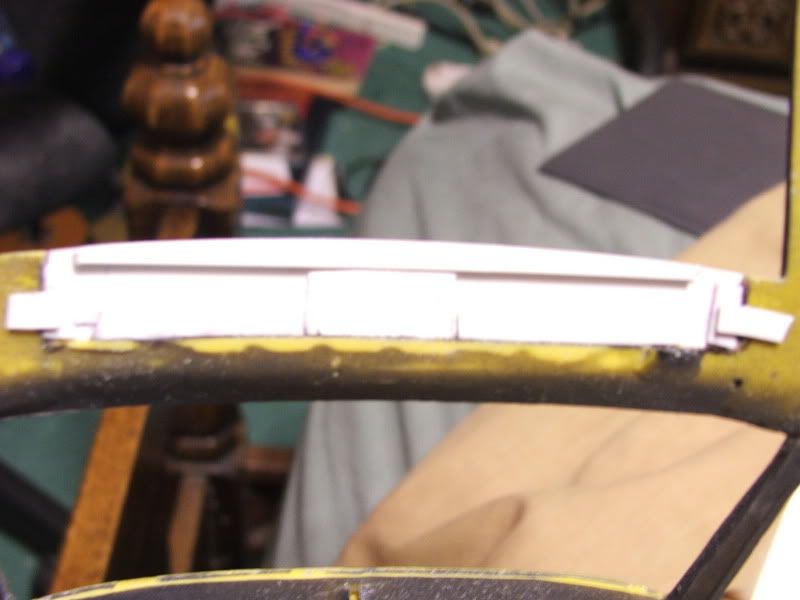
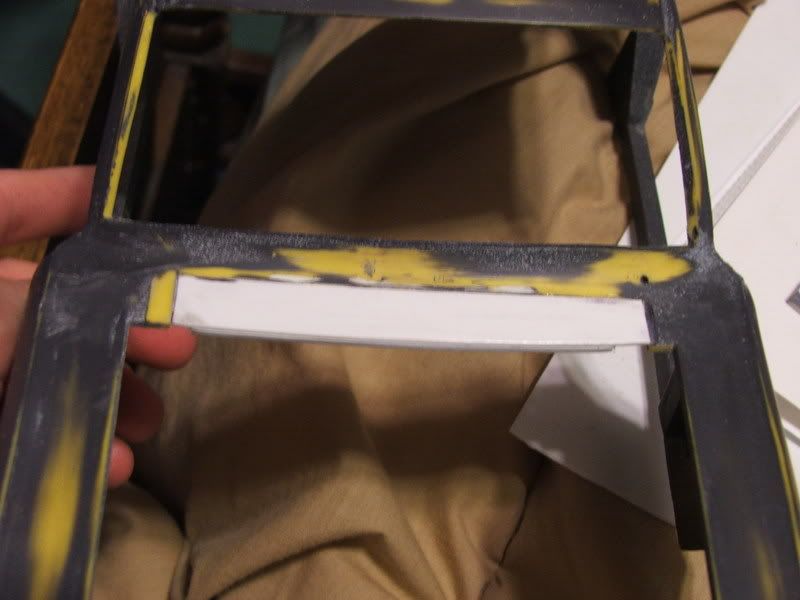
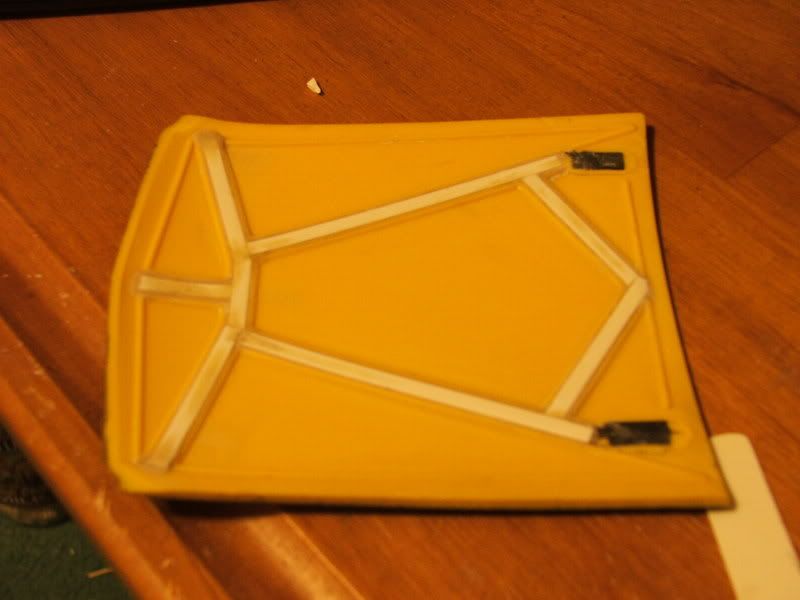
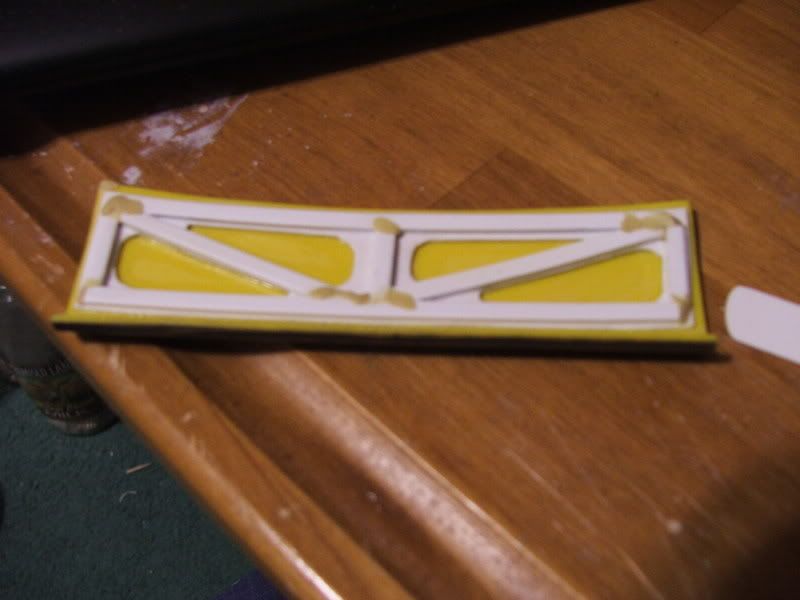
    The '65 was a basket case when I bought it. An ebay find for pennies on the dollar because it was "assembled" and destroyed. Pieces missing, etc. The body was warped, it had opening doors, hood, and trunk, which was nice, however, it was missing all of the proper bracing for the hood and the trunk. I shaved the cowl, added the braces, and had to make some modifications to get everything to line up properly and look like it should


    Originally posted by Leah
    Best balls I've had in my mouth in a while.

    Comment


    • #3
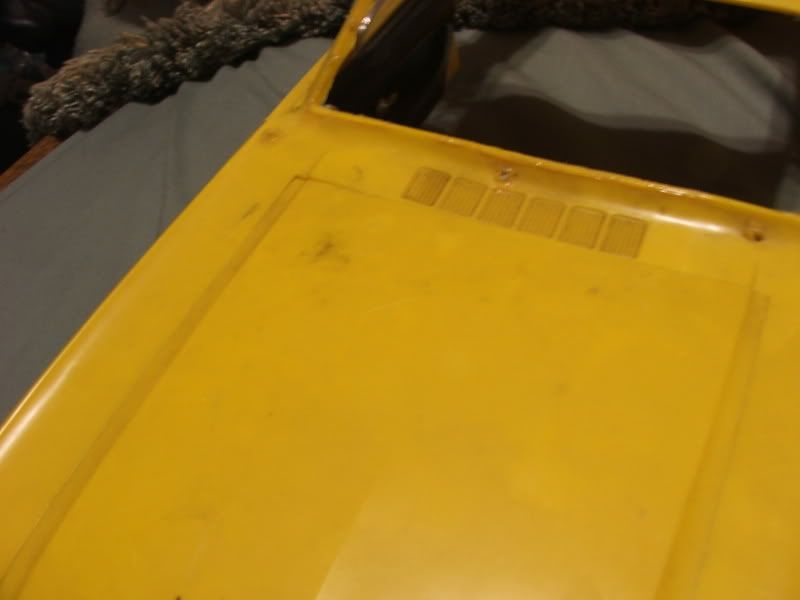
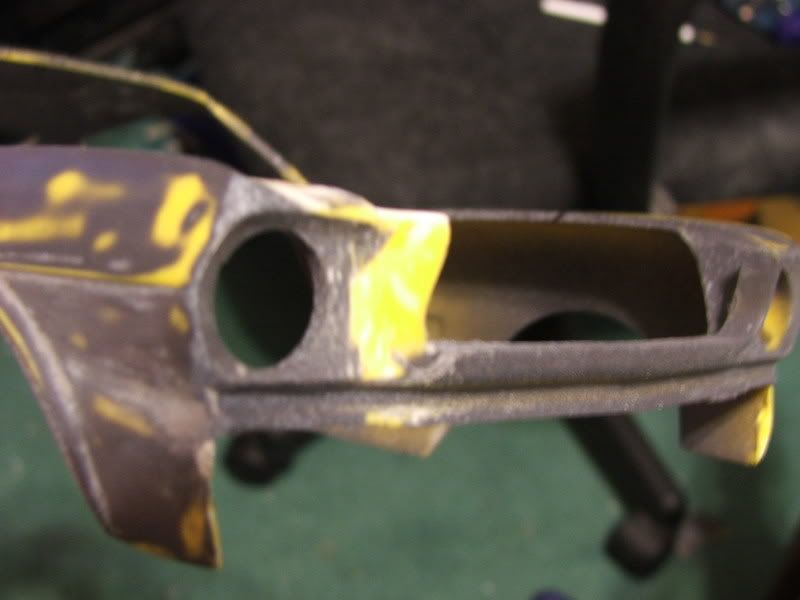
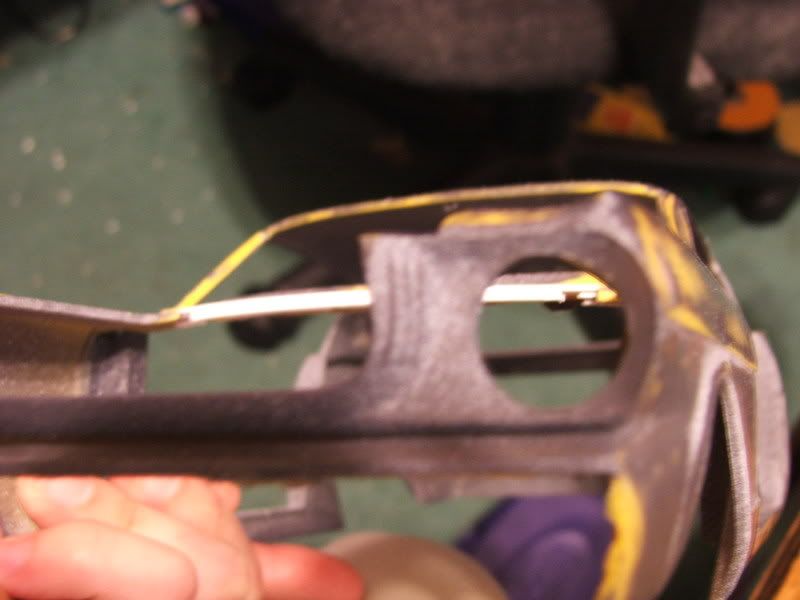
      Here you can see the re-construction of the cowl. I didn't originally plan to shave the cowl, however it was severely warped and beyond "fixing"


      I was disappointed in the bracing under the hood and the trunk, so, I made my own.


      The front fascia also needed some work. It was damaged and had globs of glue that had to be taken care of.


      Originally posted by Leah
      Best balls I've had in my mouth in a while.

      Comment


      • #4
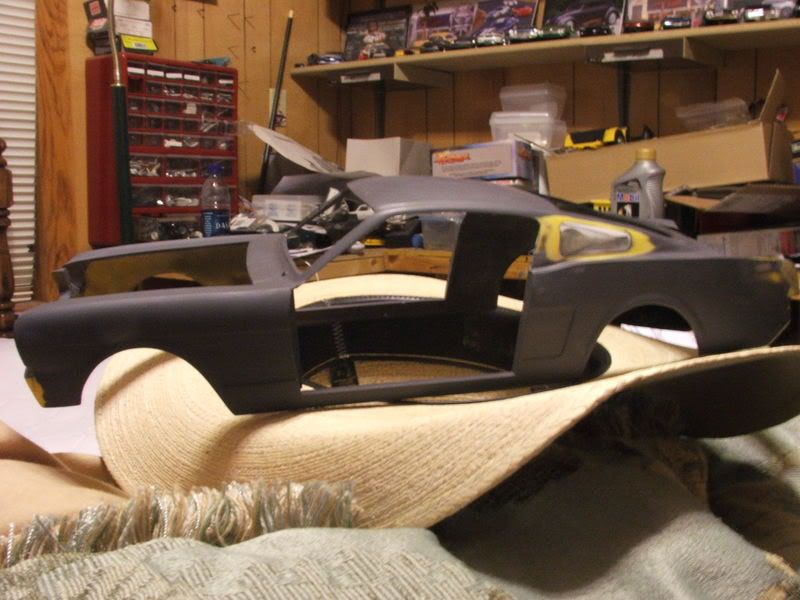
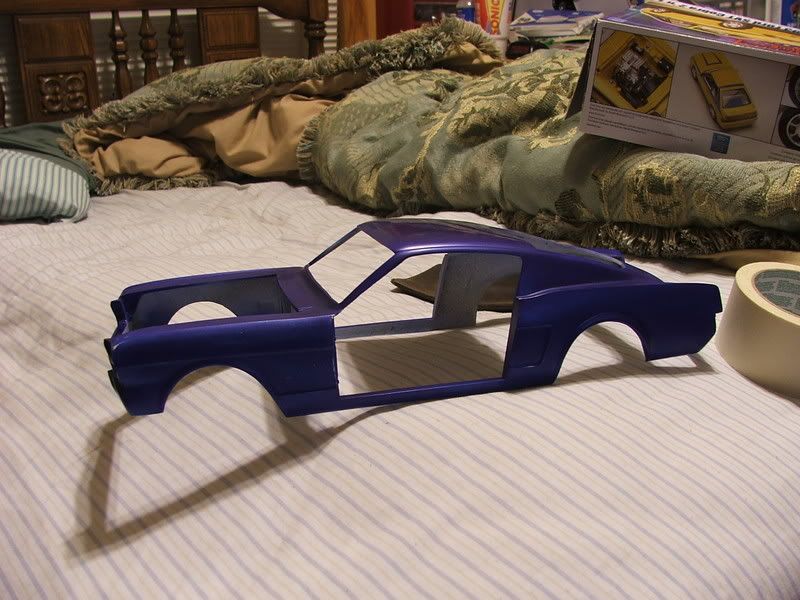
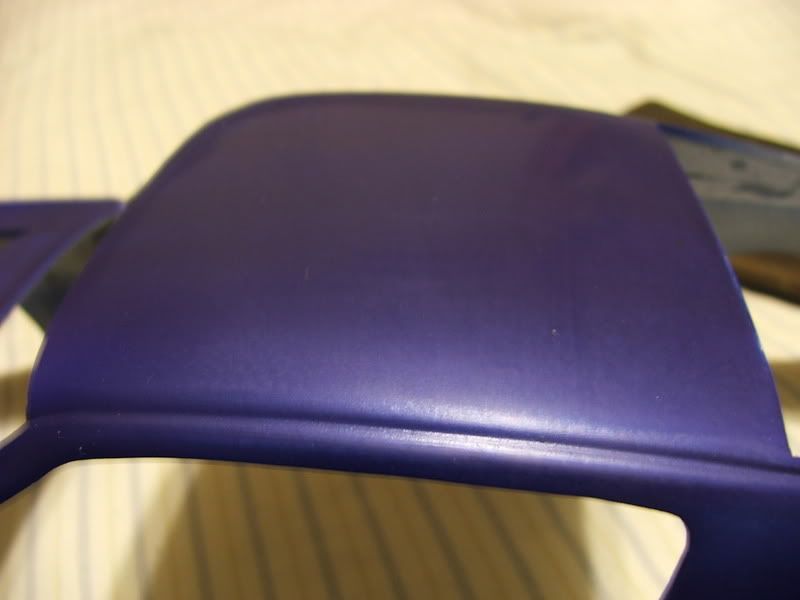
        Here it is in primer


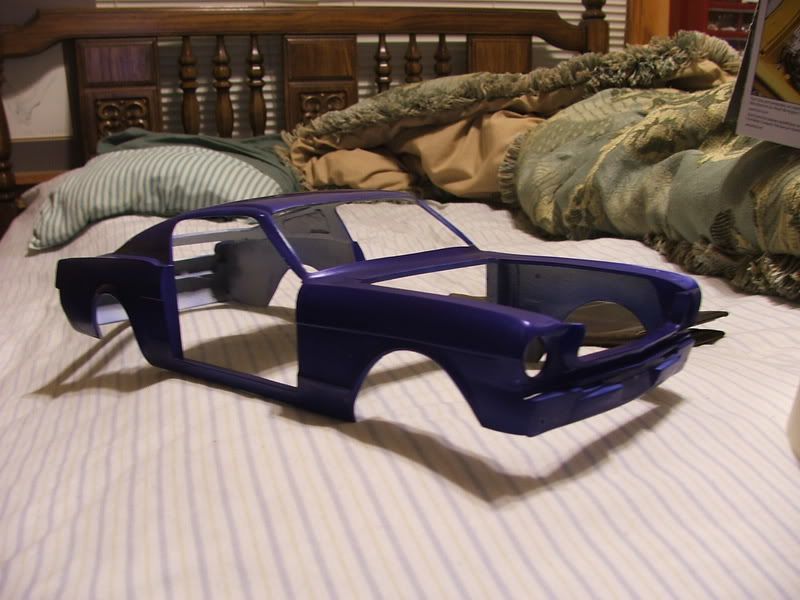
        Finally, now that the body work is all done, its time for an eye popping paint scheme right?!


        It has since been cleared with omni urethane clear. wet sanded, and is waiting to be shot again for a deep shine.

        I plan to get the work bench constructed in the next week. The 2010 will be here next week as well. Hopefully I can get some progress done here pretty soon!
        Originally posted by Leah
        Best balls I've had in my mouth in a while.

        Comment


        • #5
          looks 1,000,000 times better, what do you use to cut your styrene?

          Comment


          • #6
            subscribing... you guys have pushed me over the edge... I'm going up to the old town hobby shop in Lewisville tomorrow
            1969 GTO Judge Clone 6.0 liter LQ4 Turbo 4L60e on LS1tech

            1960 Chevy Sedan Delivery LS swap

            Comment


            • #7
              Looking good so far... can't wait for the finished product!

              Comment


              • #8
                Originally posted by 2165 Turbo Rail View Post
                subscribing... you guys have pushed me over the edge... I'm going up to the old town hobby shop in Lewisville tomorrow
                What is this.... dfwmodelbuilders.net?

                Comment


                • #9
                  Originally posted by 76 Maverick View Post
                  What is this.... dfwmodelbuilders.net?
                  its starting to turn into it haha... I have built models in the past but I have never successfully painted one so that's going to be the tough part for me... I'm going to dig into these guys minds and figure it out though!
                  1969 GTO Judge Clone 6.0 liter LQ4 Turbo 4L60e on LS1tech

                  1960 Chevy Sedan Delivery LS swap

                  Comment


                  • #10
                    I've scaled back from the original plan with this one. It will help a ton, if all of the stuff from the GT500 will actually fit. If not, it will be a whole new story. Actually what I am hoping will happen is that the entire chassis tray for the GT500 will fit under this kit with minimal modification. If any of you remember my 1:12 Camaro build that made it over to this site from Canada, this build was going to mirror that, with the full functioning suspension and everything.

                    Cutting the styrene, before I was using an x-acto knife. However its a bit inaccurate, and inefficient. I'm working on an order from Hobbylinc.com because my glues and putties are all dried up and ruined from being in storage. I'm planning to pick up proper cutting materials and clamps. I also intend to set up a chassis table for the chassis for the GT500. I will use a metal plate and magnets to keep the styrene in place while I bond the bars together
                    Originally posted by Leah
                    Best balls I've had in my mouth in a while.

                    Comment


                    • #11
                      Originally posted by 2165 Turbo Rail View Post
                      its starting to turn into it haha... I have built models in the past but I have never successfully painted one so that's going to be the tough part for me... I'm going to dig into these guys minds and figure it out though!
                      I've gotten some very good results from duplicolor sprays. You run into limitations when you are trying to match factory colors like sonic blue, sunset orange metallic, mineral grey, etc. I typically buy small quantities from english color. I've paid as much as $20 for 3 oz of color. The one thing you do need to be aware of is that the newer revell kits use a different plastic formula than the older kits. A lot of automotive primers will literally etch the plastic and cause a bunch of tiny pits which are a PAIN to fix. Anything produced from Revell since, 2007 IIRC uses this new plastic. I think we first realized it either when they re-released the 1:12 Camaro. Again, IIRC, you can use an automotive plastic primer followed by a good base primer and be ok.

                      Another thing to remember is to look at the panel lines on the body, door outline, trunk outline, etc. A lot of them are shallow, and as you layer primer, paint, and clear, you will lose them. You can scribe those with the back of an x-acto knife and they wont get lost in the layers of paint. For those of you learning, or wanting to learn, the best thing I can tell you to do is to jump in and post a build thread and ask questions along the way!
                      Originally posted by Leah
                      Best balls I've had in my mouth in a while.

                      Comment


                      • #12
                        Personally i haven't built a model since i was a teenager. I was decent at it then but was never a scratch builder. Started working on my toyota as a "getting back into building" build and stalled out a little after the engine.... I'm hoping getting an airbrush and learning to use it will help me along a little better.

                        Comment


                        • #13
                          Any of you looking to pick up an airbrush and compressor, I have a simple tank less compressor that I will give away. Its dirty, but it works. I upgraded to an Iwata compressor with a tank.
                          Originally posted by Leah
                          Best balls I've had in my mouth in a while.

                          Comment


                          • #14
                            Originally posted by 76 Maverick View Post
                            Personally i haven't built a model since i was a teenager. I was decent at it then but was never a scratch builder. Started working on my toyota as a "getting back into building" build and stalled out a little after the engine.... I'm hoping getting an airbrush and learning to use it will help me along a little better.
                            Originally posted by black2002ls View Post
                            Any of you looking to pick up an airbrush and compressor, I have a simple tank less compressor that I will give away. Its dirty, but it works. I upgraded to an Iwata compressor with a tank.
                            jump on it man!

                            Comment


                            • #15
                              Dammit..........guess I gotta go get my '32 coupe out of the garage and finish it up.


                              Looks good by the way.
                              Why put off till tomorrow what you can put off till the next day?
                              -Fred Sanford

                              Comment

                              Working...
                              X