 Tweet
Tweet
it depends on the type of vehicle you want to build. A lot of guys start with the lifted toyota hilux by Aoshima. There are also a few lifted kits from Revell/Monogram and/or AMT. http://www.scale-auto-style.com/product-pickup.php That site has some offroad gear cast in resin. I'm not sure if their tires are American Satco products, if you can find tires from them, they are quality stuff. I guess all of the people interested, we need to have a model GTG
-
Originally posted by Leah -
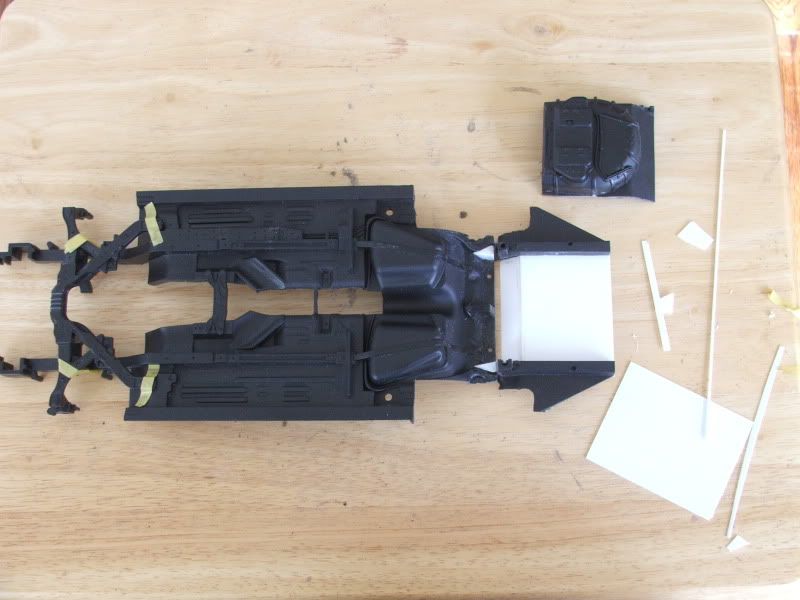
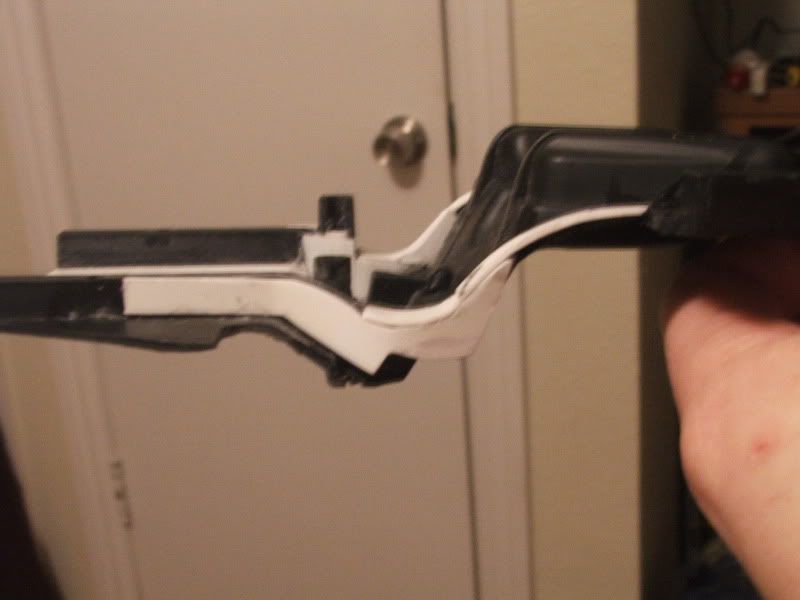
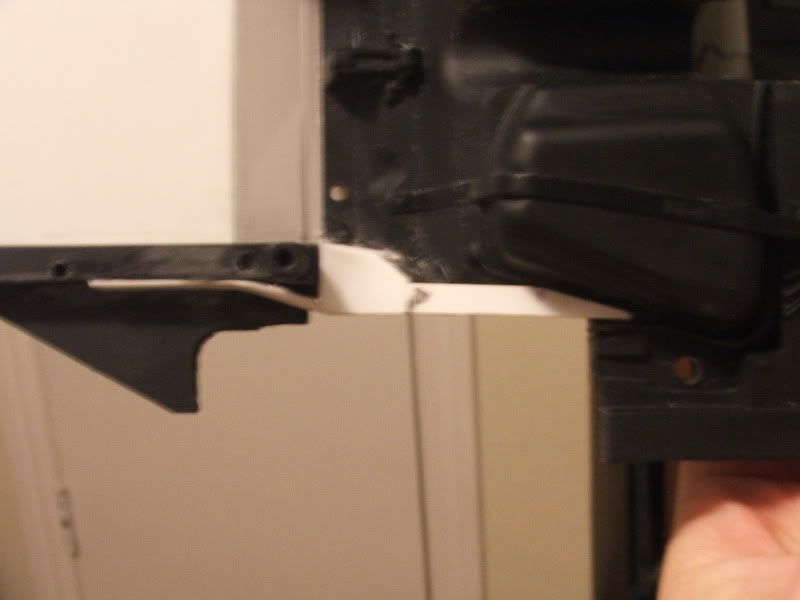
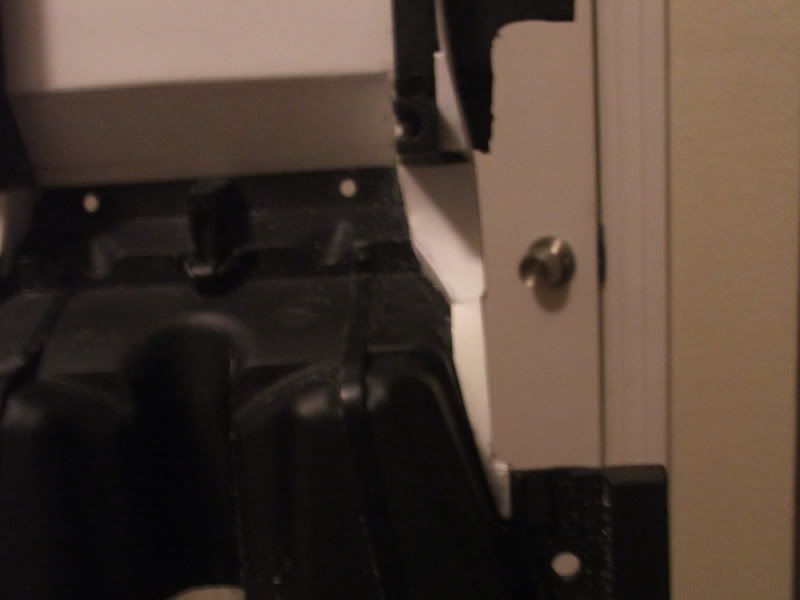
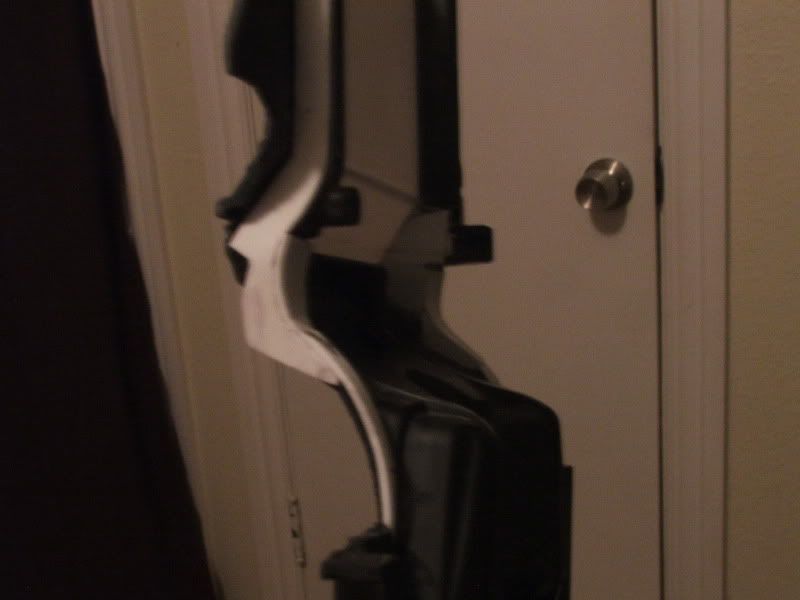
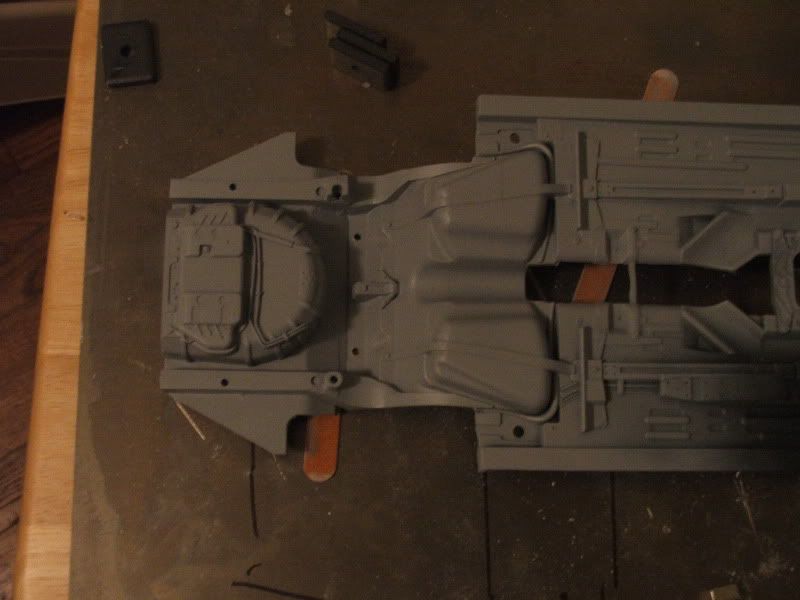
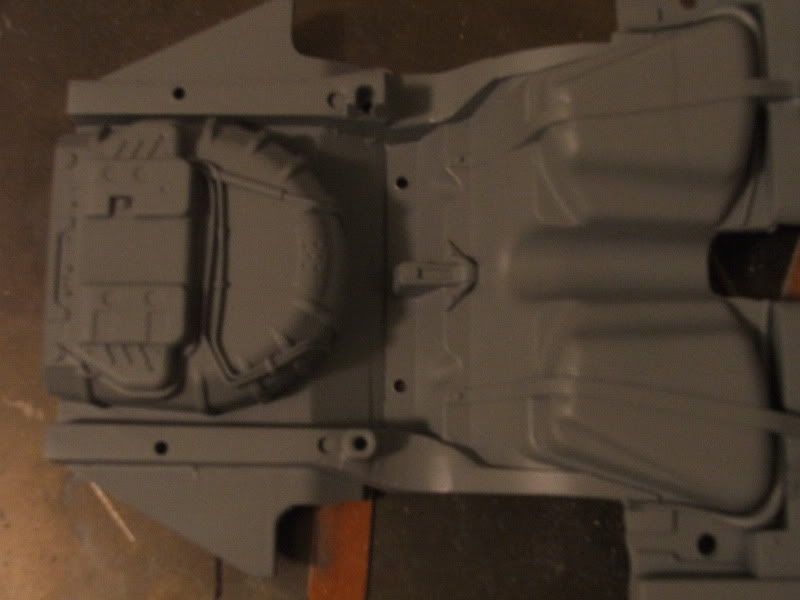
I got a little more done this morning. The rear section of the frame is re-attached. I cut some styrene card to create a new "trunk floor". Since the trunk will open, this serves two purposes. It allowed me to square up the rear frame rails, keep them that way while re-attaching them to the main chassis tray. Also, it keeps what will become the trunk floor flat and smooth as it should be. The kit fuel tank will be separated from the surrounding material and attached to the new styrene card. I need to pick up some super glue and putty to finish blending the frame rails so they don't look like hacked up junk.
over view
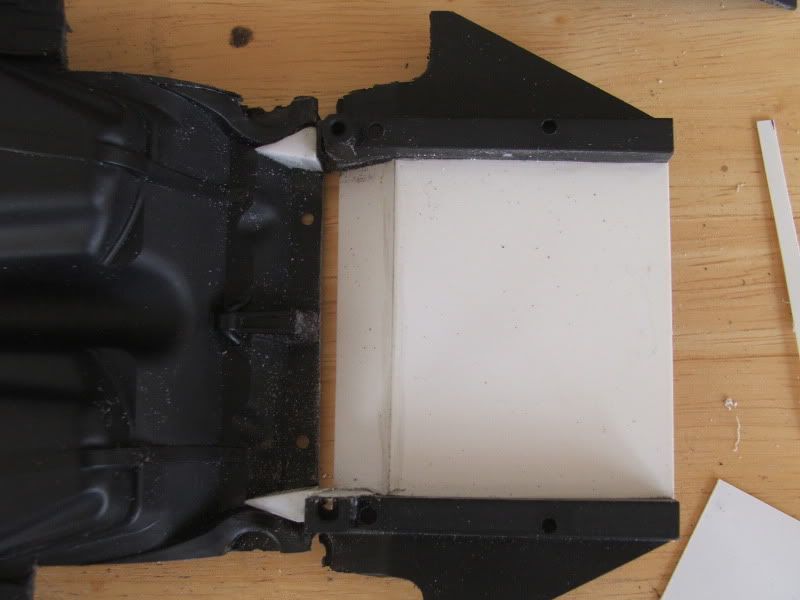
Close up of added styrene
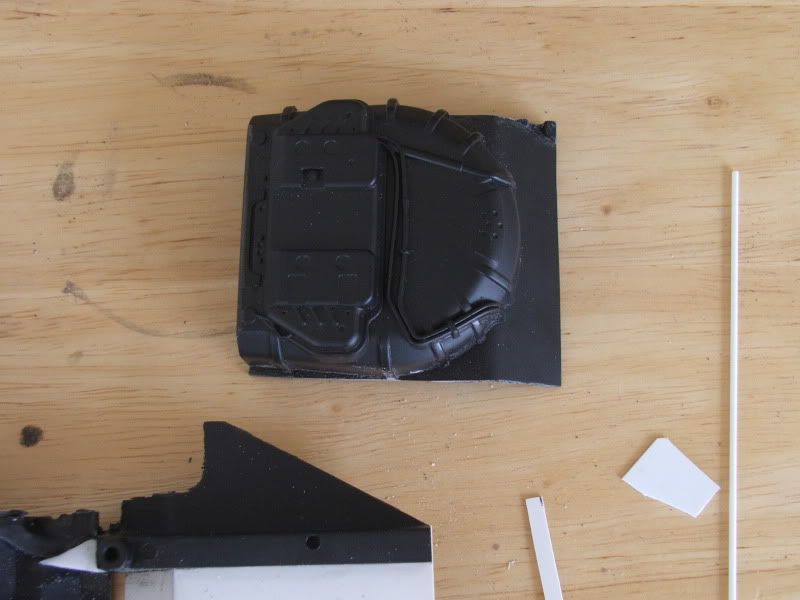
And another shot of whats left with the bottom of the fuel tank
 Originally posted by Leah
Comment
-
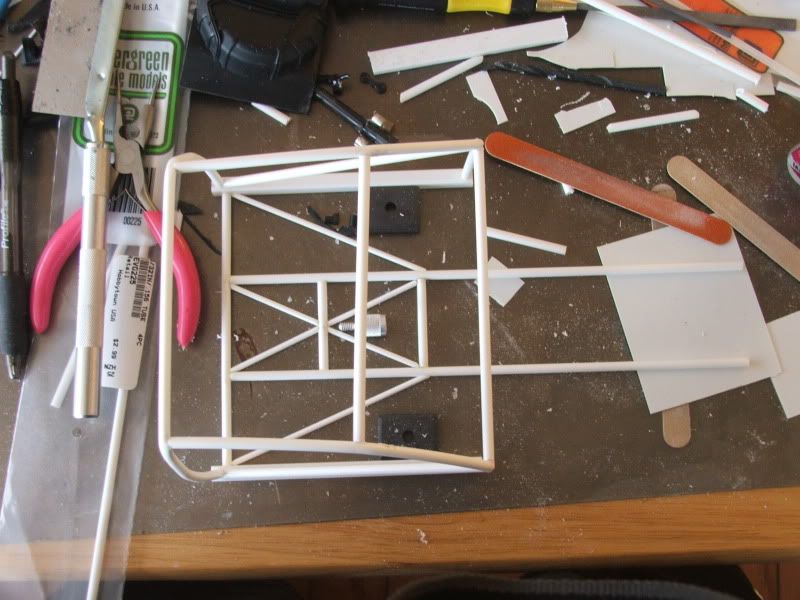
Back to the race car a bit today. I stopped by Wild Bill's in Irving and picked up some glue and styrene. I needed more 5/32 tube to continue work on the roll cage
 Originally posted by Leah
Comment
-
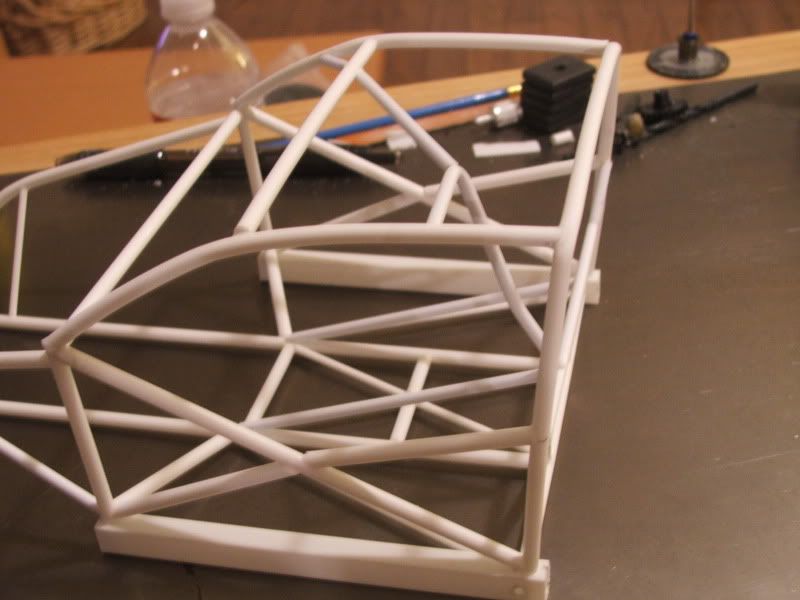
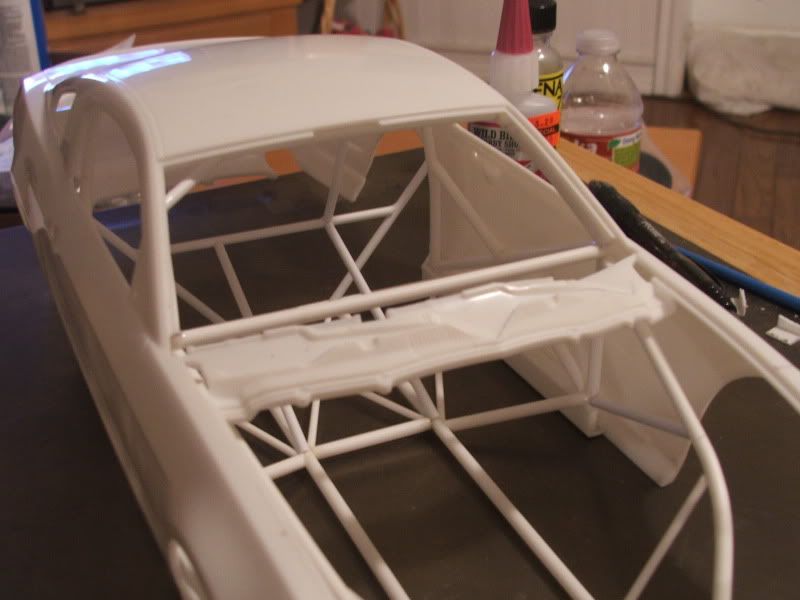
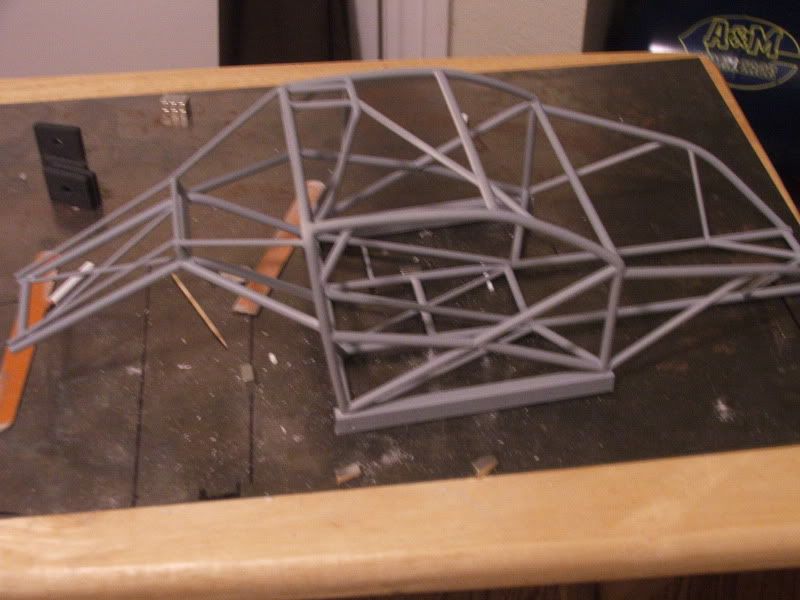
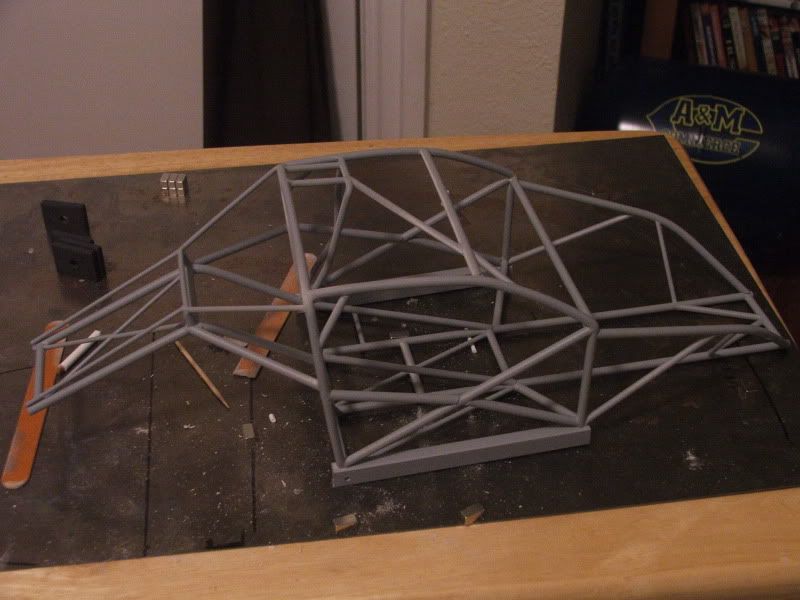
One more update for today. I made a lot of progress on the chassis today, however, again I have run out of 5/32 styrene tube so I'm some what stalled at this point.
An overview
View from the passenger side
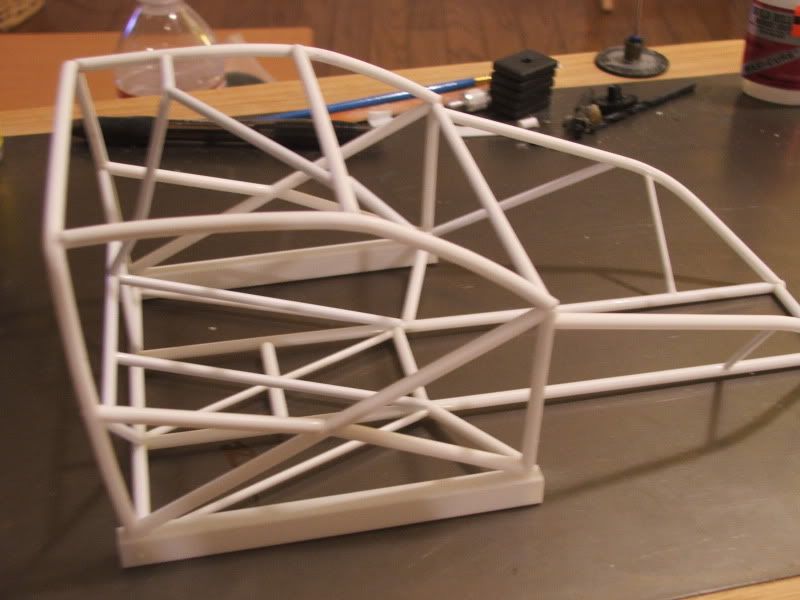
View from the driver's side
A shot with the chassis under the body
 Originally posted by Leah
Comment
-
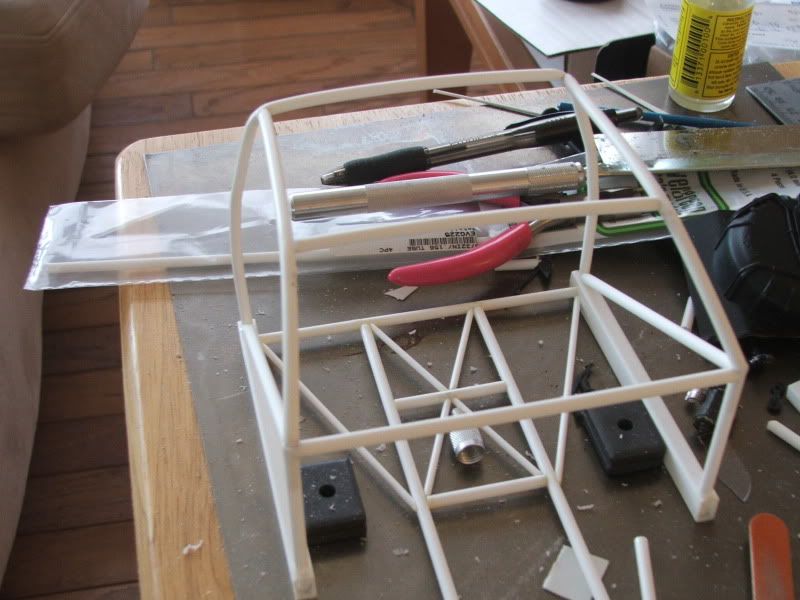
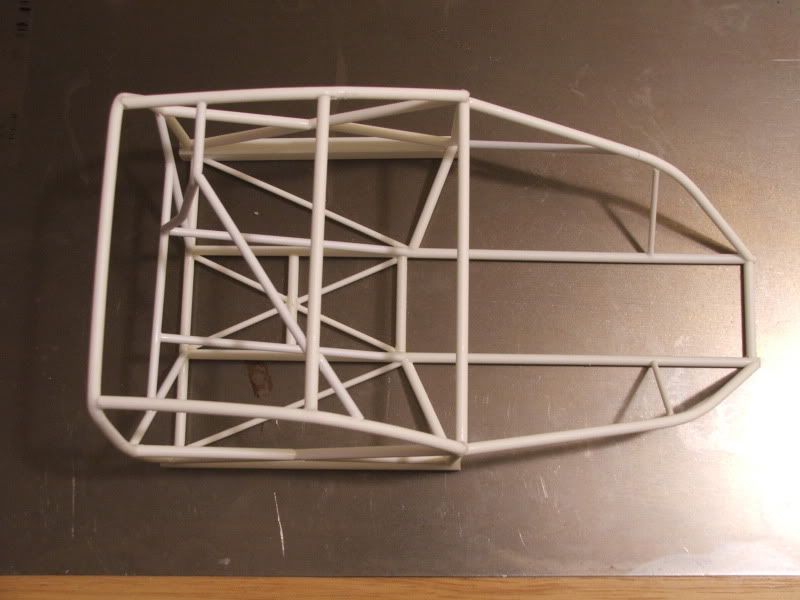
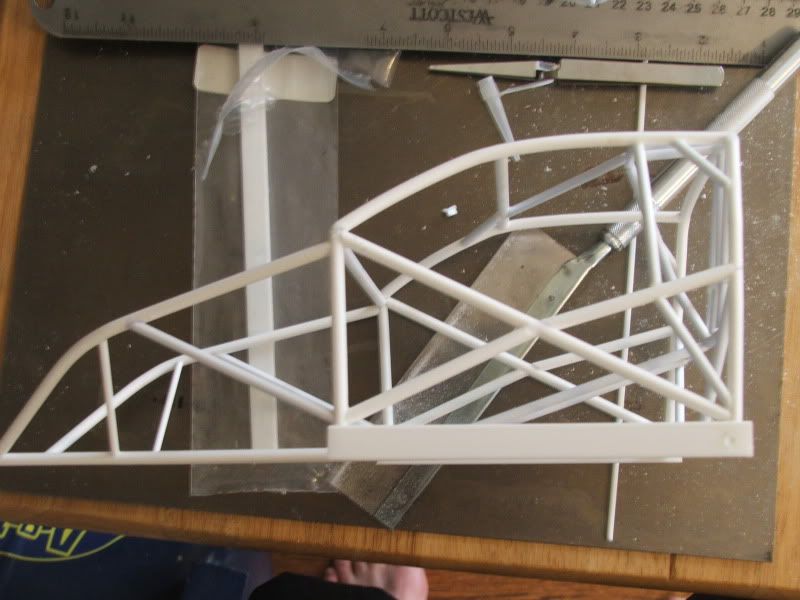
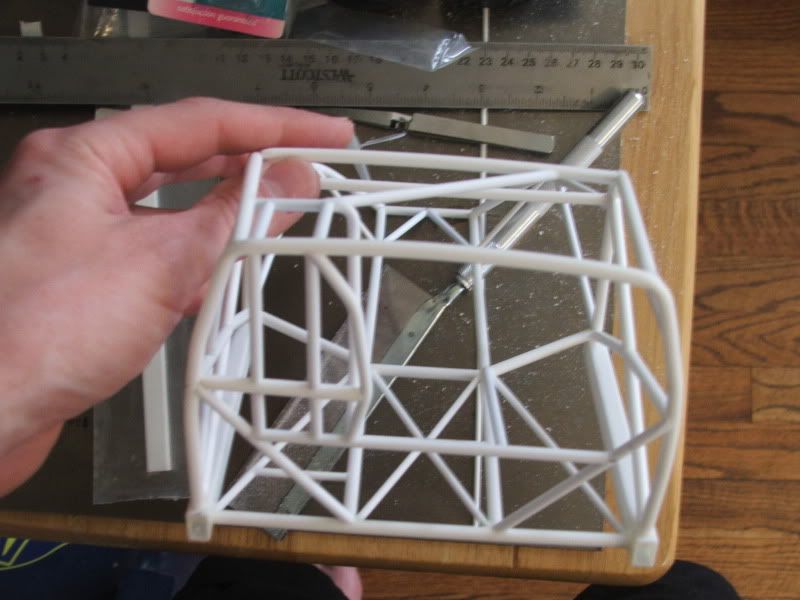
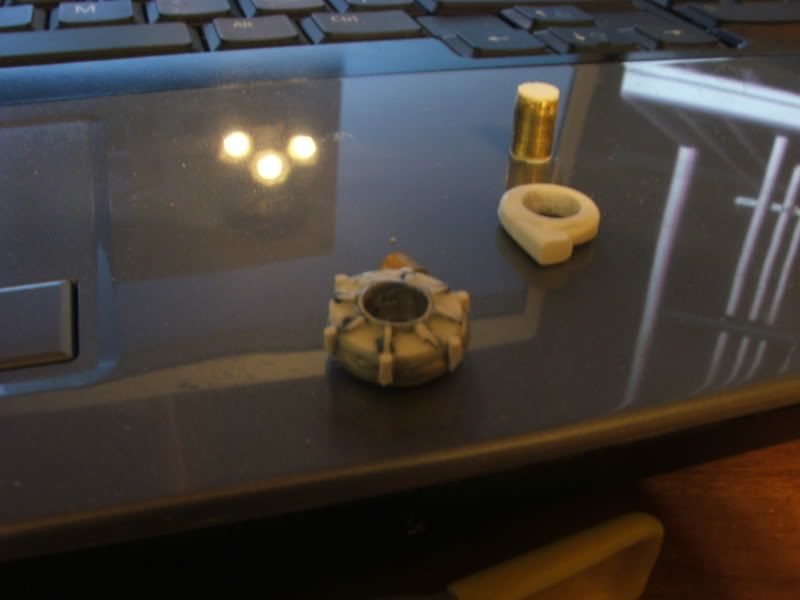
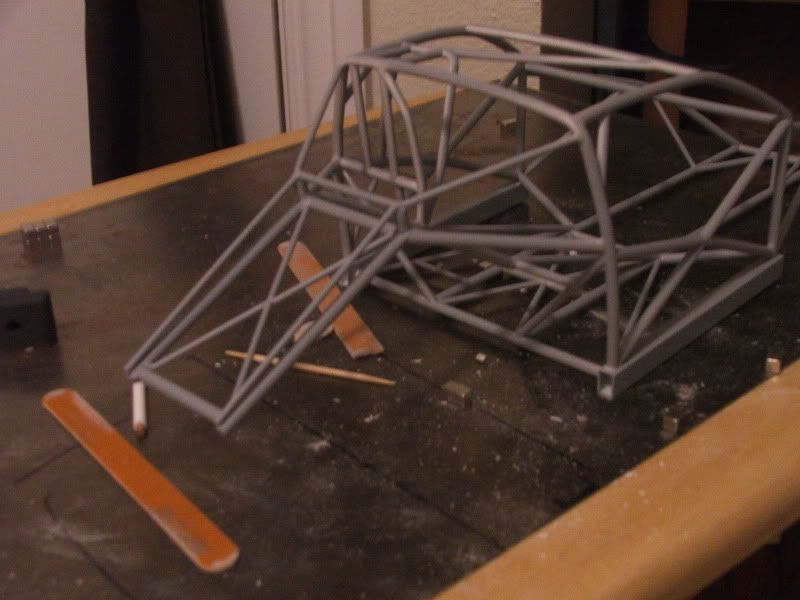
Here is a small update. I pretty much finished up the front section of the cage last night. I would call it 95% done. There are some supports for the front bumper still to do, but I will wait to complete those, they sort of hang off the front of the chassis and make it a bit fragile. The way this thing is being constructed is the styrene rod/tube is all being cut slightly longer than I need and then filed to the correct angle and then "fish mouthed" to increase the contact area. Then it is "melted" together with liquid styrene glue, and then the joints are finished with a thick super glue, to give them the appearance that they have been welded together. Hopefully Monday I can pick up some more 5/32 tube and get the back half of the chassis completed. I think I'm going to try and get a spare engine from Revell if they still do their spare parts program. It will get a custom intake, and a twin turbo set up. I've got a turbo that I started scratch building a couple of years ago when I was still working on the Camaro a lot. Anyway, on to the pictures
Top

Driver's Side
Rear
Turbo

 Originally posted by Leah
Comment
-
So THAT'S why you wanted those under carriage pics I took. Man that looks awesome! Makes me want to get back into building models. That is really cool.Comment
-
I'm loving this thread!
I used to be into models pretty heavy years ago. You've got me wanting to start again.68 Coupe- 351w, TFS heads, Comp XE284, 5 speed, Explorer 8.8, 4 Wheel Discs
63 Fairlane
Originally posted by forbesComment
-
Yep! I strive for as much accuracy and realism as possible. I will probably try and do some work on the '65 tonight and tomorrow. Hopefully I can get the rear frame section finished up. I'm thinking for my next build I want to do something not based on a kit or kit parts. Leaning HEAVILY towards a top fuel dragster in 1/12th scale.....Originally posted by Trip McNeely View Post
Sent from my SAMSUNG-SGH-I897Originally posted by LeahComment
-
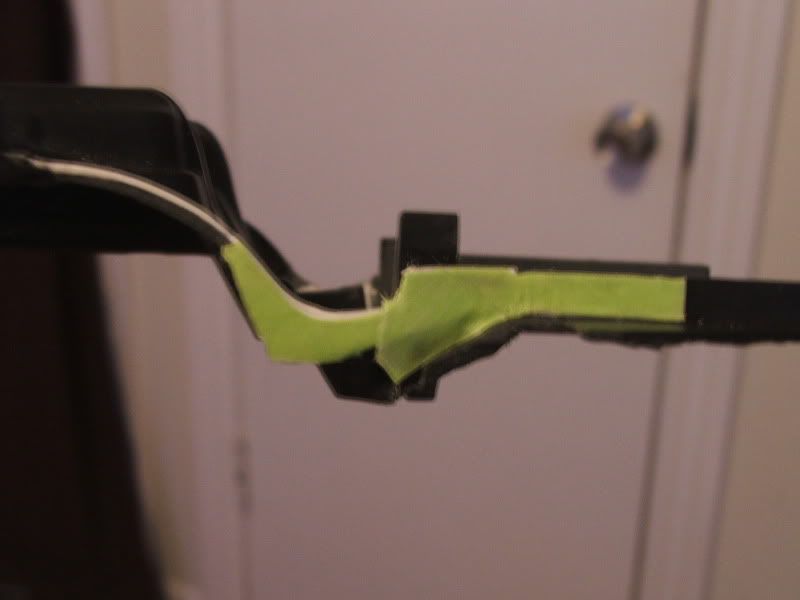
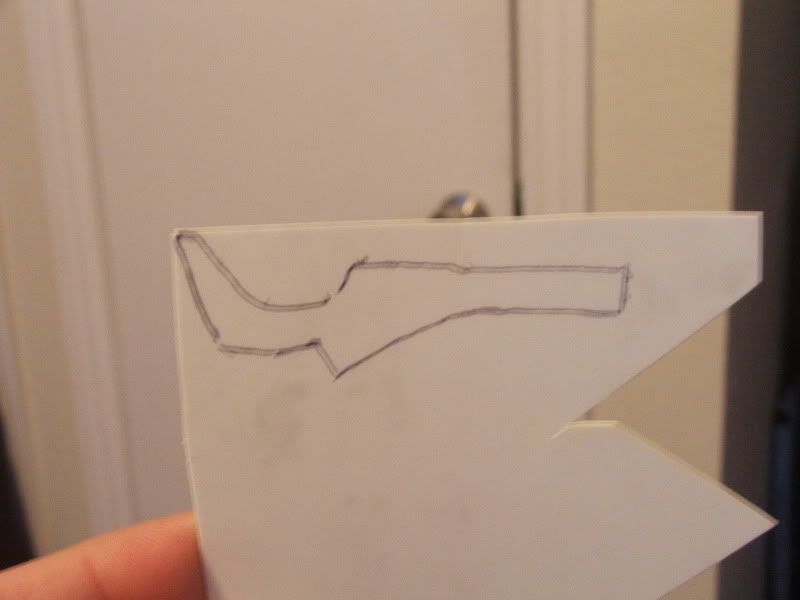
I have had a few people ask me about my scratch building, how I do it and what I use. I photographed the steps I went through to create the driver's side frame rail. Excuse the pictures, I'm having to re-learn how to take pictures with my camera, its been a few years since I've photographed model cars. Keep in mind, I had already created the passenger side rail before I started the drives side.
Masking tape used to create a template
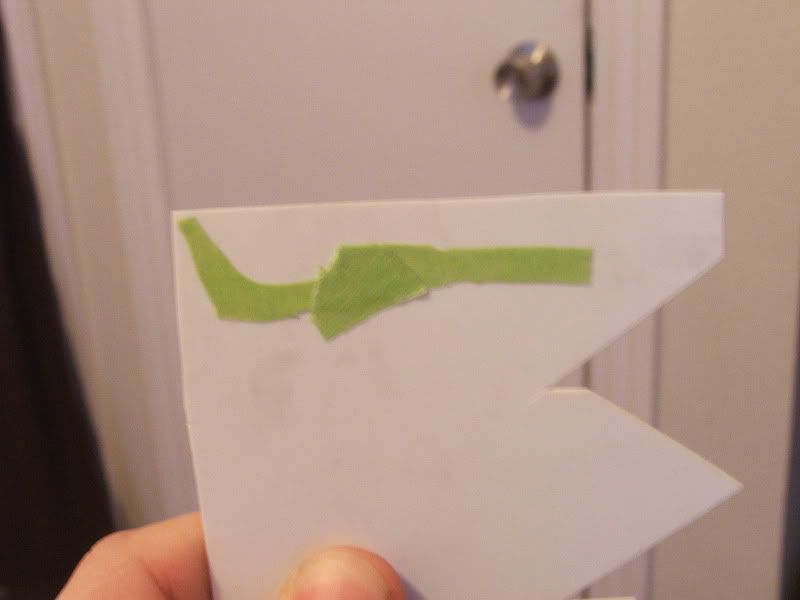
Template transferred to plastic card stock and traced
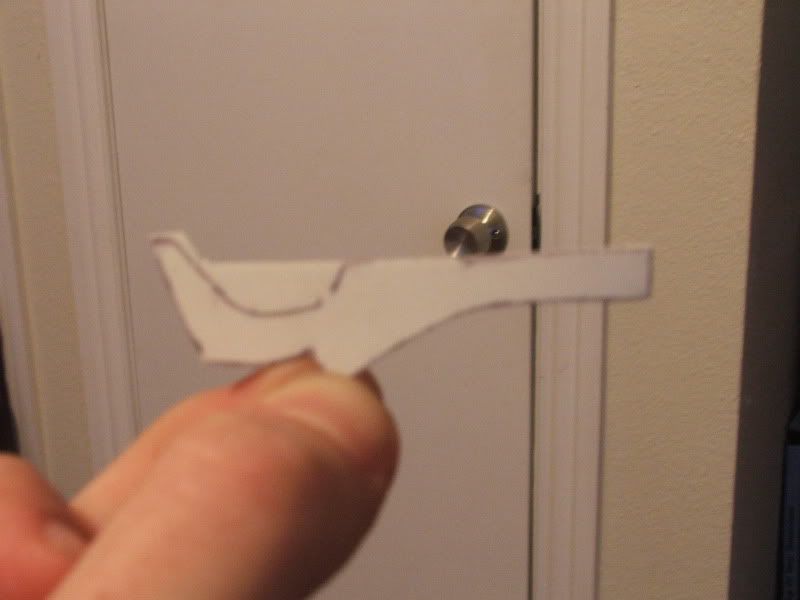
Next, I roughly cut the shape with scissors. A little note about scissors, I don't normally use them, I typically scribe the lines with the back of a hobby knife to separate the parts. The problem with scissors is that they tend to "pull" as they cut and it is hard to keep them cutting in a straight line. However, since I was over sizing the part and tweaking to fit, it was fast and easy.
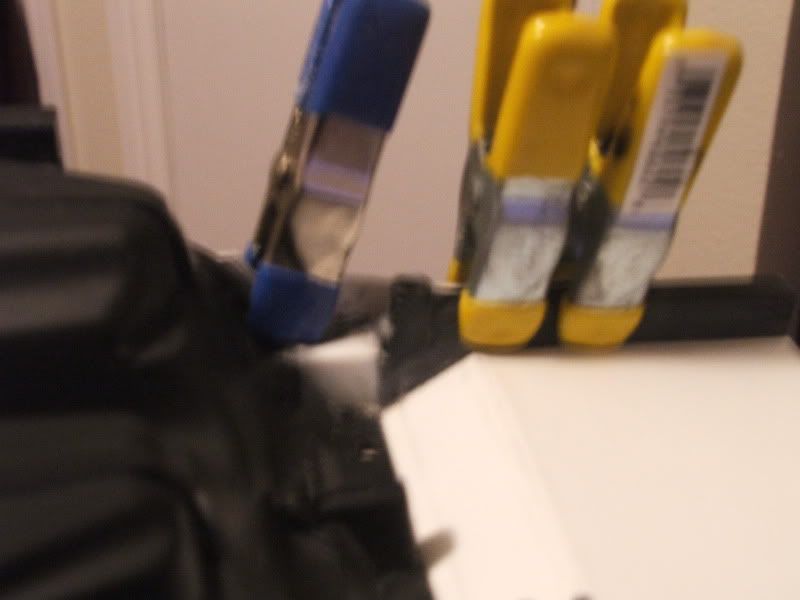
Once I had the general shape cut out, I tweaked the part and clamped it in place to be glued
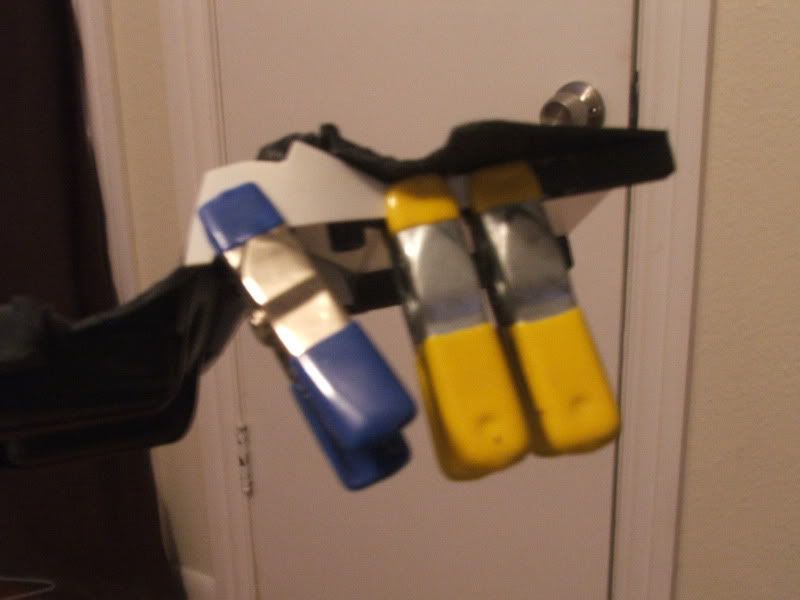
Finally, you can see the near finished product on both sides, again, the pictures are blurry, but hopefully you can still see the seams from the different pieces of styrene that were used. Once I get all of my modifications done, I will use some putty to fill the seams and sand them down, follow with primer, and repeat until I'm happy with the end result.
 Originally posted by Leah
Comment
-
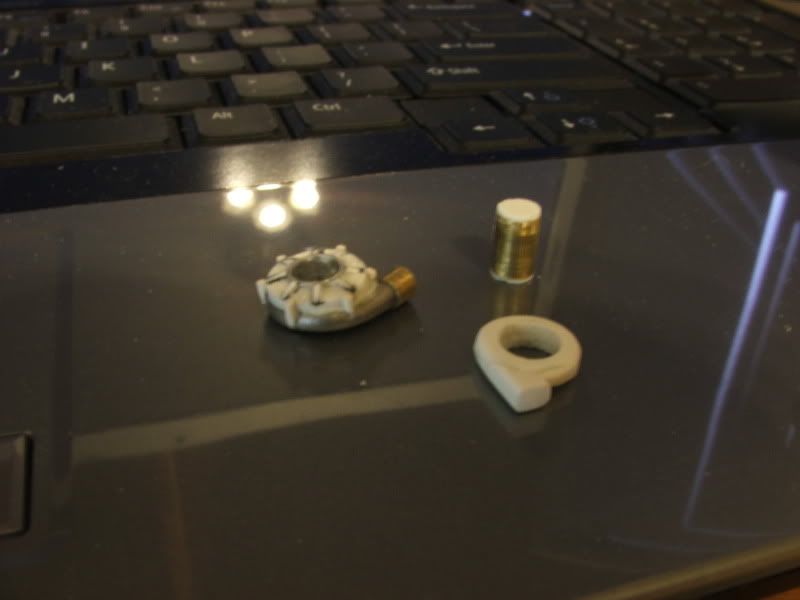
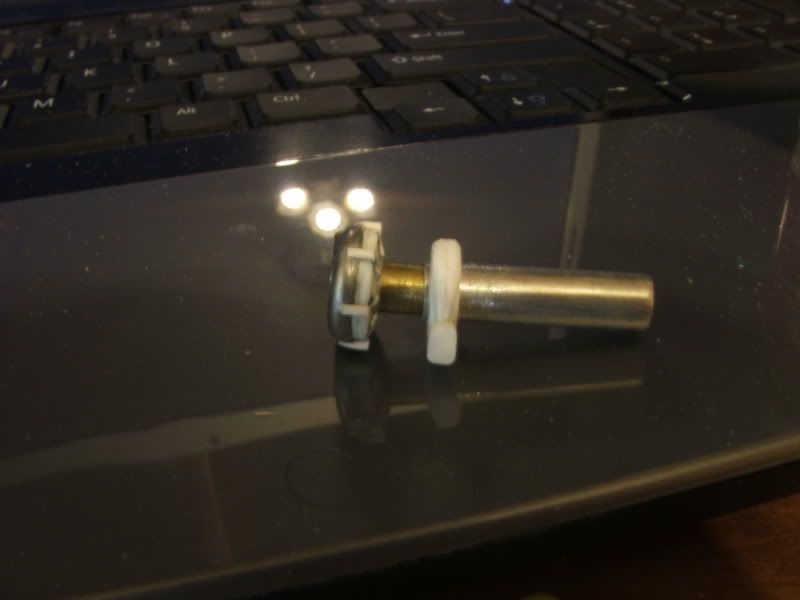
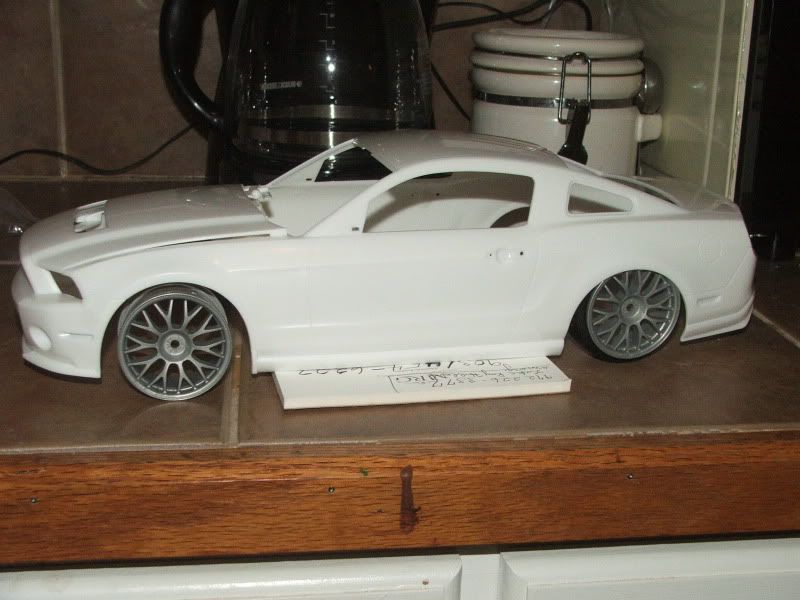
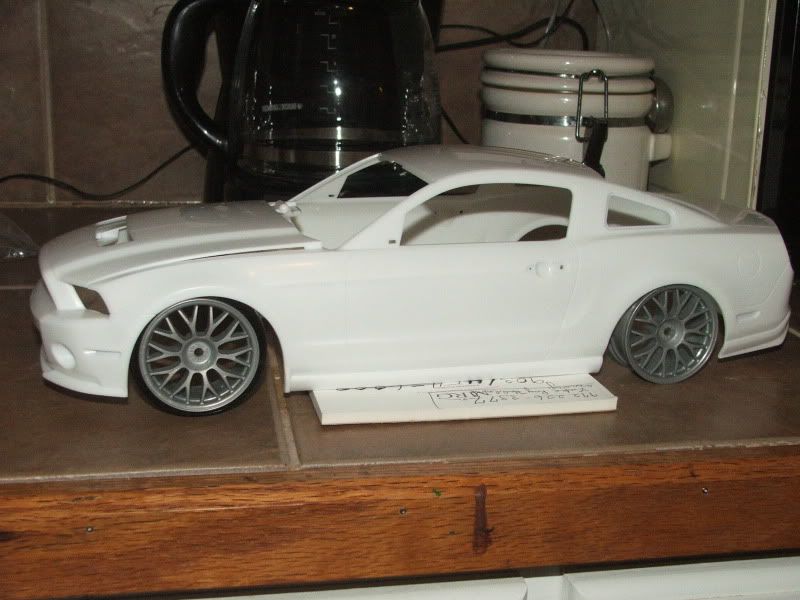
I got bored this evening and played around a little.
 Originally posted by Leah
Comment
-
I had a Associated tc3 touring car with a White mustang body and those same wheels. That looks pretty good.Comment
-
They definitely fit this body much better than the camaro I'm working on that I bought them for
Sent from my SAMSUNG-SGH-I897Originally posted by LeahComment
-
I finally got a chance to get back to work on these. First I'll update the pro stock. I've just about got the chassis finished up and done the way I want it. I took some liberties with the rear portion of the frame just adding bars where I thought they worked. The only big thing left to add are the bars for the engine plate. I wanted to get some color on it so I could see the issues with seams that I needed to take care of.
 Originally posted by Leah
Comment
-
Finally the '65. Not a whole lot to show. I picked up some super glue "kicker", if any of you modellers use super glue frequently and you haven't been introduced to it, pick up some "kicker" at the hobby shop. It sets super glue instantly! Mixed with a thick CA it makes for a great gap filler! Basically all I've done is clean up the rear section of the frame rails. There is still a bit left to do to finish cleaning them up and get them looking like they are one piece. I'm not too worried about the gaps from the top of the frame rail to the chassis tub, those will not be seen. I intend to create some "close out" panels that will go from the frame rails to the lower edge of the body, sort of like an aerodynamic underbelly, that will be followed by the wheel tubs. The wheel tubs and the "close out panels" are going to be done in carbon fiber, (plastic sheet covered in CF decal). Once all of that is done, I can get the rear end and suspension sorted out and get this thing well on its way to done.
 Originally posted by Leah
Comment
-
Looks good. I'm going to pick up a NASCAR model for its age when I build my Alpina BMW. Do you know any links on how to make working doors?Comment
Comment