I had a customer contact me through a board memeber - he wanted his turbo kit upgraded from a 3" to a 3.5" downpipe and ran all the way to the bumper (with split 3" tail pipes - stainless, looks badass!)
This was a pre-existing kit that's pretty old and needed some new life..and with the new engine (a damn nice one, I might add) - it needs to breathe a bit better.
Now, the problem. Fitting a 3.5" downpipe along side the passenger side valve cover with the kit where it sat. Normally, you could use a formed sheetmetal cone to adapt the turbine to the bigger tubing - but that takes up too much room and wouldn't allow the downpipe to turn before it hit the valve cover - and if it did fit, you coudln't get to the spark plugs from the top.
So, the idea was to make a simple flange that clamped to the turbo and adapted the 3.5" tubing all at one time. It's only 1.5" long compared to the 6" or more of the cone type reducer...
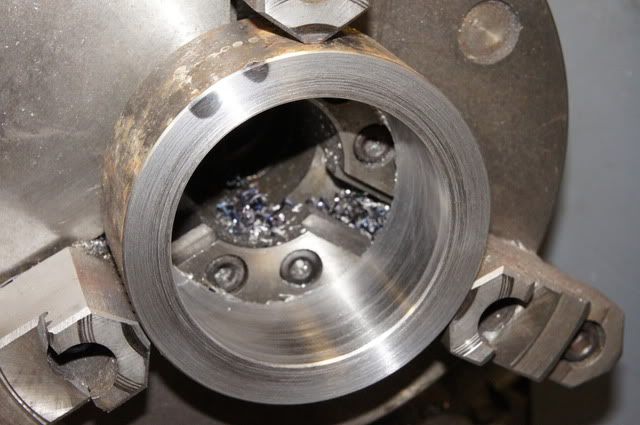
first operation - face one side, and finish bore it through. This allows the flipping of the part and reasonable concentricity.
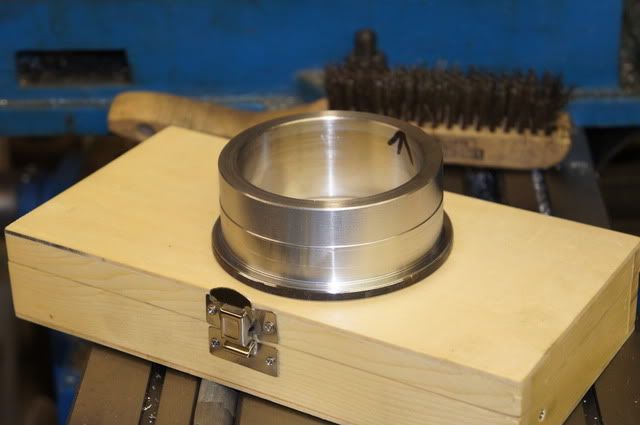
Next - Rough turn most of the O.D. and finish size the Vband end (indicated by the arrow)
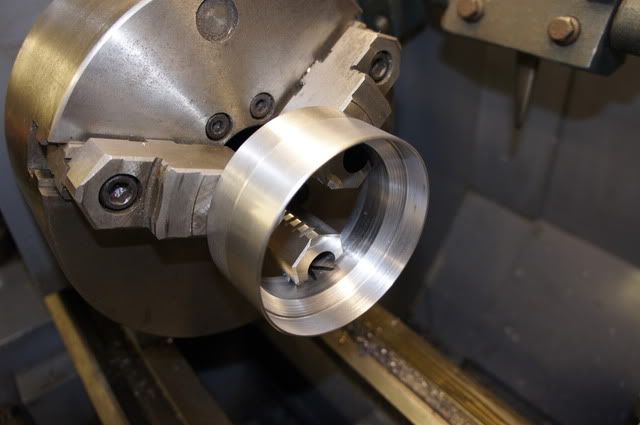
3rd Op. - Finish bore and taper the downpipe side.
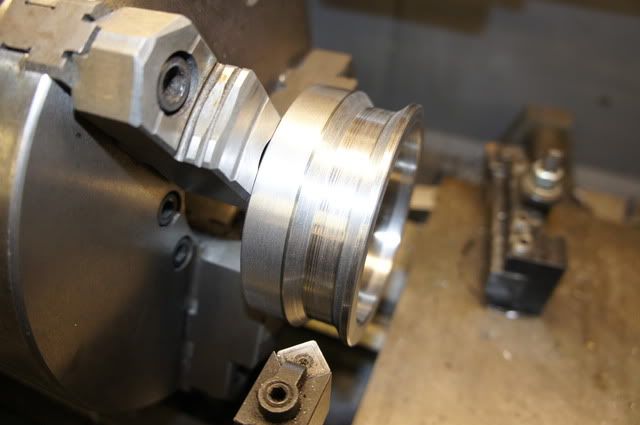
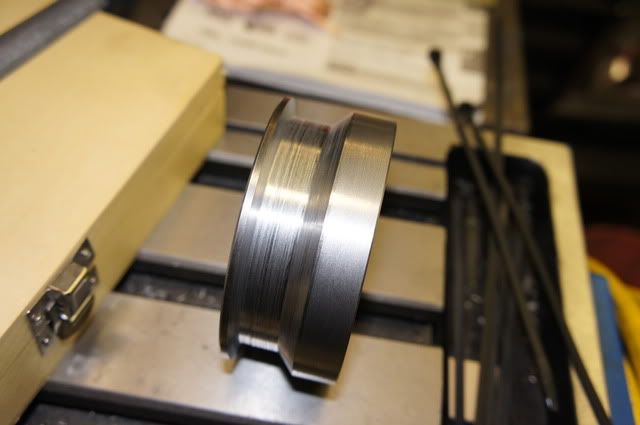
4th - rough gouge out the groove where the vband sits - downpipe side stays 45*, the clamp side gets pushed back to 15*.
Last operation - flip part and turn the 15* for the clamp to grab on.
This was a pre-existing kit that's pretty old and needed some new life..and with the new engine (a damn nice one, I might add) - it needs to breathe a bit better.
Now, the problem. Fitting a 3.5" downpipe along side the passenger side valve cover with the kit where it sat. Normally, you could use a formed sheetmetal cone to adapt the turbine to the bigger tubing - but that takes up too much room and wouldn't allow the downpipe to turn before it hit the valve cover - and if it did fit, you coudln't get to the spark plugs from the top.
So, the idea was to make a simple flange that clamped to the turbo and adapted the 3.5" tubing all at one time. It's only 1.5" long compared to the 6" or more of the cone type reducer...
first operation - face one side, and finish bore it through. This allows the flipping of the part and reasonable concentricity.

Next - Rough turn most of the O.D. and finish size the Vband end (indicated by the arrow)

3rd Op. - Finish bore and taper the downpipe side.

4th - rough gouge out the groove where the vband sits - downpipe side stays 45*, the clamp side gets pushed back to 15*.

Last operation - flip part and turn the 15* for the clamp to grab on.





Comment