Originally posted by Baron
View Post
Announcement
Collapse
No announcement yet.
1990 Coupe - 'budget' turbo kit
Collapse
X
-
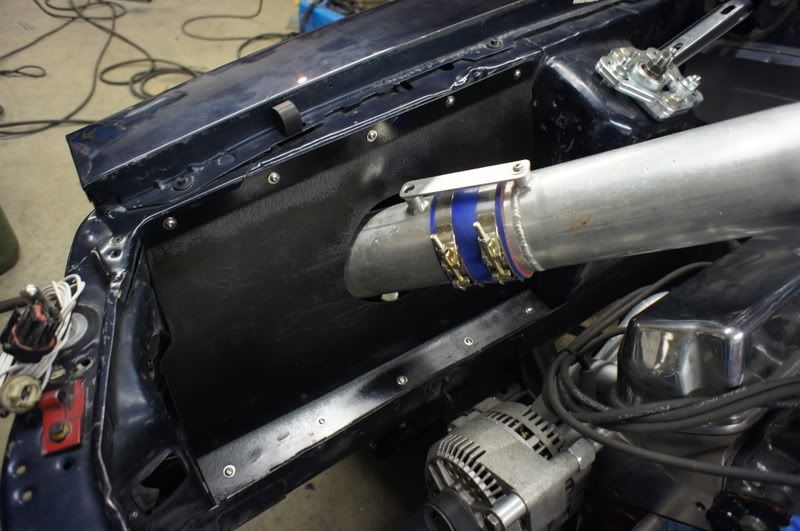
I got the panel painted and installed. The finish is supposed to be that wrinkle black paint from VHT. It's not very wrinkly and just looks more like screwed up paint. lol.
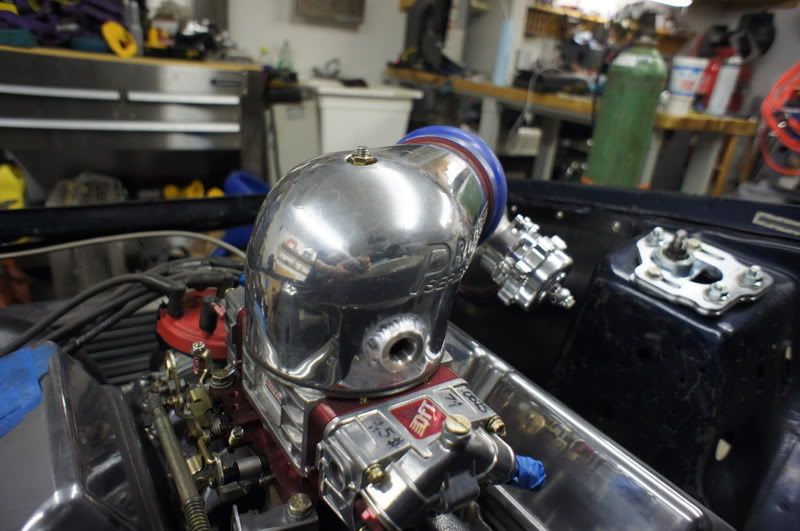
Next, nothing major... just machined and welded a bung for the IAT in the carb hat.
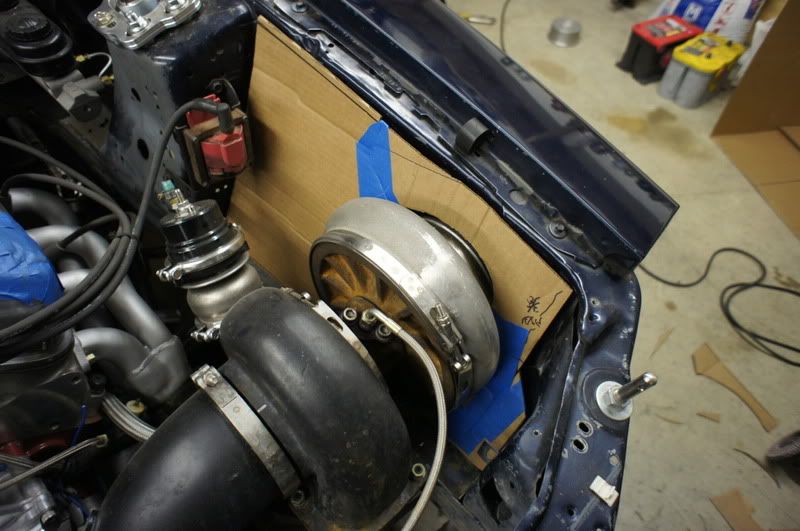
and last but not least (for tonight). I got the template 99% made for the drivers side apron. In this case, I'd rather be sitting in the dentist's chair.
Comment
-
This stuff took forever to dry, and was likely due to the humidity outside. I'm sure I'll have this panel out again before I start the car - if I do, i'll try warming it up. I've actually done that, but instead of the part - I put the can in hot tap water, it makes the paint dry fast. Maybe the one light coat isn't enough either.Originally posted by sosoe View PostI've used it before (VHT wrinkle paint).
I painted my LS valve covers, I pre-heated them and then sprayed it on. Gave it a few hours and it came out looking great.
Comment
-
You have got to spray it thick enough to let the paint"stack" for it to wrinkle. While on that subject, we found the hammered finish rustolium applied with a cheap brush is great for the cage. Prep is minimal, and it sticks very well, and the finish comes out well even in the hard to reach areas. The black comes out kinda grey though, but if you need to touch it up, it matches very well."If I asked people what they wanted, they would have said faster horses." - Henry Ford
- Likes 1
Comment
-
If you remember how good my intake and valve covers looked in my white coupe.... Good thick coats sprayed at different directions. Heat in oven at 200 degrees for awhile. It will cure and wrinkle up nice. Make sure the misses isn't home.Originally posted by Baron View PostYou have got to spray it thick enough to let the paint"stack" for it to wrinkle. While on that subject, we found the hammered finish rustolium applied with a cheap brush is great for the cage. Prep is minimal, and it sticks very well, and the finish comes out well even in the hard to reach areas. The black comes out kinda grey though, but if you need to touch it up, it matches very well.
Comment
-
i baked some shorty headers in my moms oven when i was in high school and she was gone...she still hasn't forgiven me!Originally posted by Magnimike1 View PostIf you remember how good my intake and valve covers looked in my white coupe.... Good thick coats sprayed at different directions. Heat in oven at 200 degrees for awhile. It will cure and wrinkle up nice. Make sure the misses isn't home.
Comment
-
funny - I did that once, too. Just once, though.Originally posted by dville_gt View Posti baked some shorty headers in my moms oven when i was in high school and she was gone...she still hasn't forgiven me!
A gas grill works pretty good for heating parts as long as the temperature does not have to be accurate. - And, it won't stink up the house.
Comment
-
Major update again. It's been a while since the last one, i've been holding out in order to make it look like I've done a lot
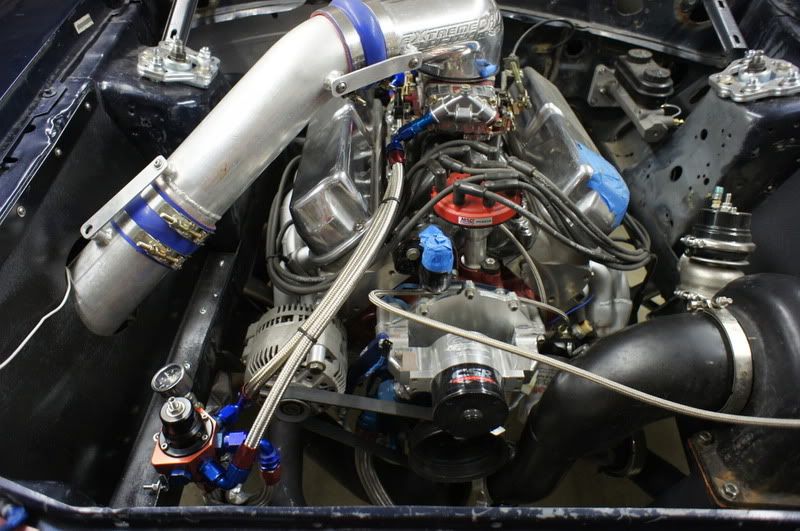
The engine bay is pretty much done except for redoing the lower core support. (I've already gone to JamesB and picked up one that he bent for me, hopefully installed by the weekend.)
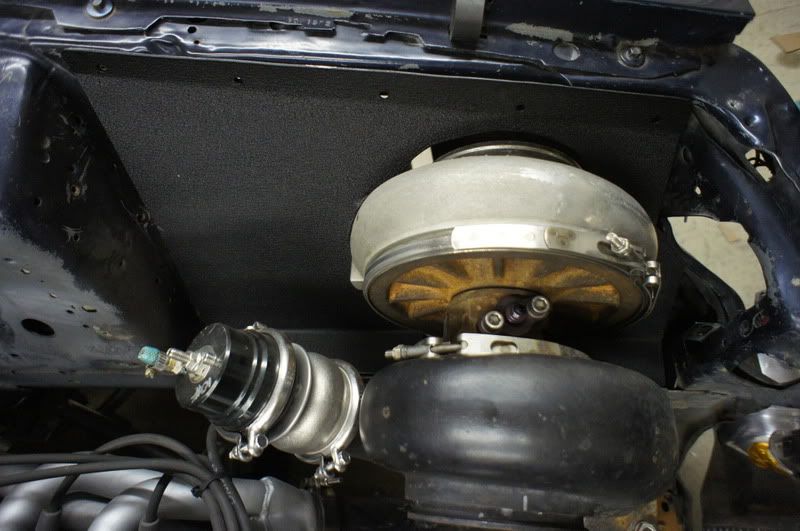
The drivers side inner fender apron is done now. Whoever mentioned the thicker coats and warming up the part after application was right - that made a HUGE difference in appearance.
Fuel lines installed and ran into the engine bay, and all the way up to the carb.
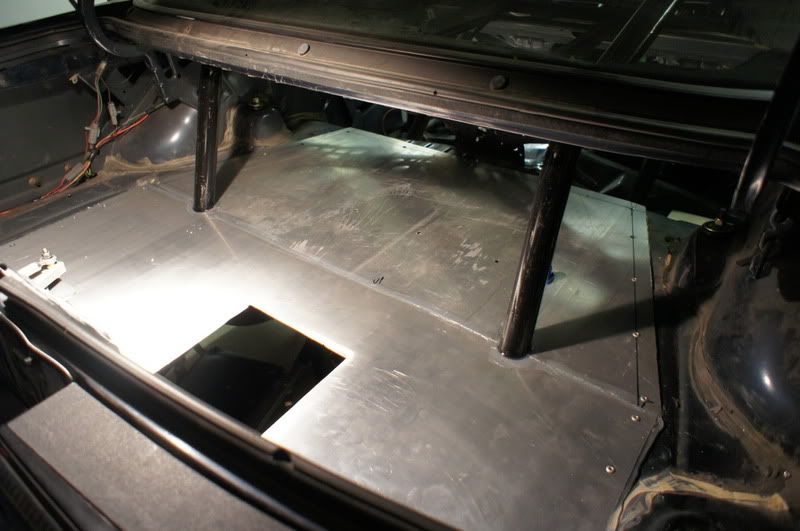
The trunk floor is done, sealed up and fastened down. Yes, the sharpie lines are gone
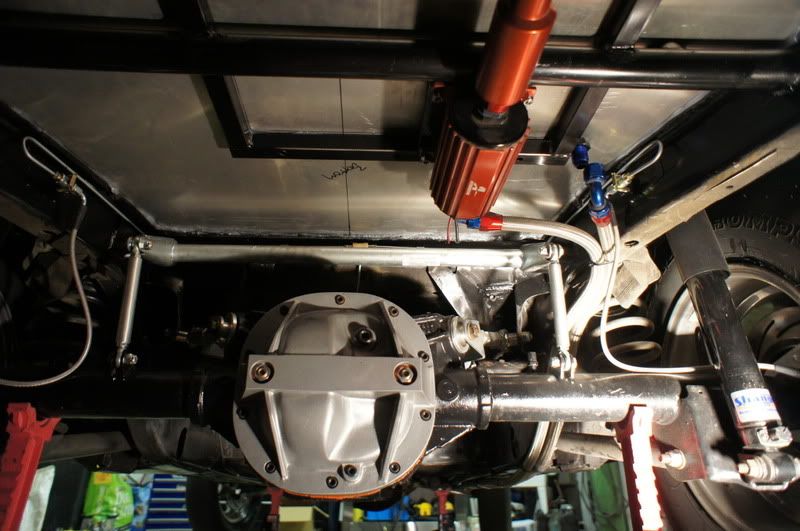
Bottom side of the trunk, all sealed up. New braided lines in place. I just couldn't trust the smileys' brand after that one blew apart on the jackstands. brakes are now blead and ready to rock.
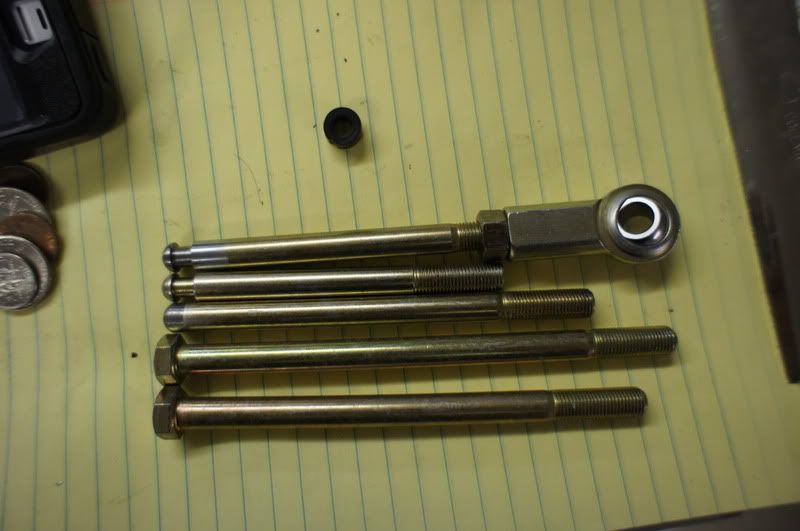
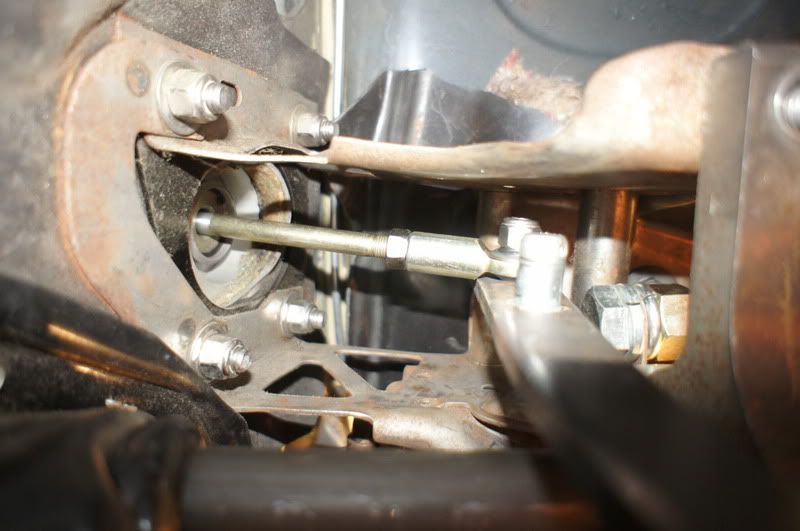
I had to modify the brake rod under the dash. The 2nd from the top is the stock piece that came in the jegs kit. The 3rd from the top was the first one I modified, but it was too long, but it illustrates the process pretty good. The one with the heim on it is the final piece. It worked out good, perfect range adjustment from both ends of the threads. (the pedal was too low with the stock rod).
Bottom view with the rod installed. Right side of the pic you can see the stop-bolt. This keeps the pedal from completely disengaging the brake rod out of the master cylinder. it's actually installed in the stock brake light switch bracket.
Finally get to use my badass cobalt guages that I paid a fortune for, they've only been sitting on the shelf for 4 years. 1100$ later.
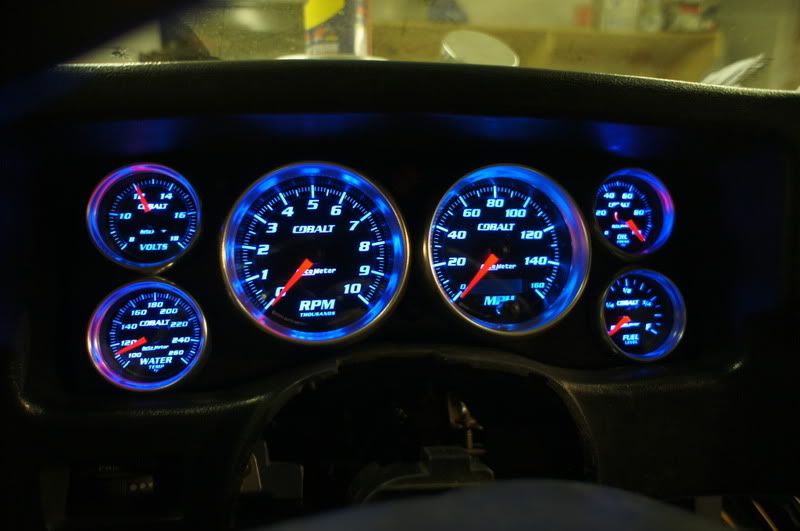
This coming week I have to make the guage holder that goes in the A/C vent's old home. It's going to house the boost, trans tem and A/F guages. The boost controller will reside where the stock radio went.
.... more coming soon.
Comment
Comment