Originally posted by dville_gt
View Post
Announcement
Collapse
No announcement yet.
Building an A/C system from near scratch
Collapse
X
-
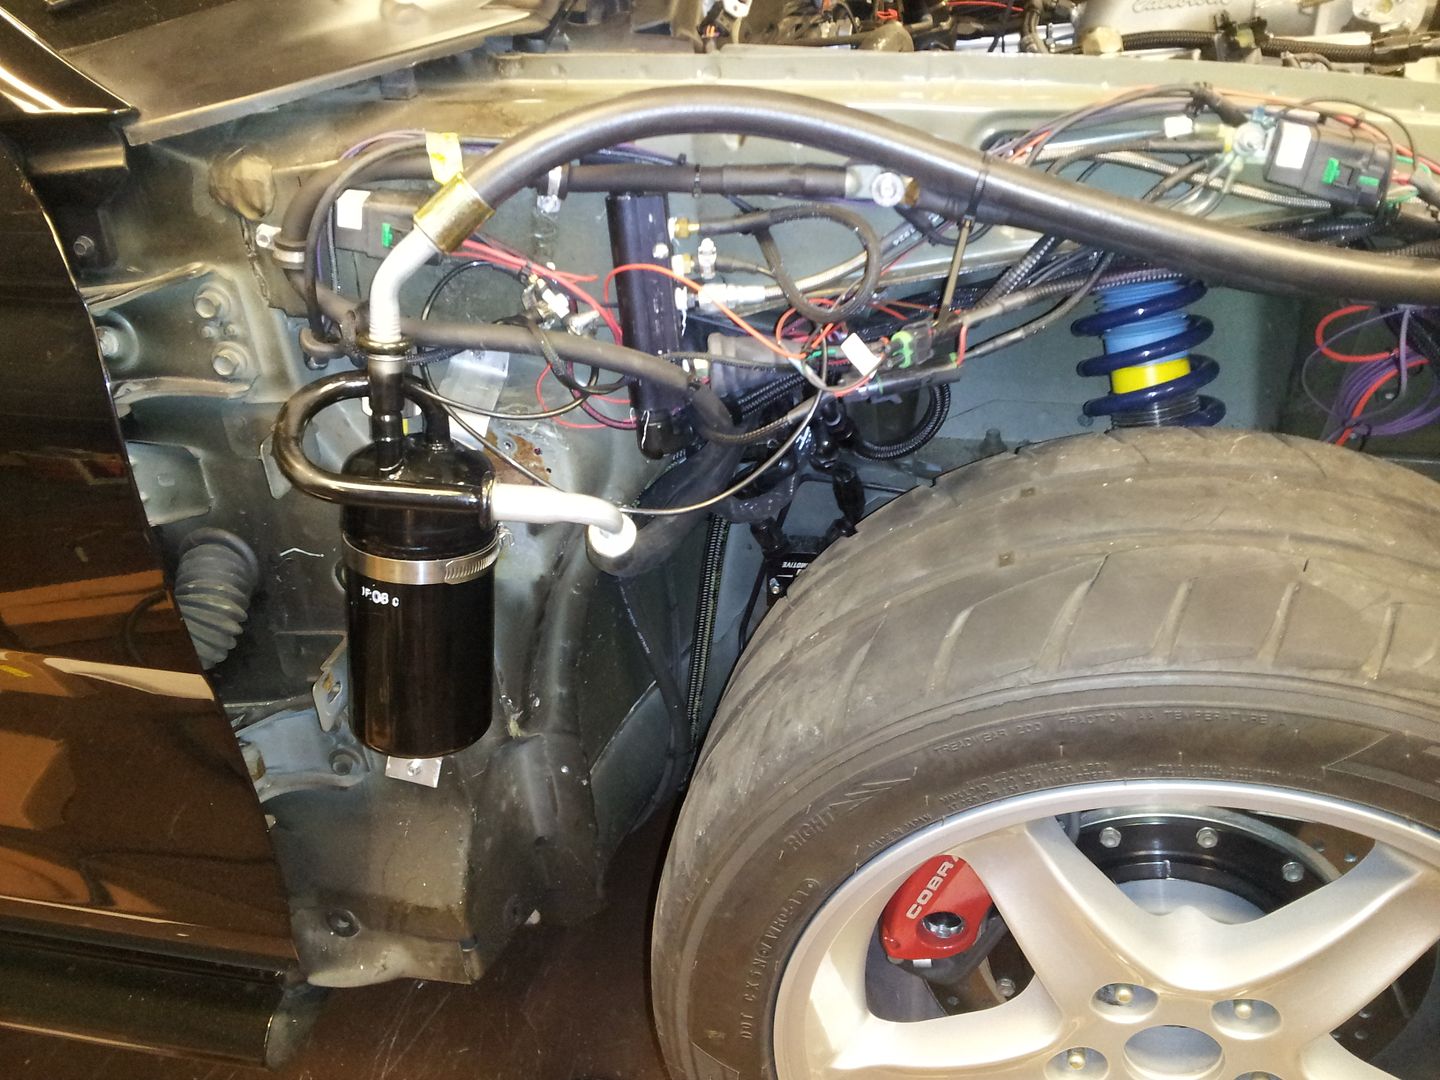
Like I said before, you may be fine with the accumulator mounted that way, however if you ever have an internal compressor failure I'd look at mounting one back vertical. There's no set time limit on how long it could take to starve the compressor on oil. I'm only explaining based on how the system operation was explained to me.
-
New condensor, accumulator/drier and comperssor are all finally here. The compressor's new combo line adapter is here. I just need to mount the parts, check the belt fit, and figure out my hose ends. I found a place in Mesquite (Airpro or www.airproair.com ) after calling half a dozen others that actually carry the assortment of fittings I need and the hose. If they are open Saturday I am giong to get out there and pick up my parts and Monday get them crimped on at Kim's in Ft Worth.
13 days until the Power Tour and I work all but 2. This is gonna be down to the wire.Fuck you. We're going to Costco.
Comment
-
I found a company that is local that stocks a TON of fittings for what I am about to do. Now if I can get to Mesquite and back to Hurst by 3p on Tuesday.....the next day they are open.
The plan is to find the largest condensor that is a true parrallel flow system because they are so much more efficient than the Ford fin type. I ended up with a '99 GM F Body condensor. $120 from Autozone. The problem is the condensor has the wrong type of connections to work with the Ford springlok fittings. Perfect, I am making my own lines anyway. I only need to hit the pick and pull yard to get some donor ends to weld to. More on that later.
I picked up a new compressor since mine has been off for several years now. Might as well shell out the $200 now for one I know (it better be) is good vs risking my old one being ridled with condensation inside and causing me problems after it is all together.
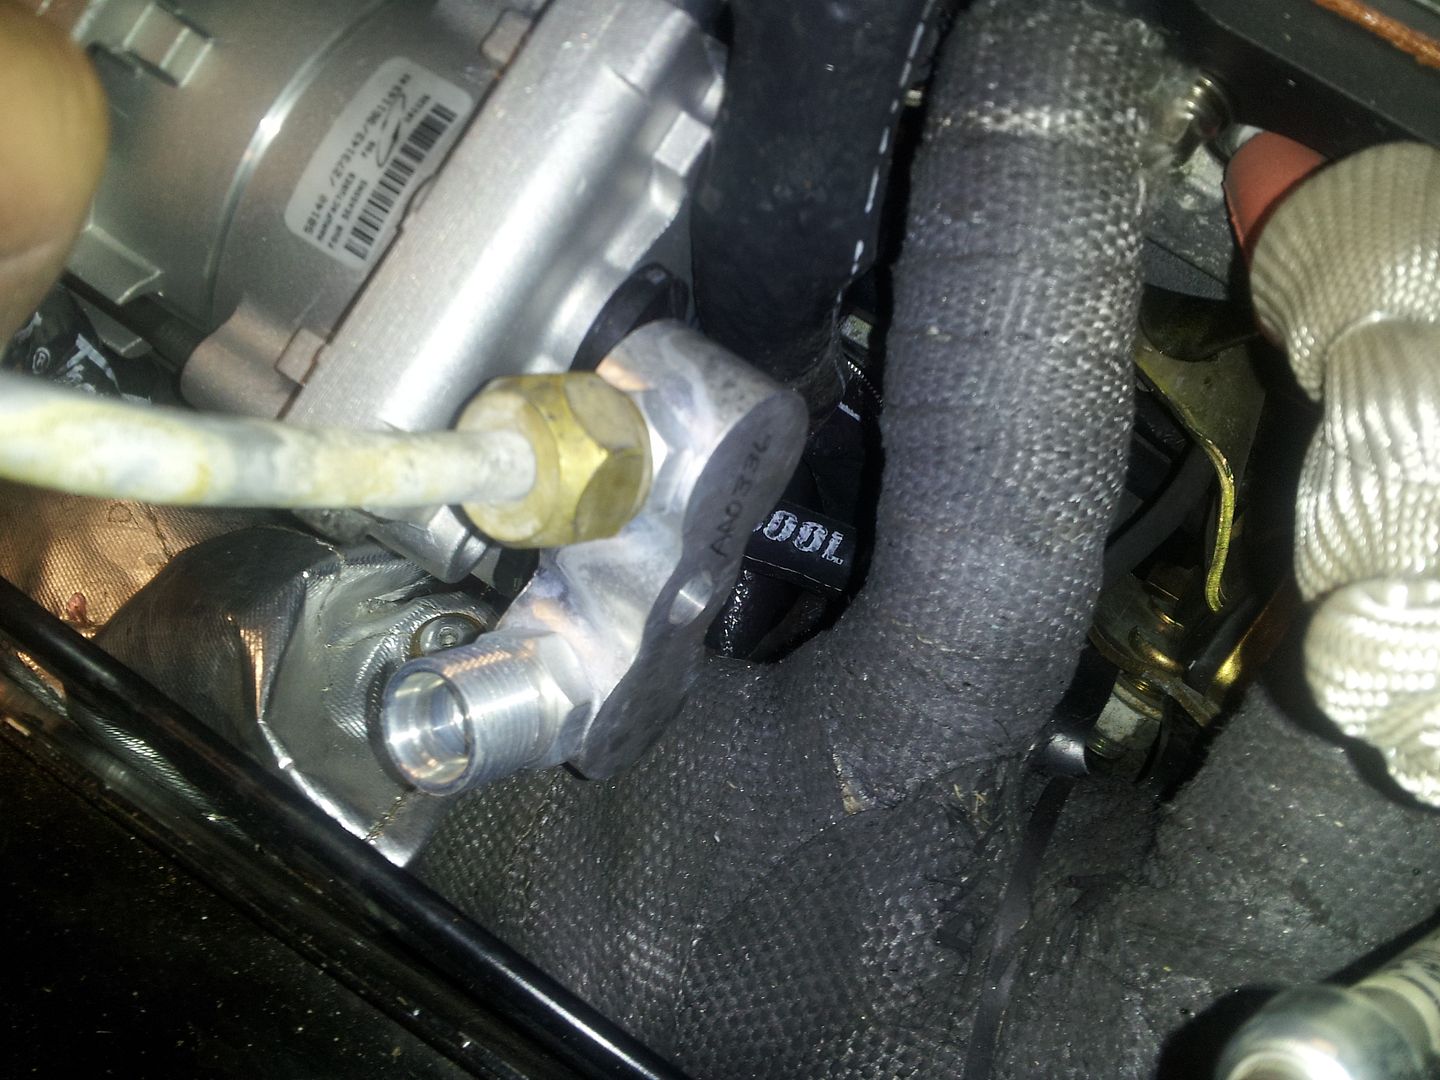
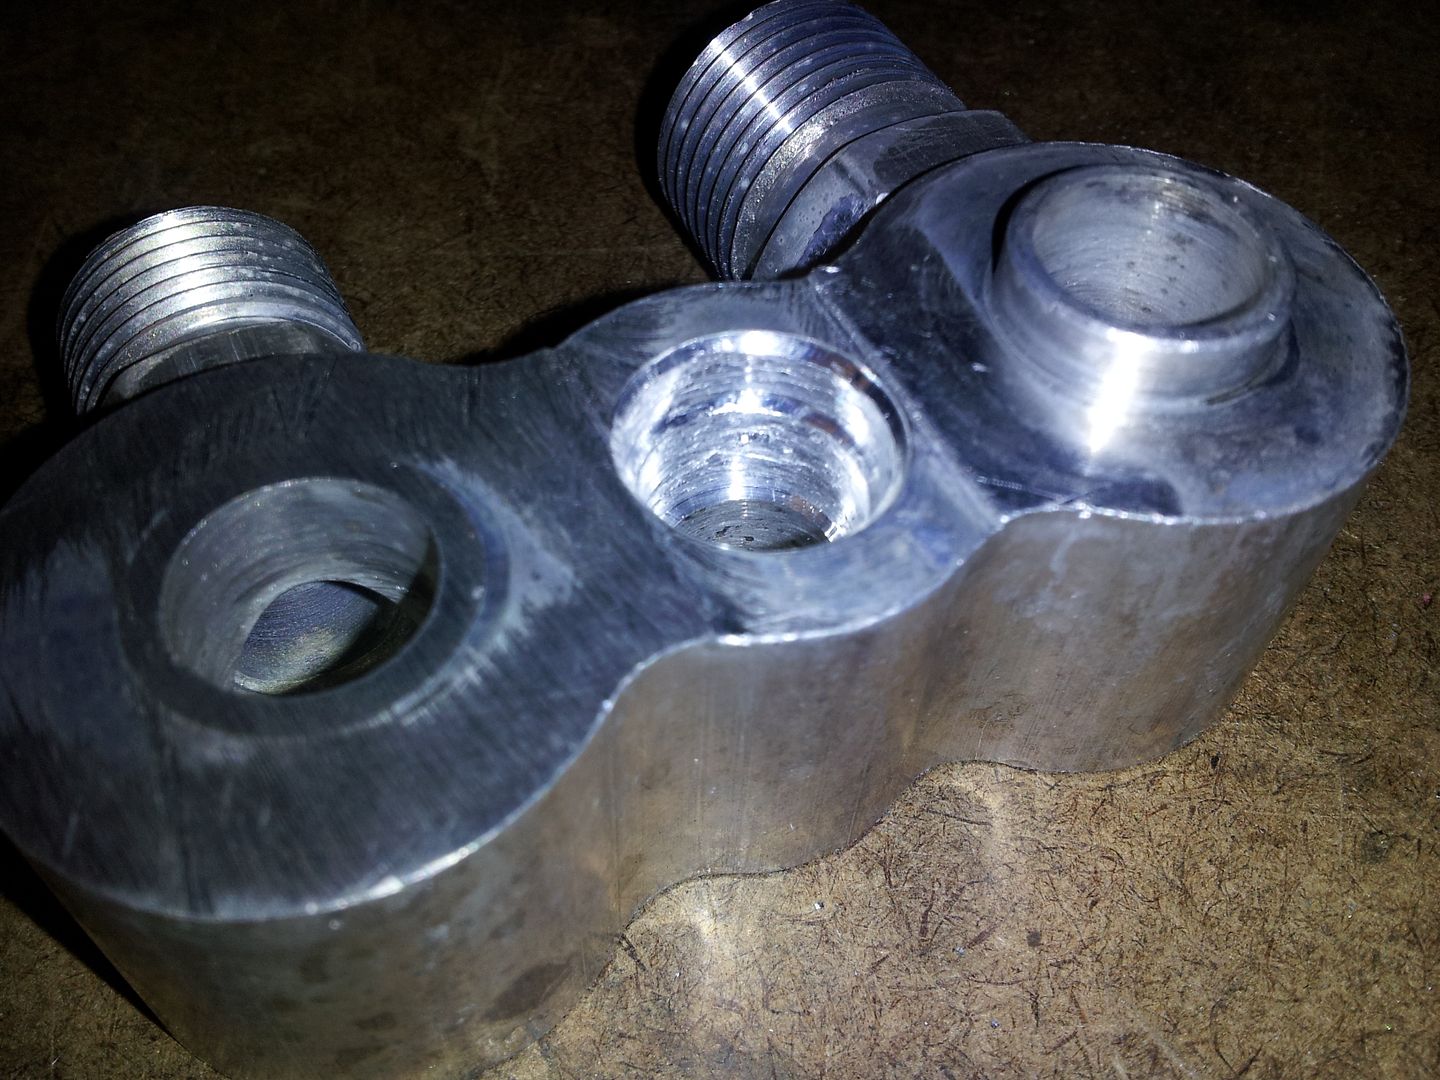
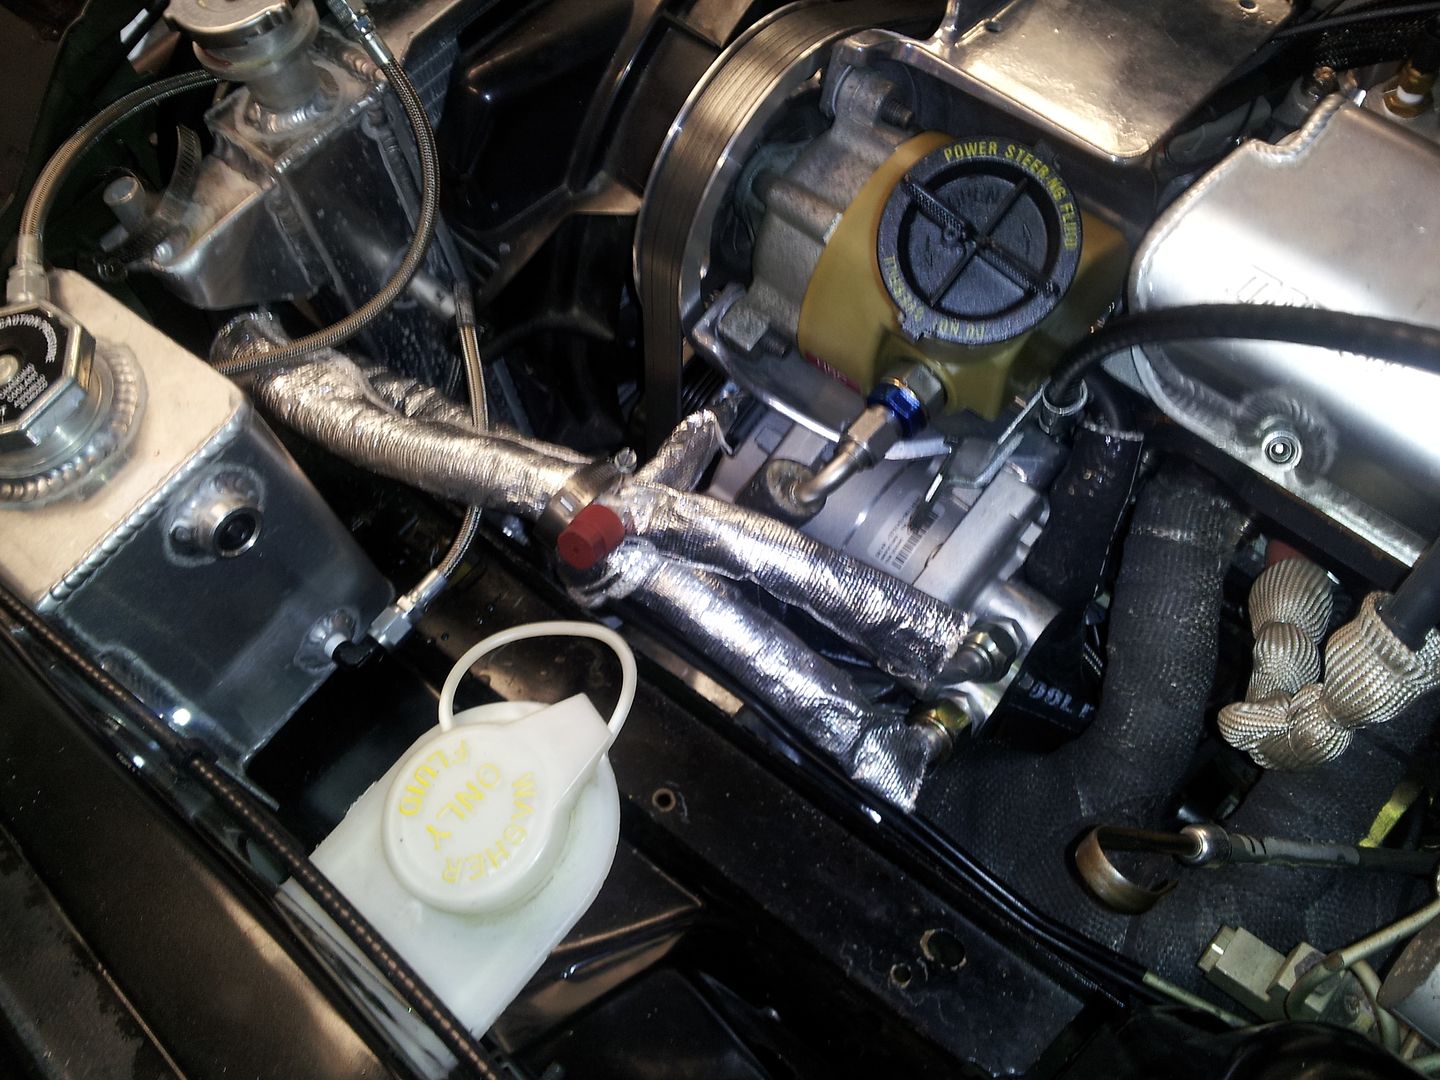
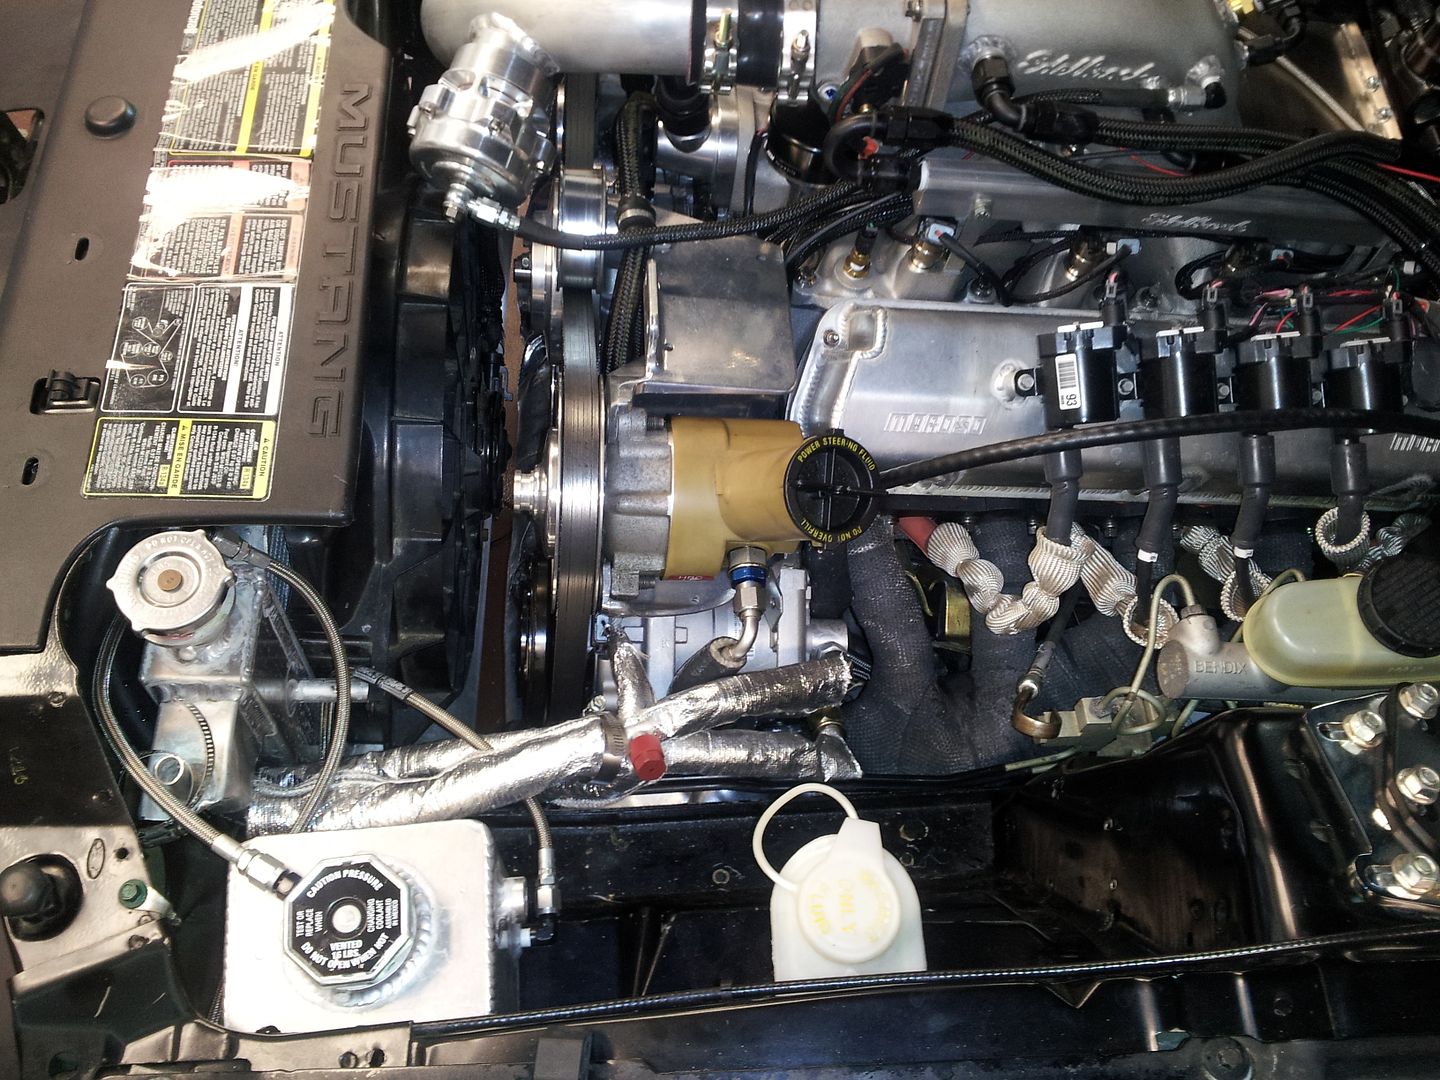
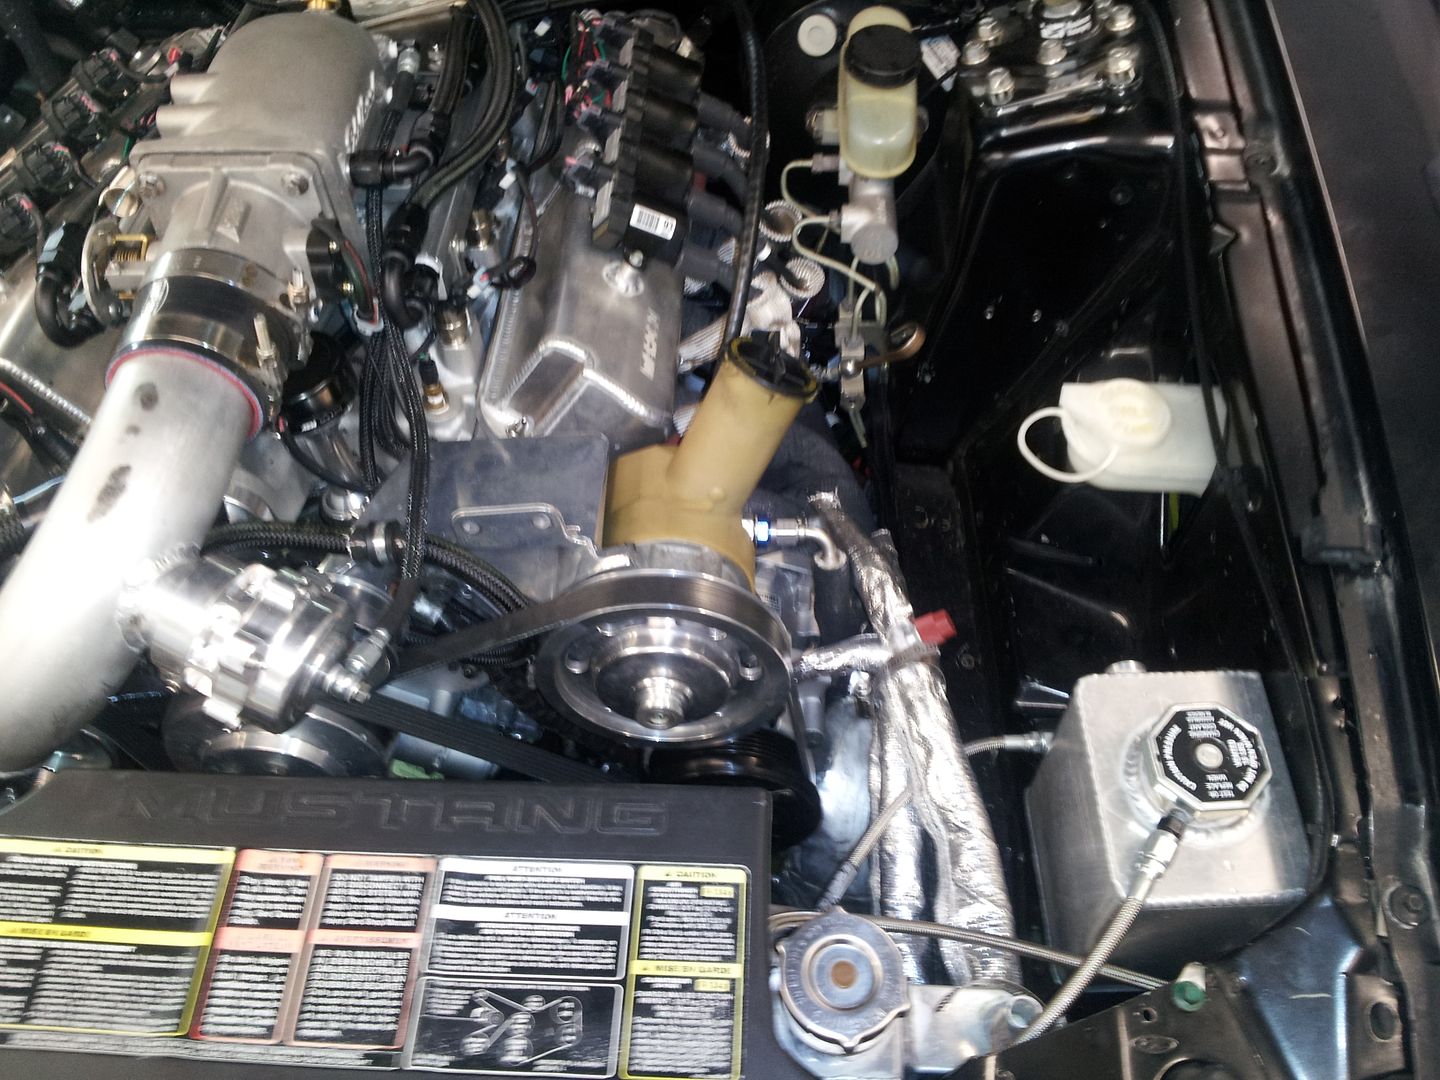
I also picked up a nifty little universal line block for the back of the compressor. Say good by to the old style line set and hello to routing the lines how ever I see fit. The block cost me $34.
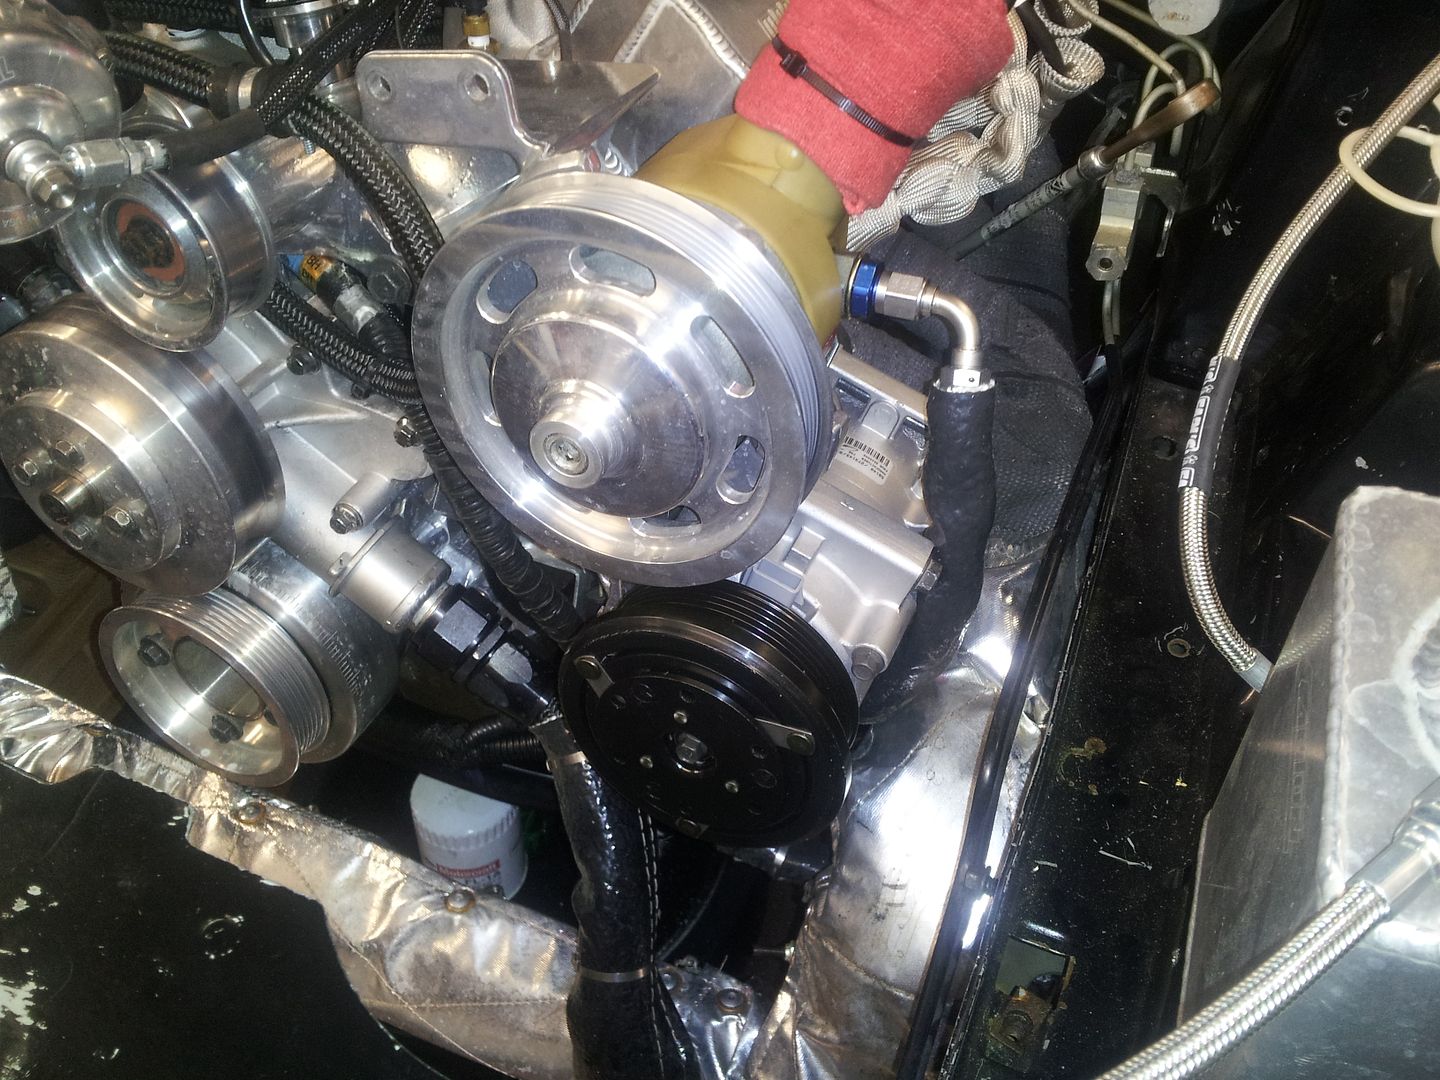
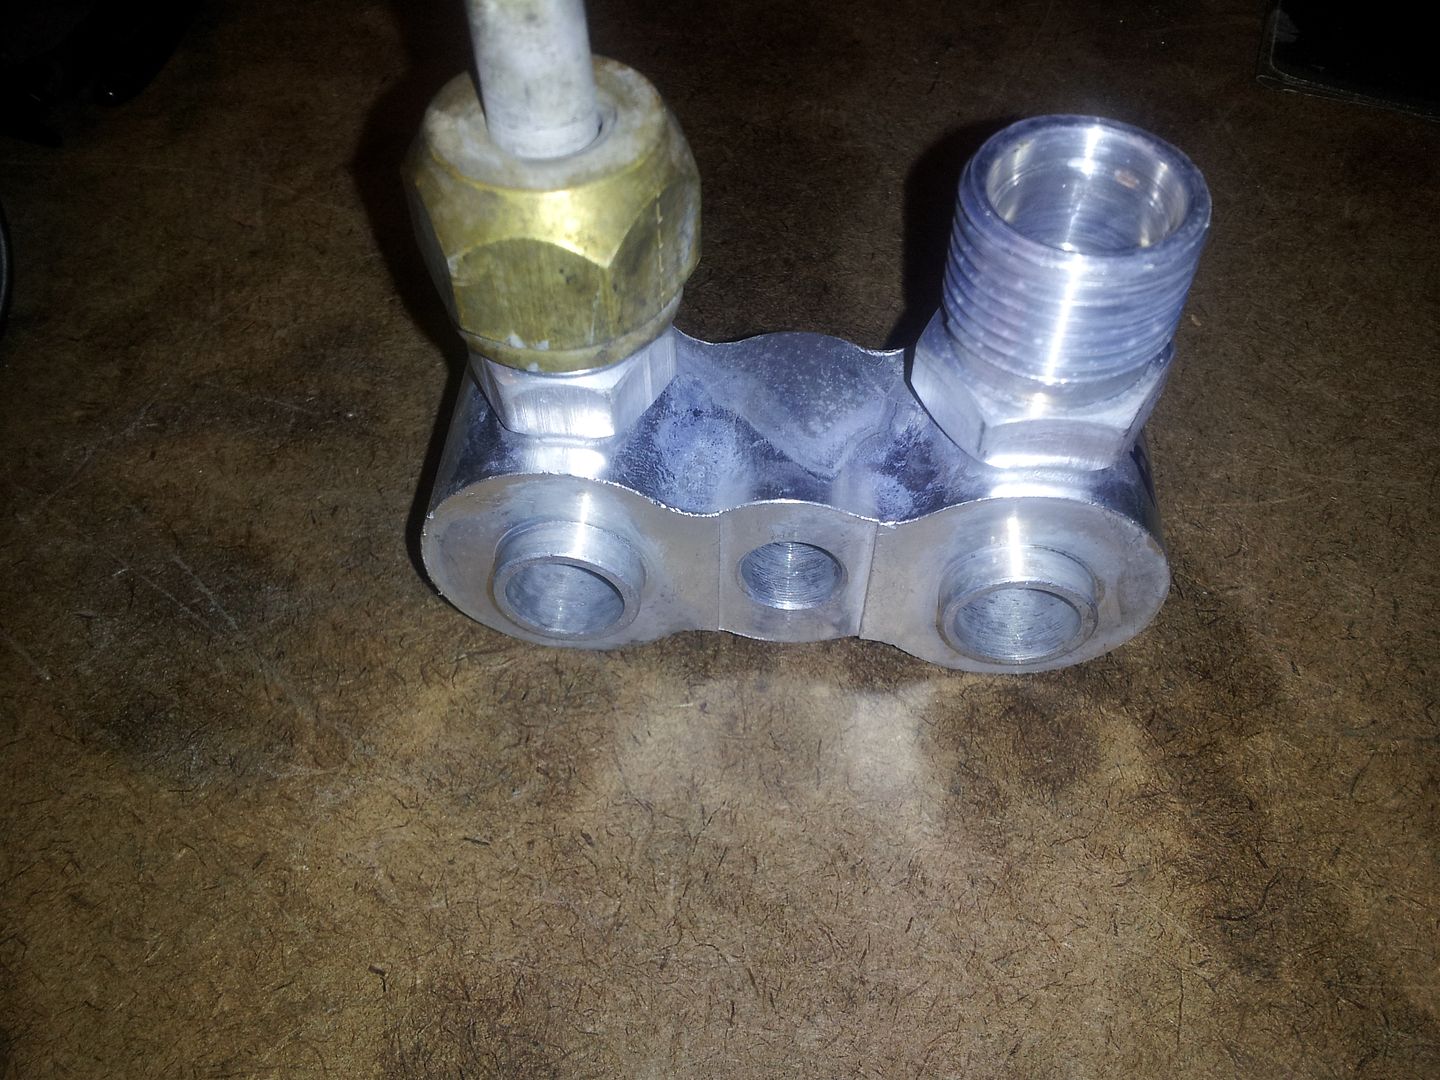
The line attached is just a spare piece I scavenged to use to match the threads. It will be replaced with a 45* hose end crimped
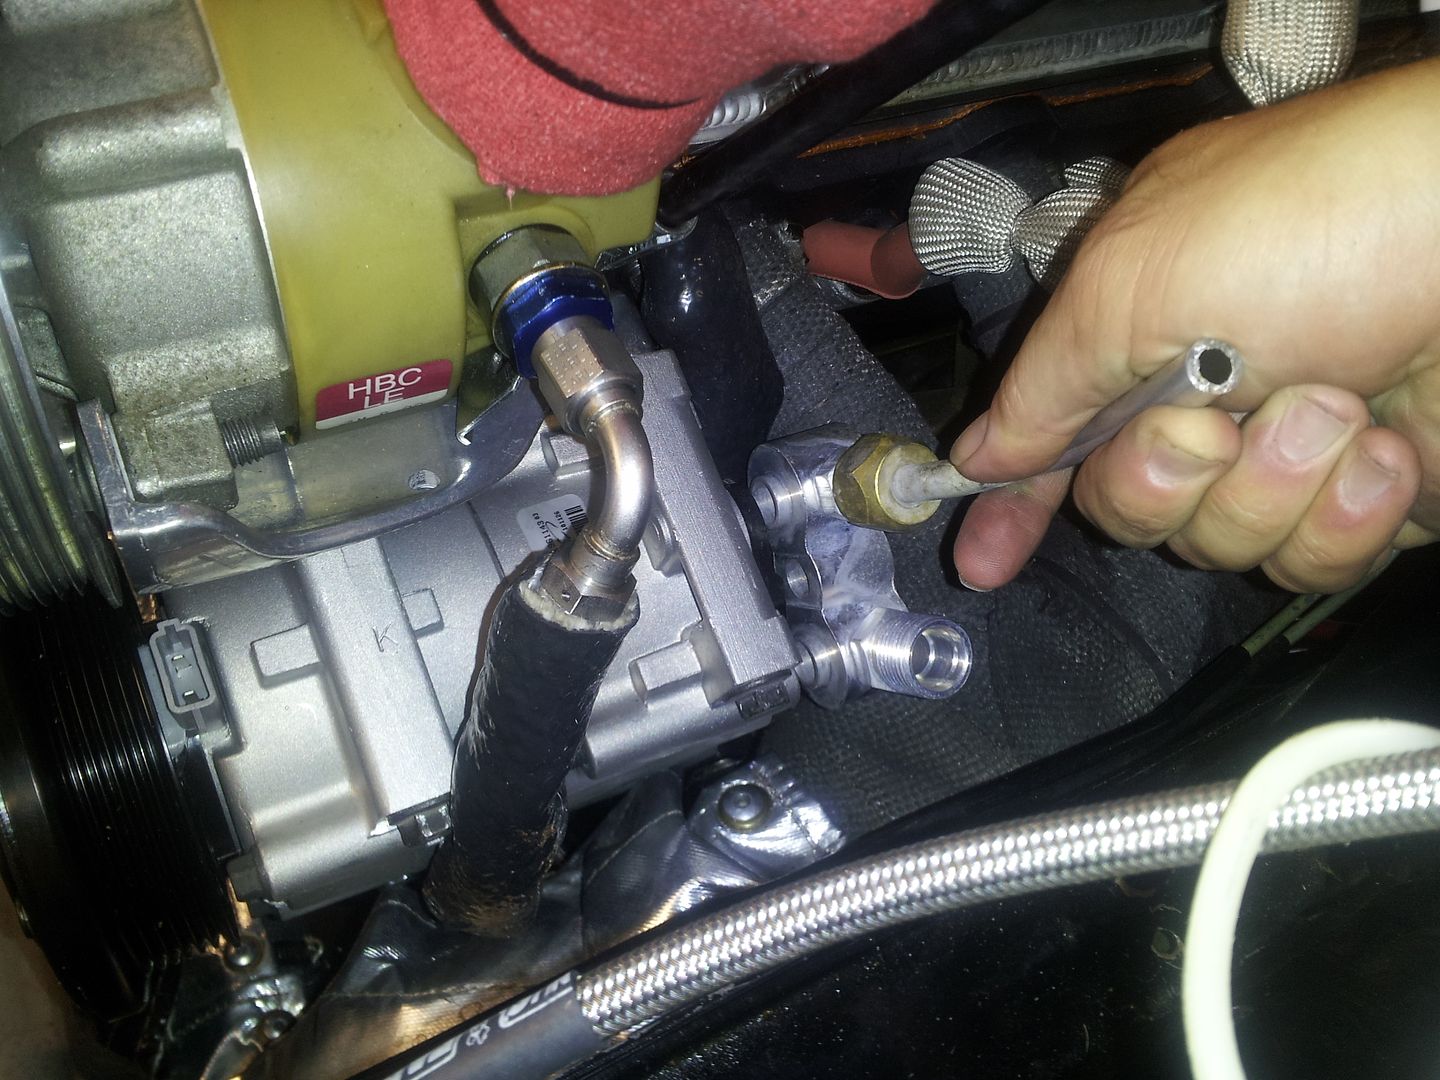
You are gonna have to imagine the block is down another inch but look at all that room it gives me now. The old line set puts the lines right against the header primary and that is after bending the lines to the point of breaking.
 Fuck you. We're going to Costco.
Comment
-
Fyi, just because it holds a vacuum doesn't mean it will hold pressure. It is a good starting basis for checking. Also, your compressor will need 5 ounces of oil before being installed and the accumulator needs 3 ounces on the inlet side. After your vacuum is done rotate the compressor outer face (compressor crankshaft) 20 revolutions to work the oil through it and push the excess out into the discharge line. This will keep it from trying to hydrostatic lock. The oil will circulate itself through the rest of the system assuming you have a complete refrigerant charge to carry it as I stated several posts ago.Originally posted by kbscobravert View PostAnyone have a vacuum pump I can borrow with R134 connections?
I should have the lines mocked up tomorrow and crimped on Thursday. I would like to pull a vacuum on it and see if it holds or if I have any leaks before buttoning the car back together.
Comment
-
Thanks for that. I should be able to get the oil from a regular parts house?Originally posted by shumpertdavid View PostFyi, just because it holds a vacuum doesn't mean it will hold pressure. It is a good starting basis for checking. Also, your compressor will need 5 ounces of oil before being installed and the accumulator needs 3 ounces on the inlet side. After your vacuum is done rotate the compressor outer face (compressor crankshaft) 20 revolutions to work the oil through it and push the excess out into the discharge line. This will keep it from trying to hydrostatic lock. The oil will circulate itself through the rest of the system assuming you have a complete refrigerant charge to carry it as I stated several posts ago.
I guess I need to pull the compressor and add the oil now then.
Sent from my SAMSUNG-SGH-I727 using Tapatalk 2Fuck you. We're going to Costco.
Comment
-
Update:
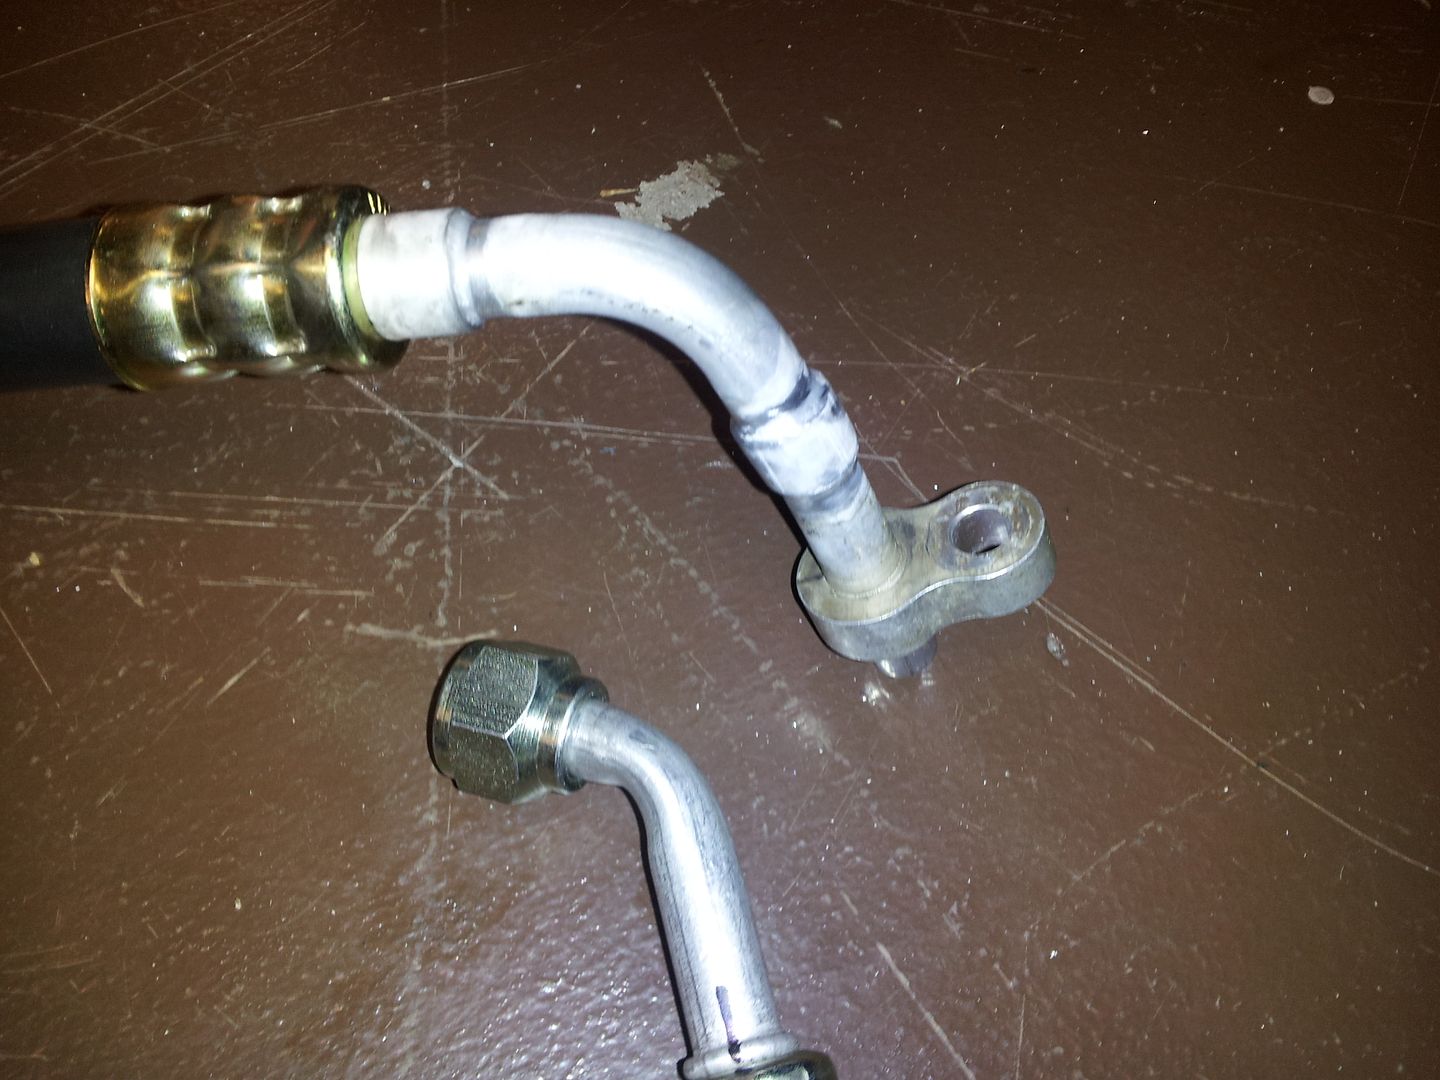
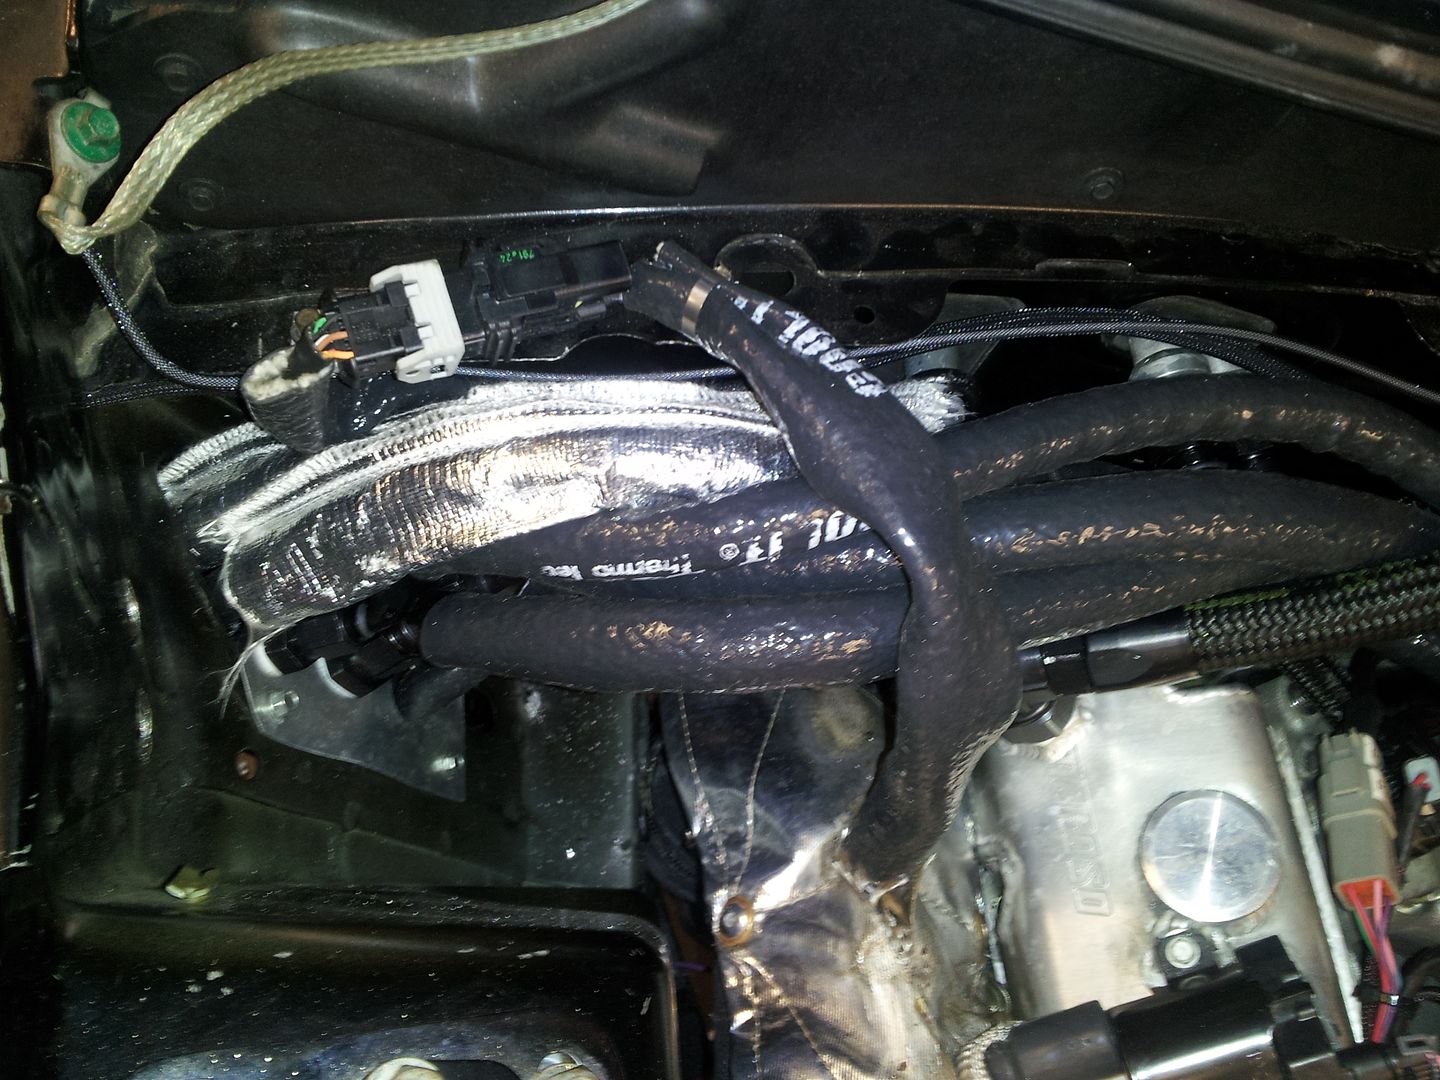
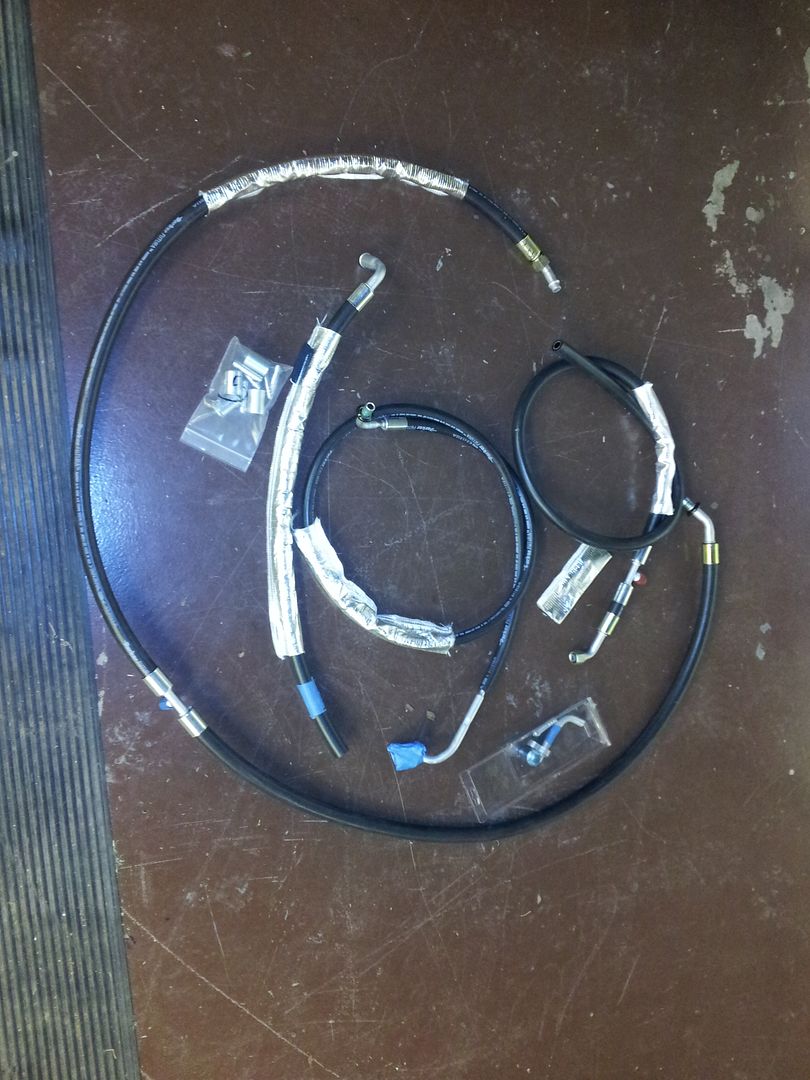
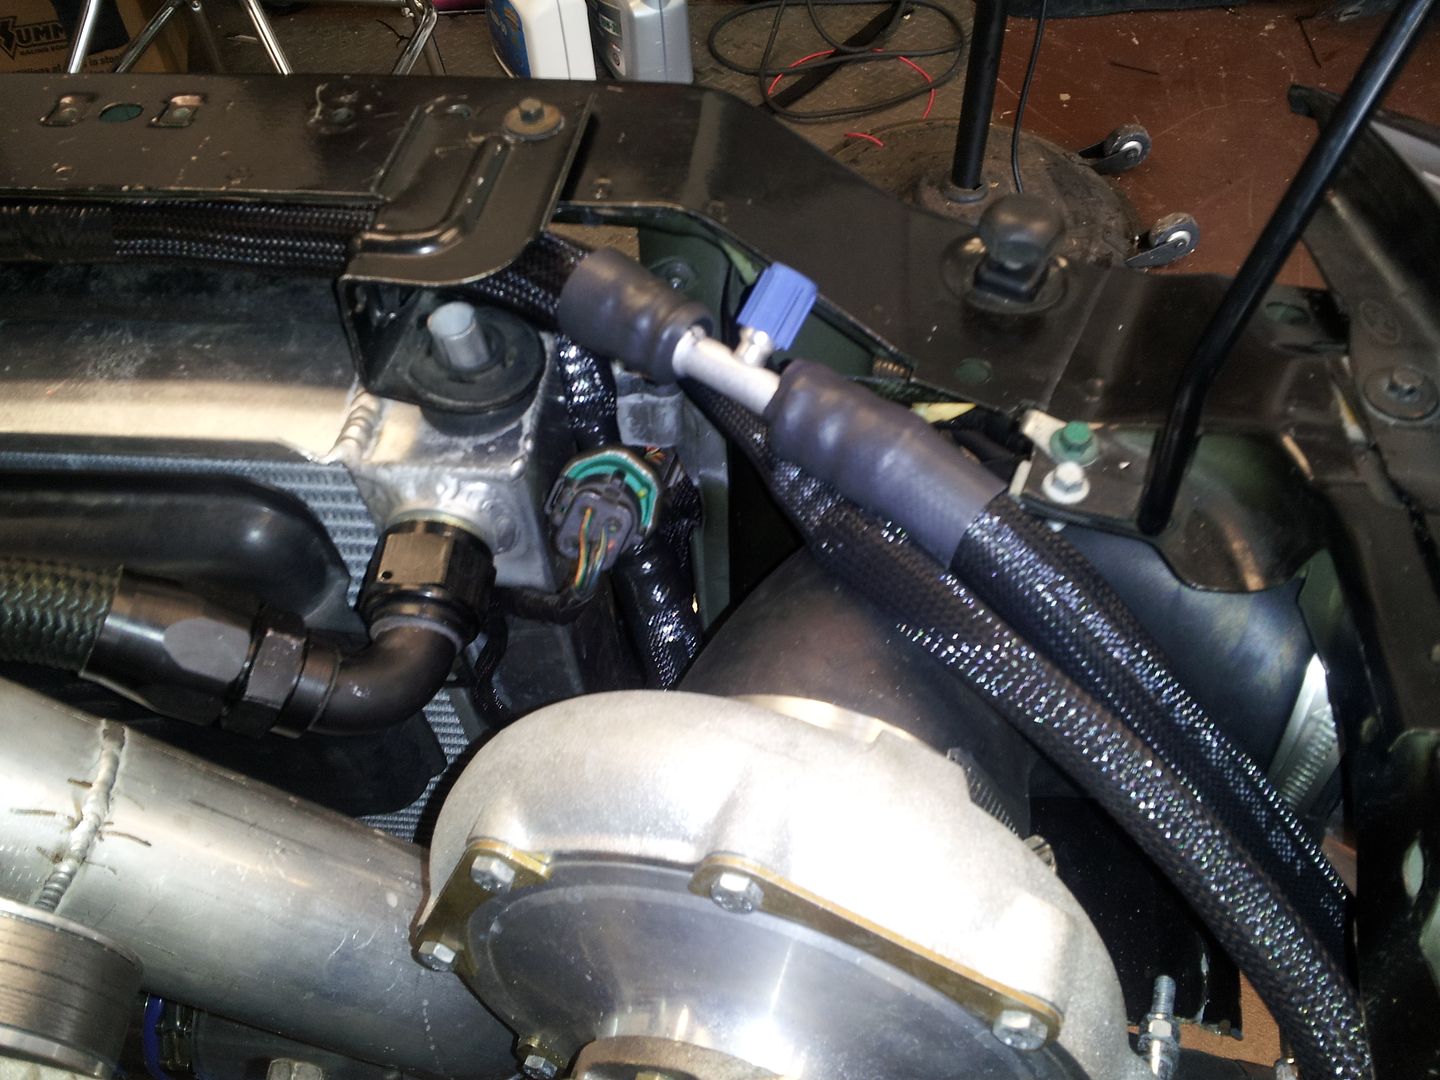
Hoses came back from Kim's in Fort Worth and his brazing aluminum tubes to the unique ends the condenser required look factory and perfect. Since I marked the "clock" of the fittings/hose they installed in a matter of minutes.
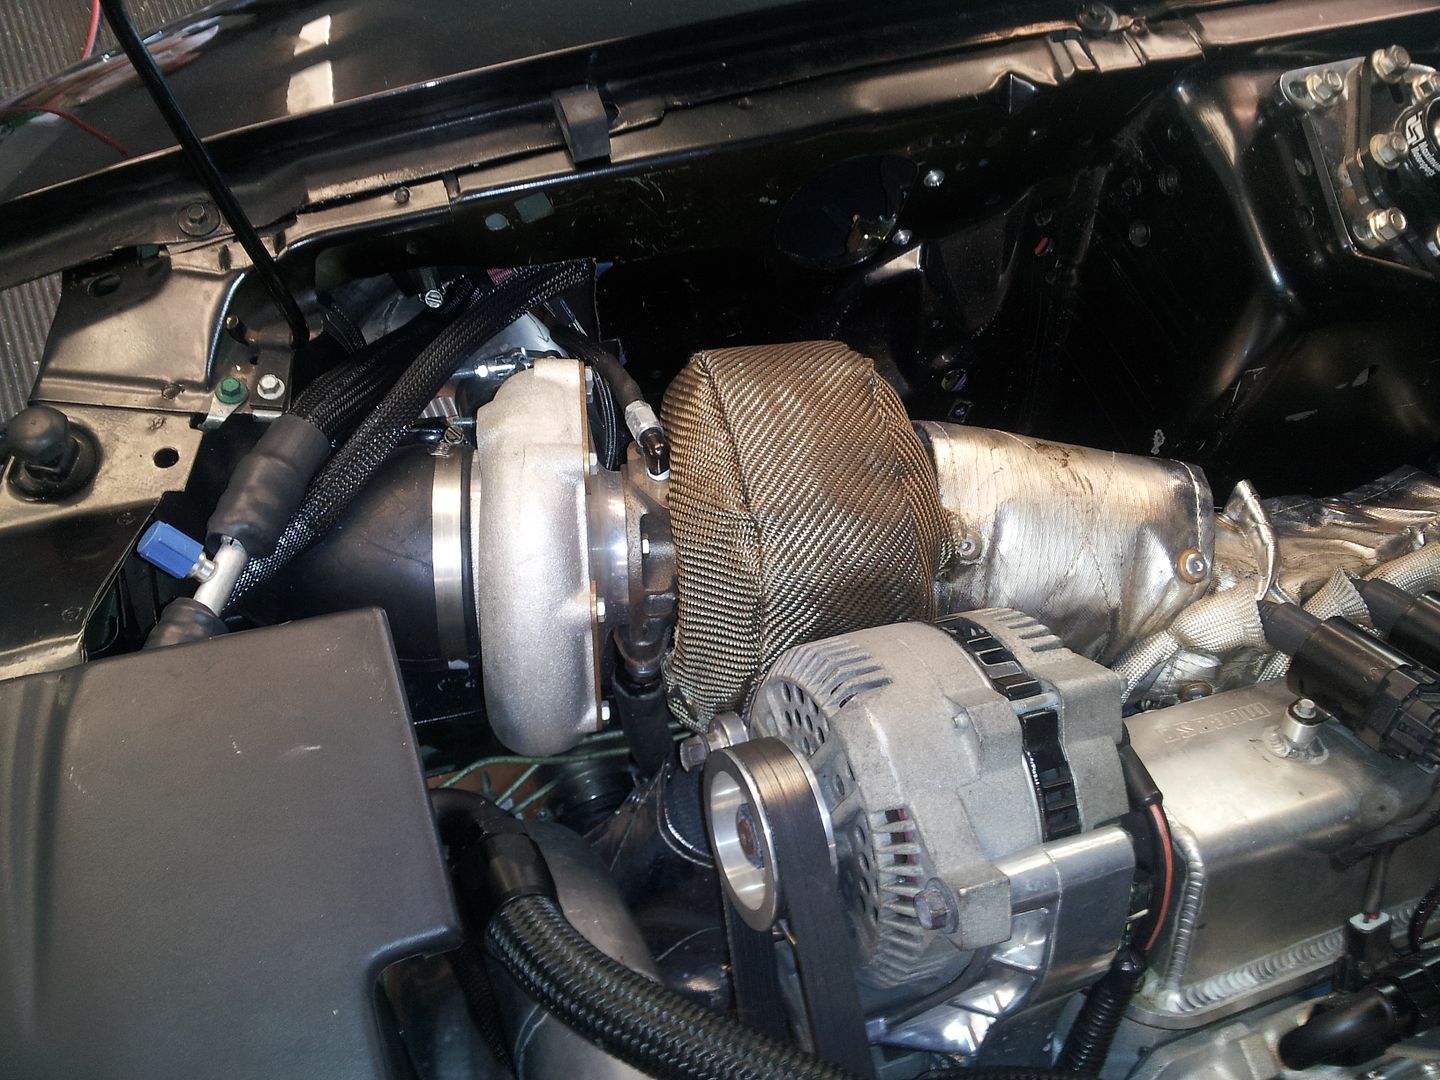
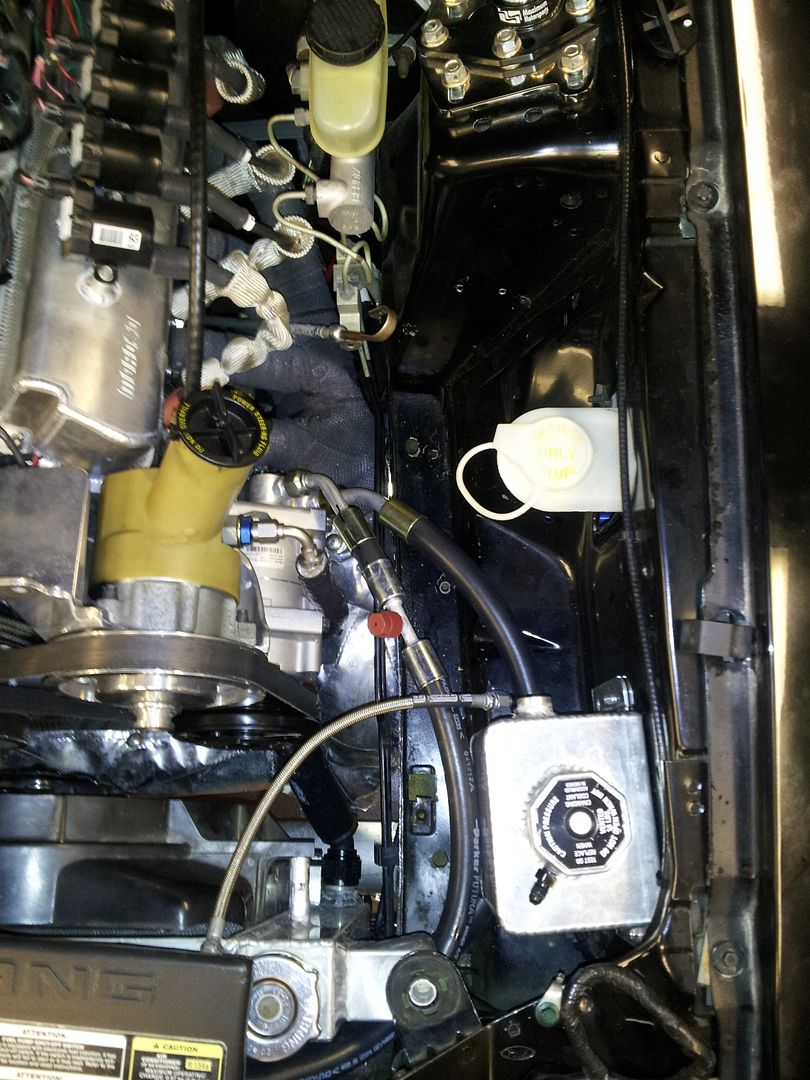
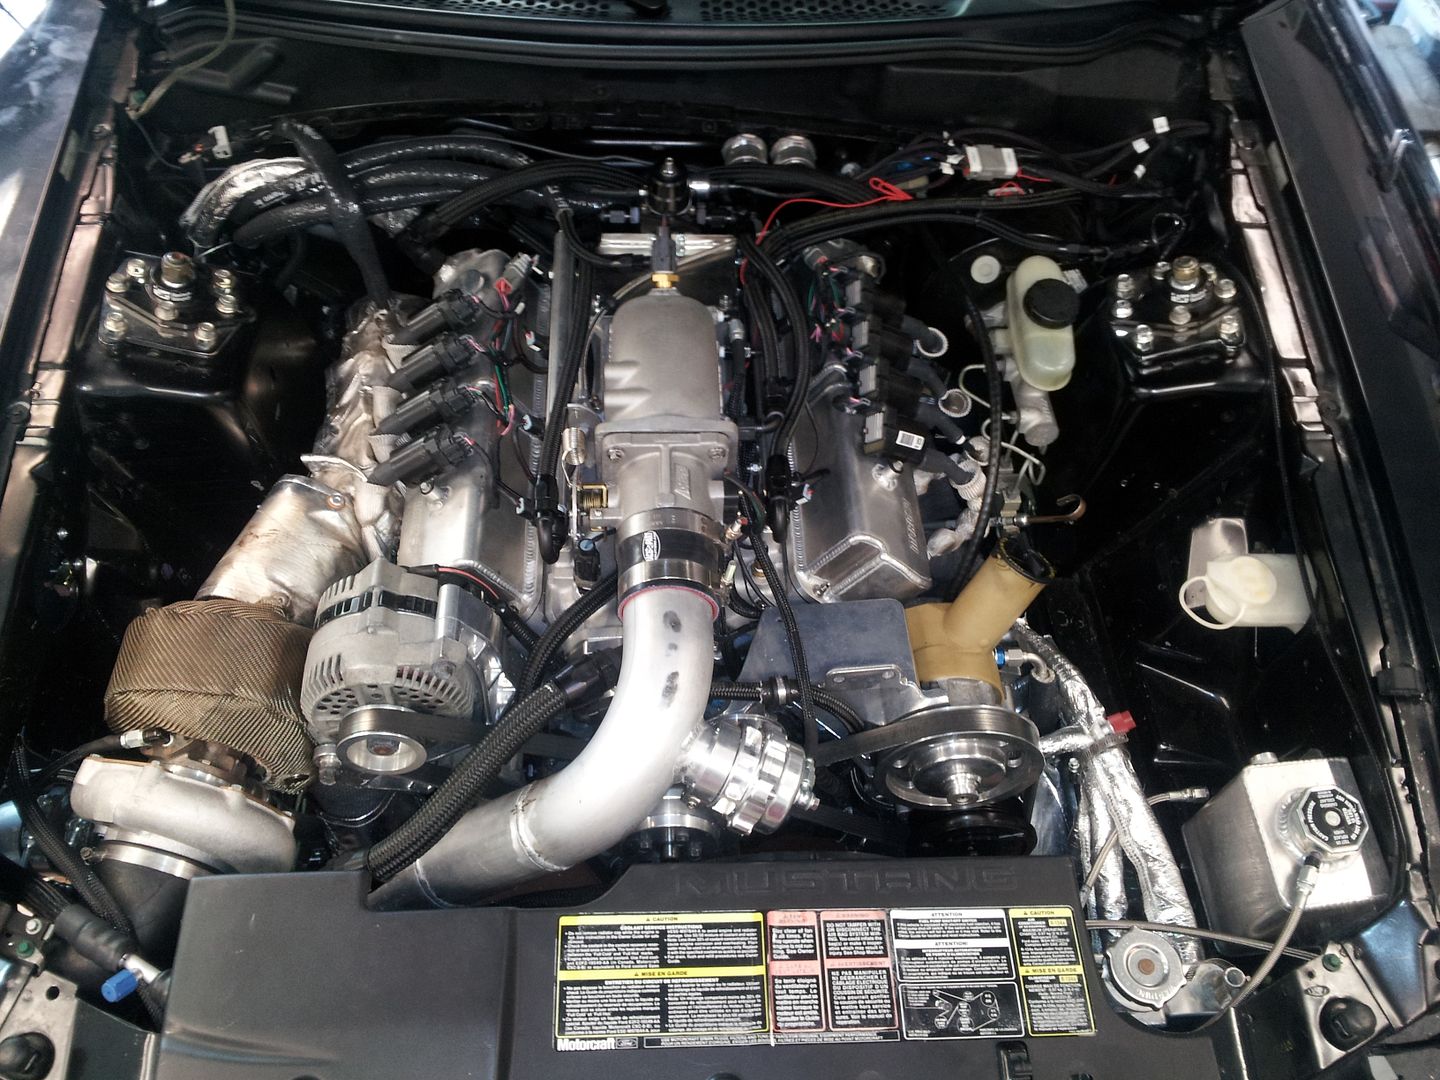
I used a unused hose end to the compressor with a section of hose on it to fill the compressor. Compressor got about 5oz and the accumulator got a little over 3oz. I cranked it at least 20 times. All the fittings are tight and the lines are protected from abrasion and secured.
Take a look at how good the welded ends for the condenser came out. It took a little thought but I am confident I could have used any style of condenser/accumulator/etc and made it all work just the same.
Welded end
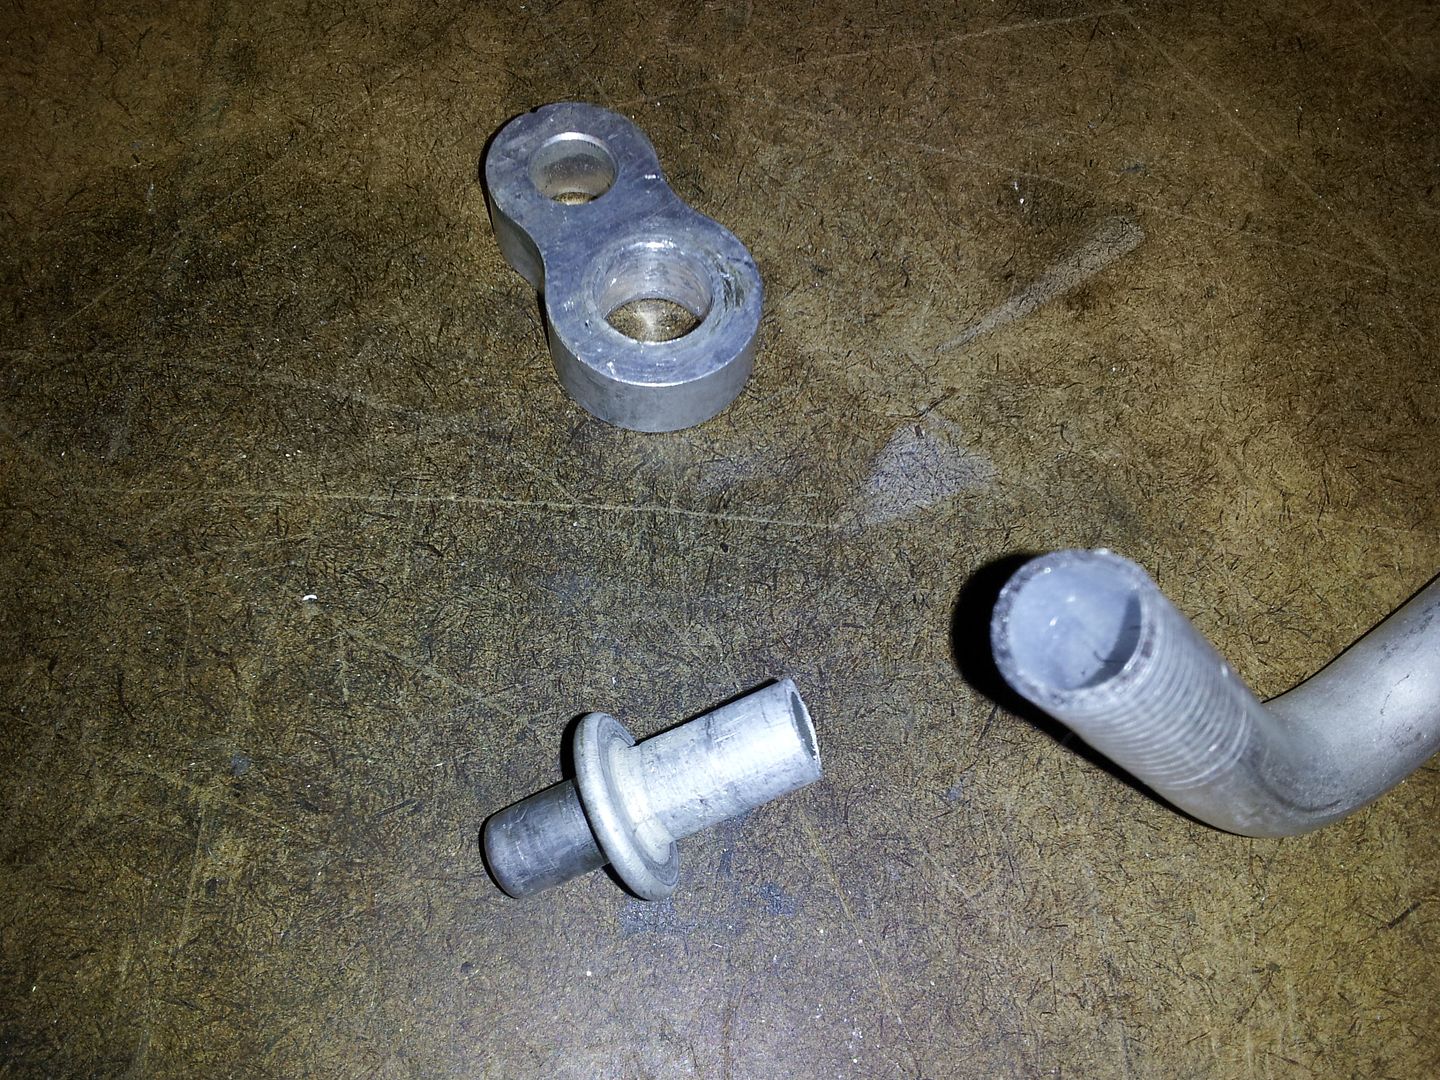
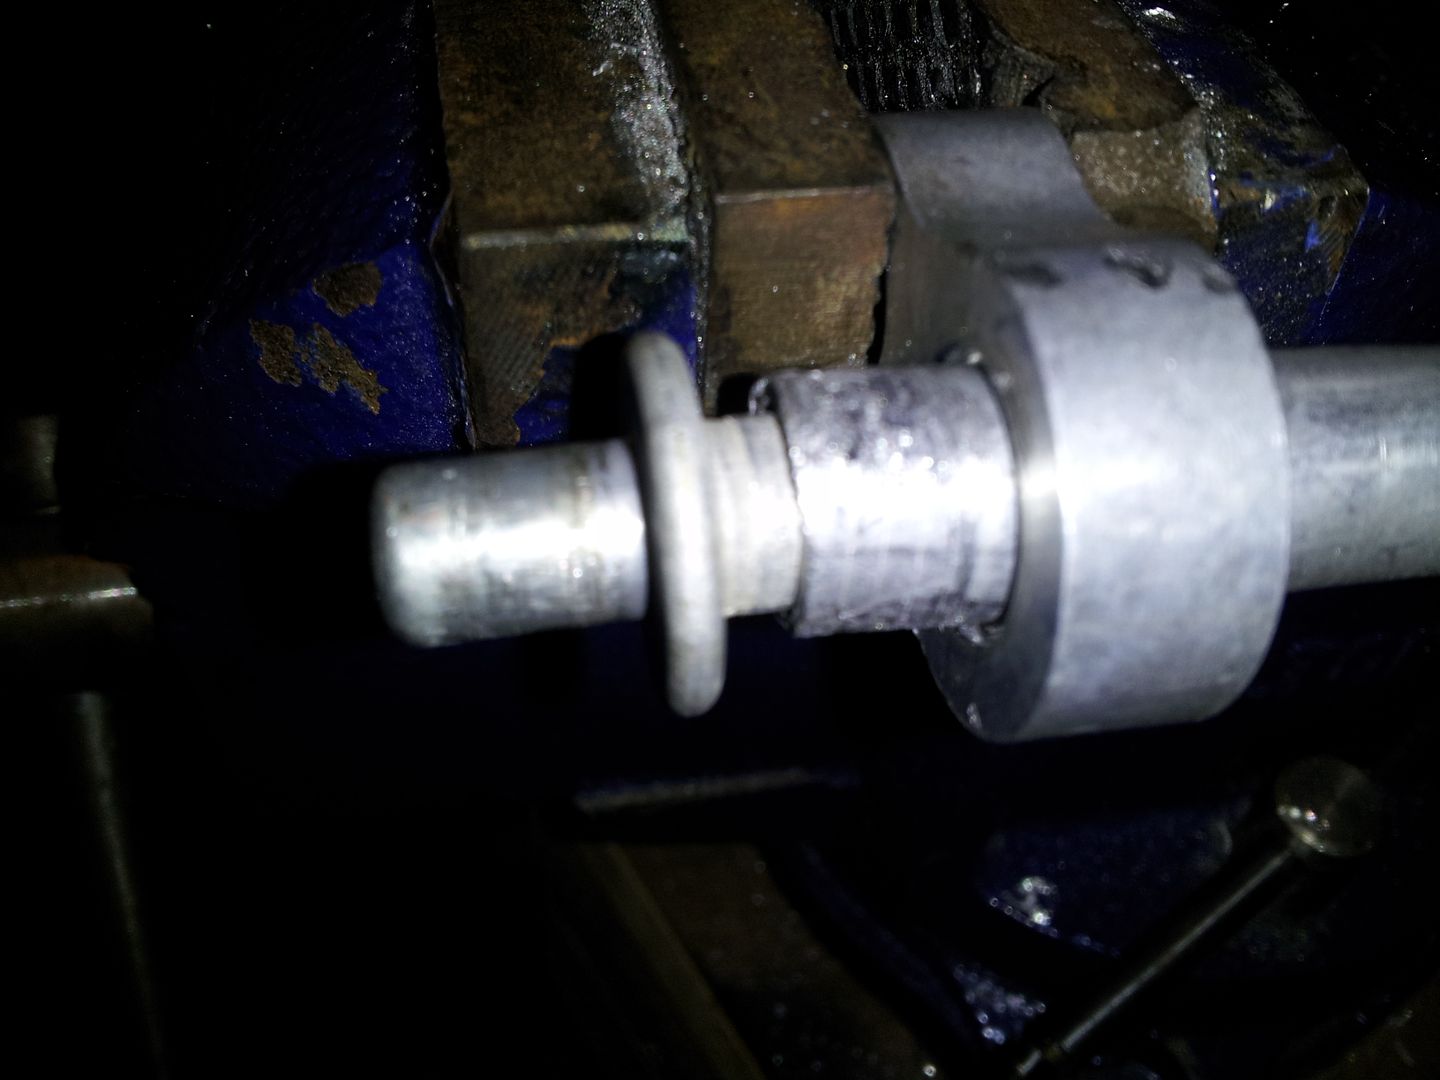
after
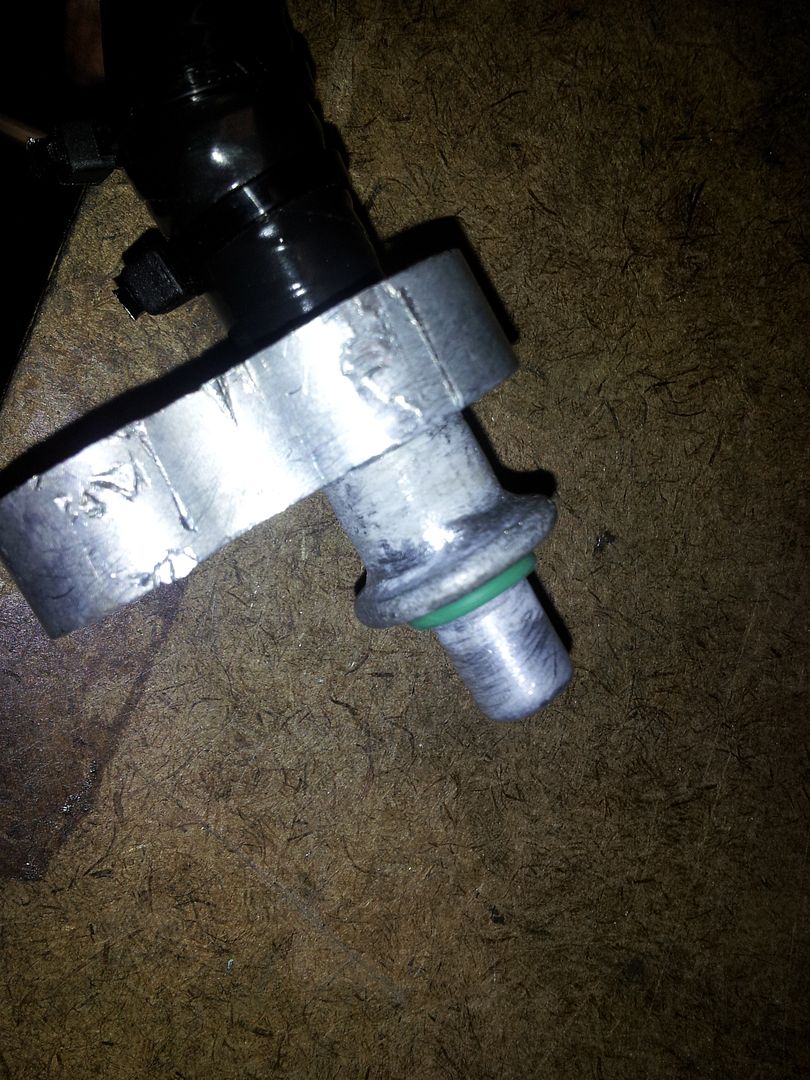
Welded end from 3 pieces
before
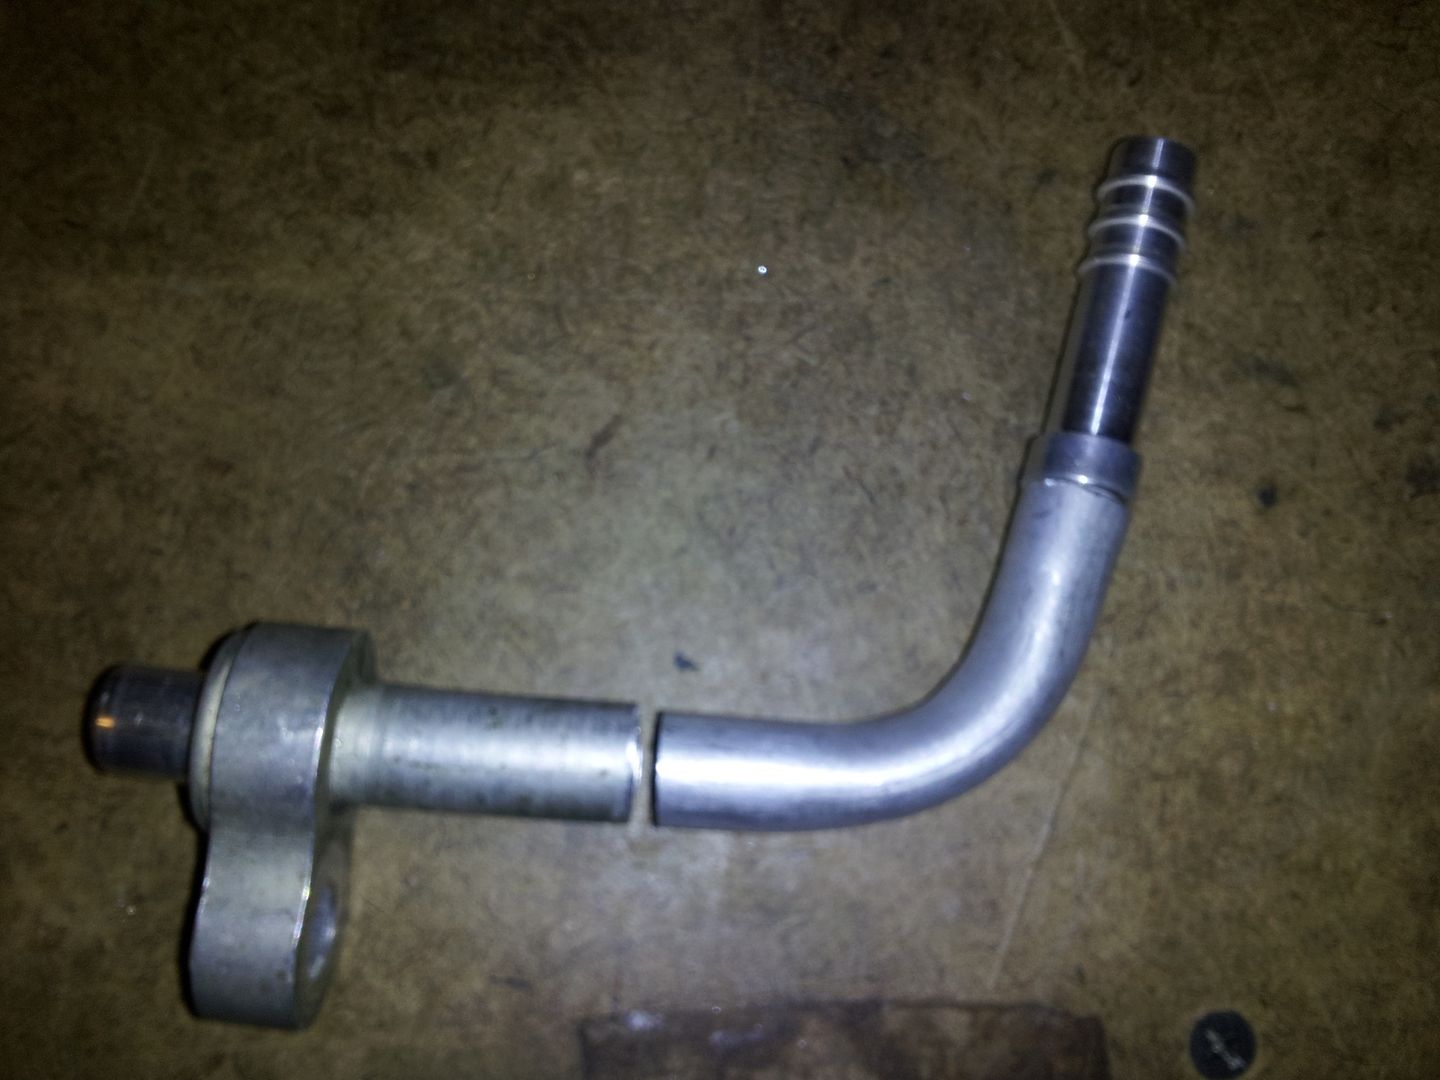
after
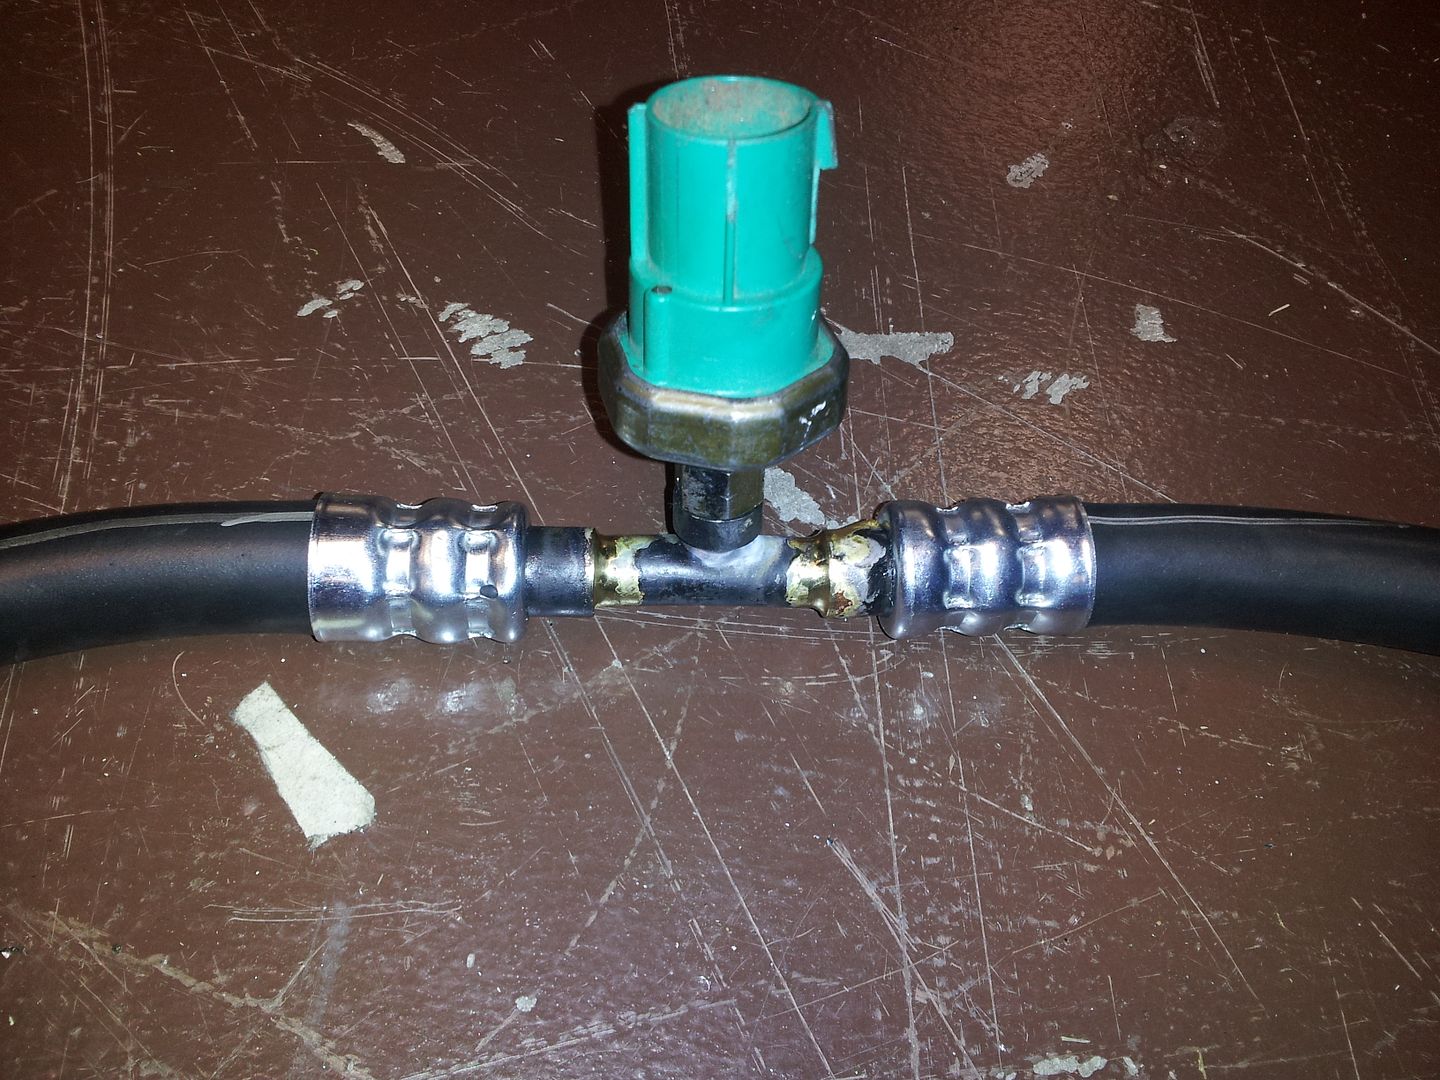
Pressure switch spliced in
Line
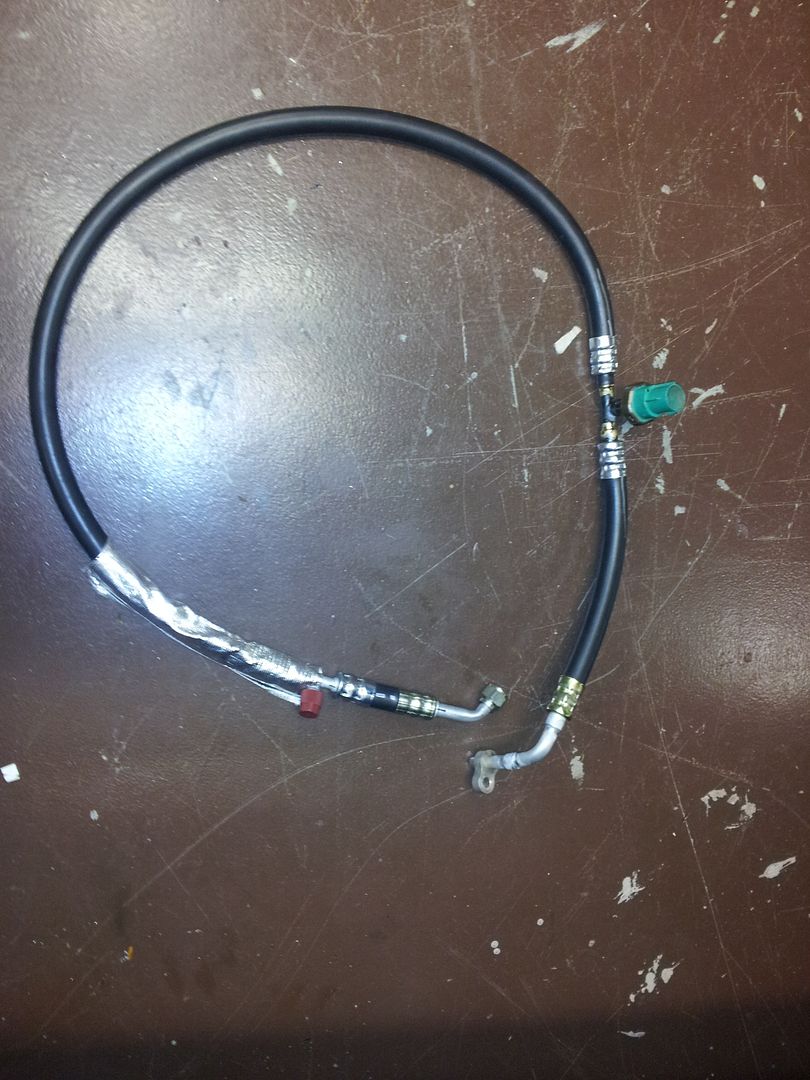
What you see
To the evaporator
 Fuck you. We're going to Costco.
Comment
-
Nice work, congratulations on a well thought out system. It's really a big help when you find someone that can put all your pieces together and make them work (the hose end parts). I'm blessed to have several friends with various knowledges in fields outside of my own. We all work together to keep each others problems taken care of. I hope the system works good for you. It sounds and looks like you've got all the basics and essentials covered.
Comment
-
Thanks. I followed your sugestions throughout. Getting oil into the compressor AFTER it was in the car was a little challenging but a short piece of hose and an extra hose end that matched the suction side helped.Originally posted by shumpertdavid View PostNice work, congratulations on a well thought out system. It's really a big help when you find someone that can put all your pieces together and make them work (the hose end parts). I'm blessed to have several friends with various knowledges in fields outside of my own. We all work together to keep each others problems taken care of. I hope the system works good for you. It sounds and looks like you've got all the basics and essentials covered.
I am thinking I may have to charge this thing myself. How should I go about it?
I know I need a manifold gauge set, vacuum pump and R134 of course.
would this be worth trying myself?
How do you pull a vacuum on the system and NOT suck out the 8oz of oil I already put in?Fuck you. We're going to Costco.
Comment


Comment