That is looking sick I really like it
Announcement
Collapse
No announcement yet.
What I have been working on
Collapse
X
-
The plan is to box it in, yes. Air in from the front bottom opening.Originally posted by Hobie View PostGoing to box it all in? Air in through the front and out through the hood?
You're making the whole car "your own" already. Minuswhale cut up the fender aprons and core-support to make your own tubular set-up.
I think I can cut and tack up a new lower core support and mounts for everything. But I am going to have to leave the welding to a pro. What I really need is a junk beat up Cobra bumper cover to use for mock up. I am tired of taking the factory one on and off and putting it up in the attic when done.Fuck you. We're going to Costco.
Comment
-
Looks nice as usual Keith.
Sorry you don't have much personal time this trip. We should do lunch if you can before heading back. I need to get by there and see how much your little one has grown.sigpic18 F150 Supercrew - daily
17 F150 Supercrew - totaled Dec 12, 2018
13 DIB Premium GT, M6, Track Pack, Glass Roof, Nav, Recaros - Sold
86 SVO - Sold
'03 F150 Supercrew - Sold
01 TJ - new toy - Sold
65 F100 (460 + C6) - Sold
Comment
-
Sure, come on by. I will be under here:Originally posted by Chas_svo View PostLooks nice as usual Keith.
Sorry you don't have much personal time this trip. We should do lunch if you can before heading back. I need to get by there and see how much your little one has grown.
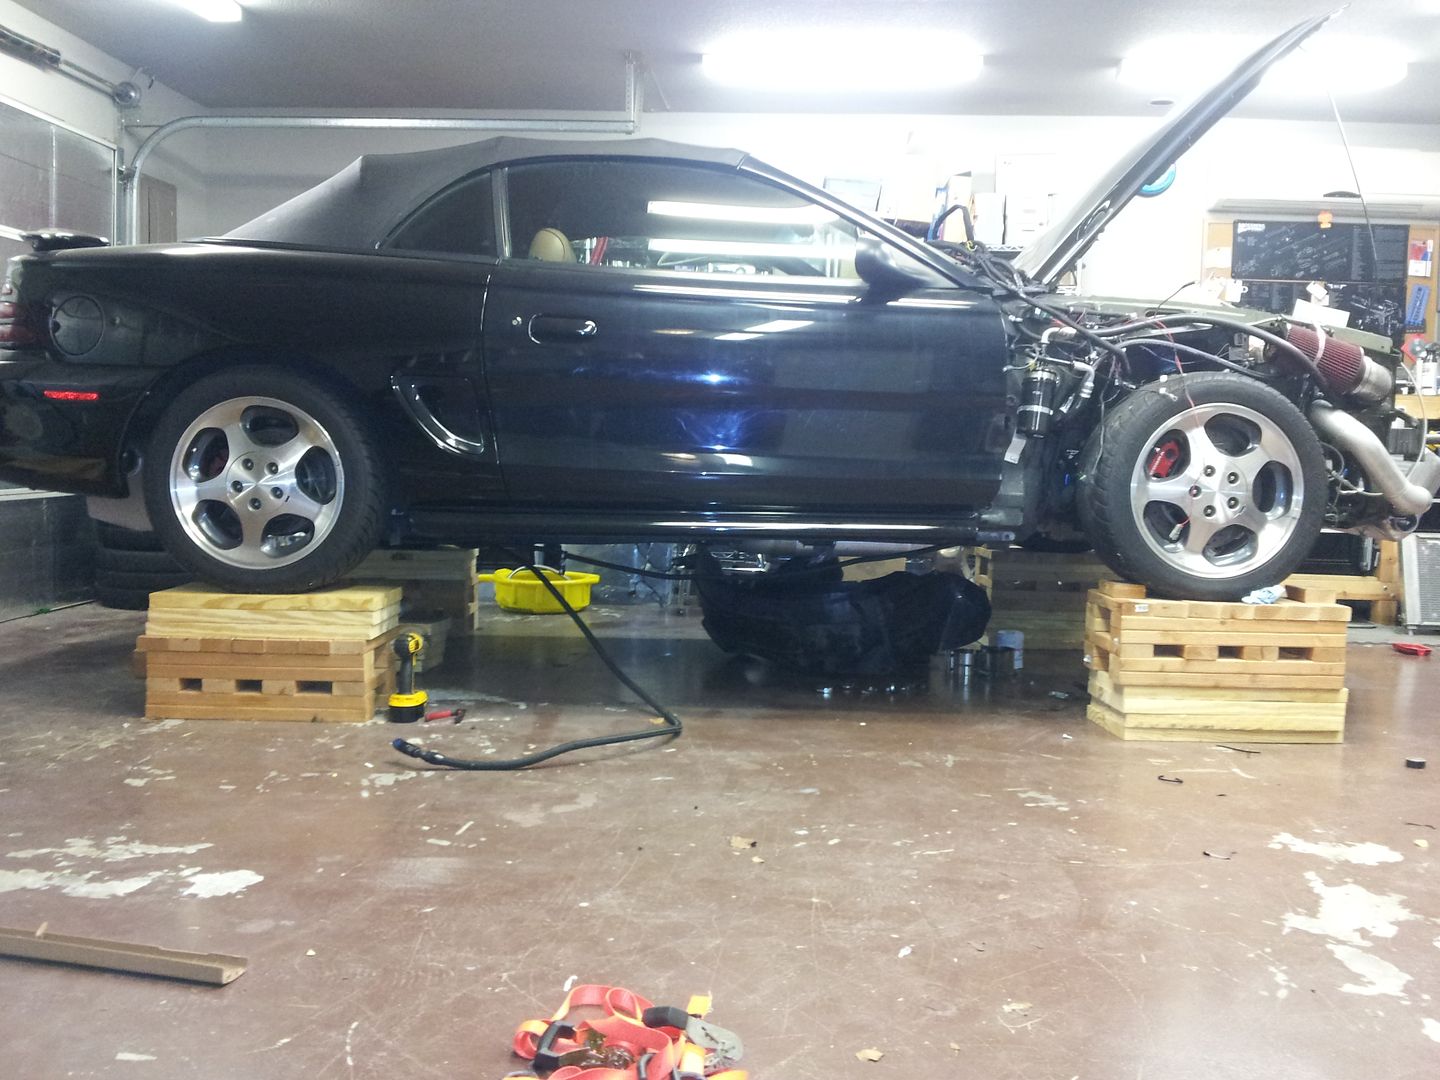
who needs a lift when you have wood. Still need to come up one 2"x12" in the rear on each side to level it out.Fuck you. We're going to Costco.
Comment
-
I have been able to spend a few hours in the garage.
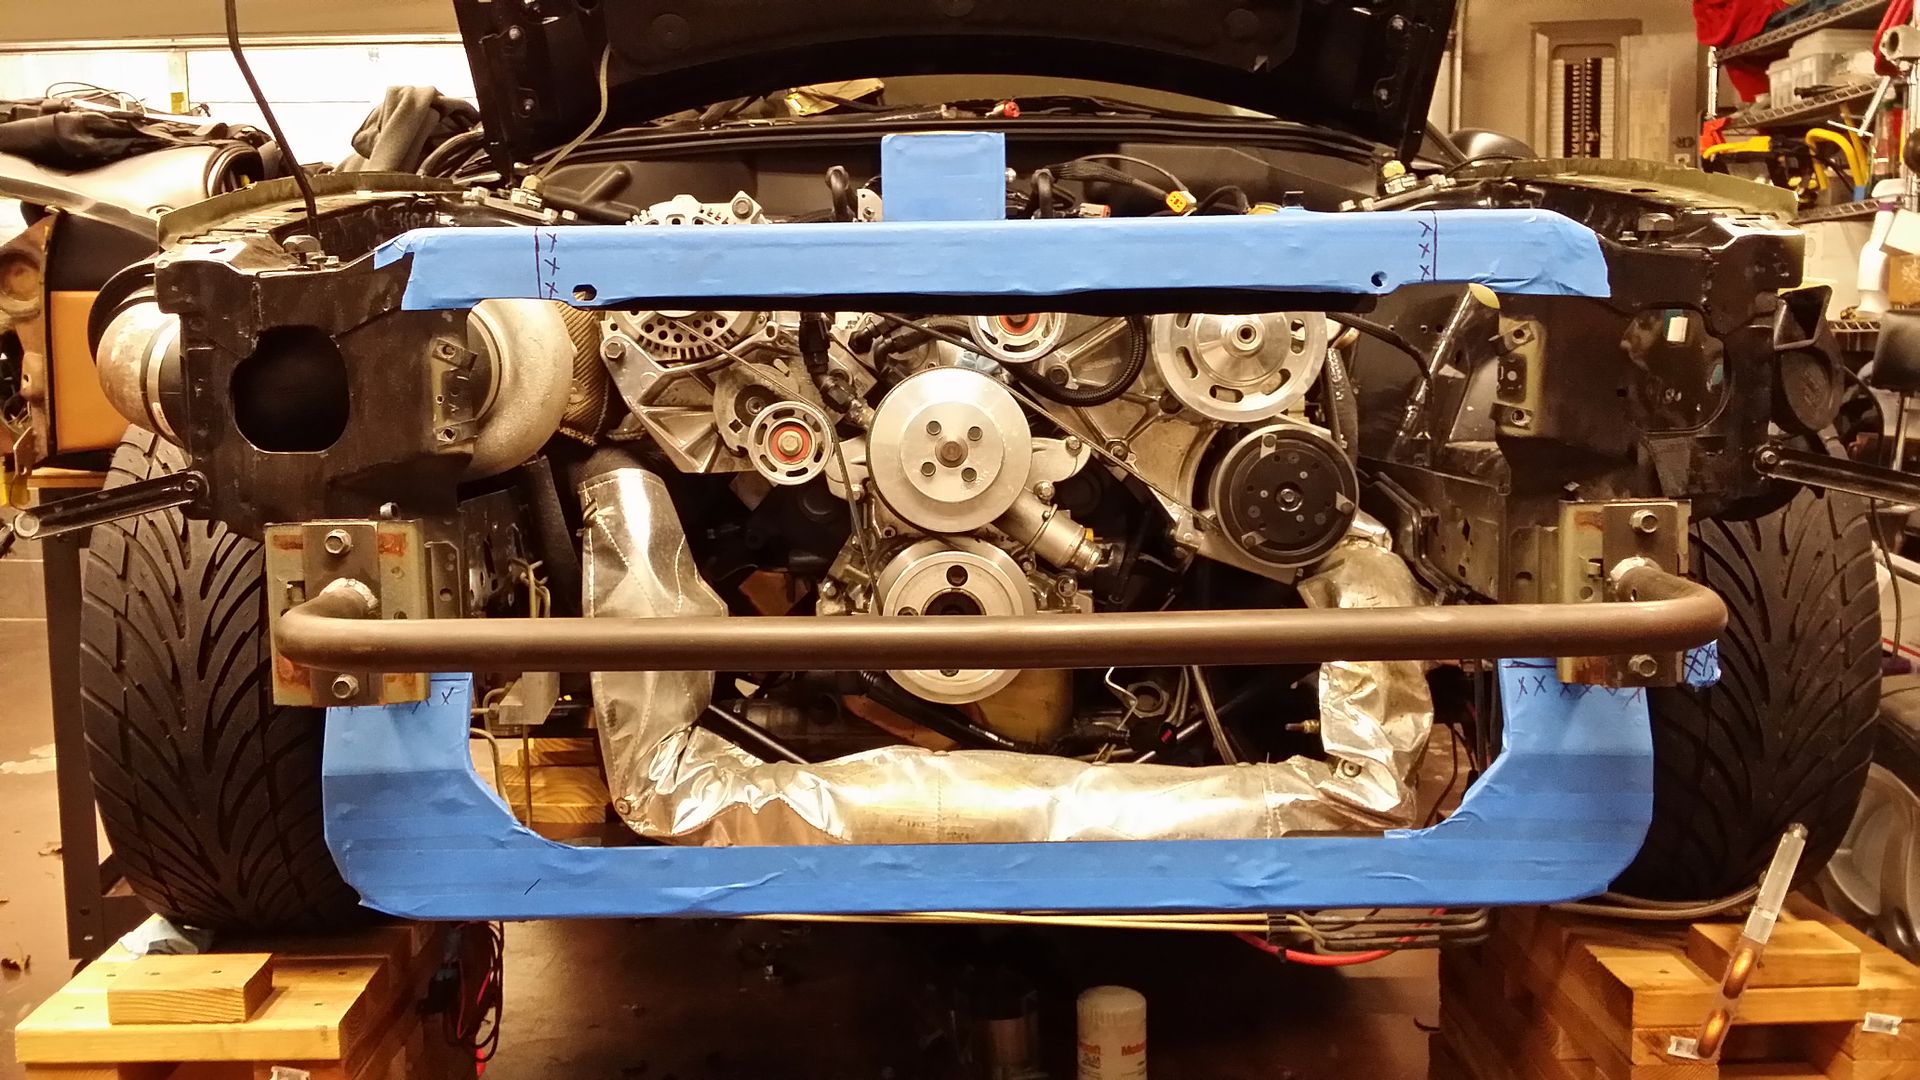
Here is an idea on what is gonna be going on in there.
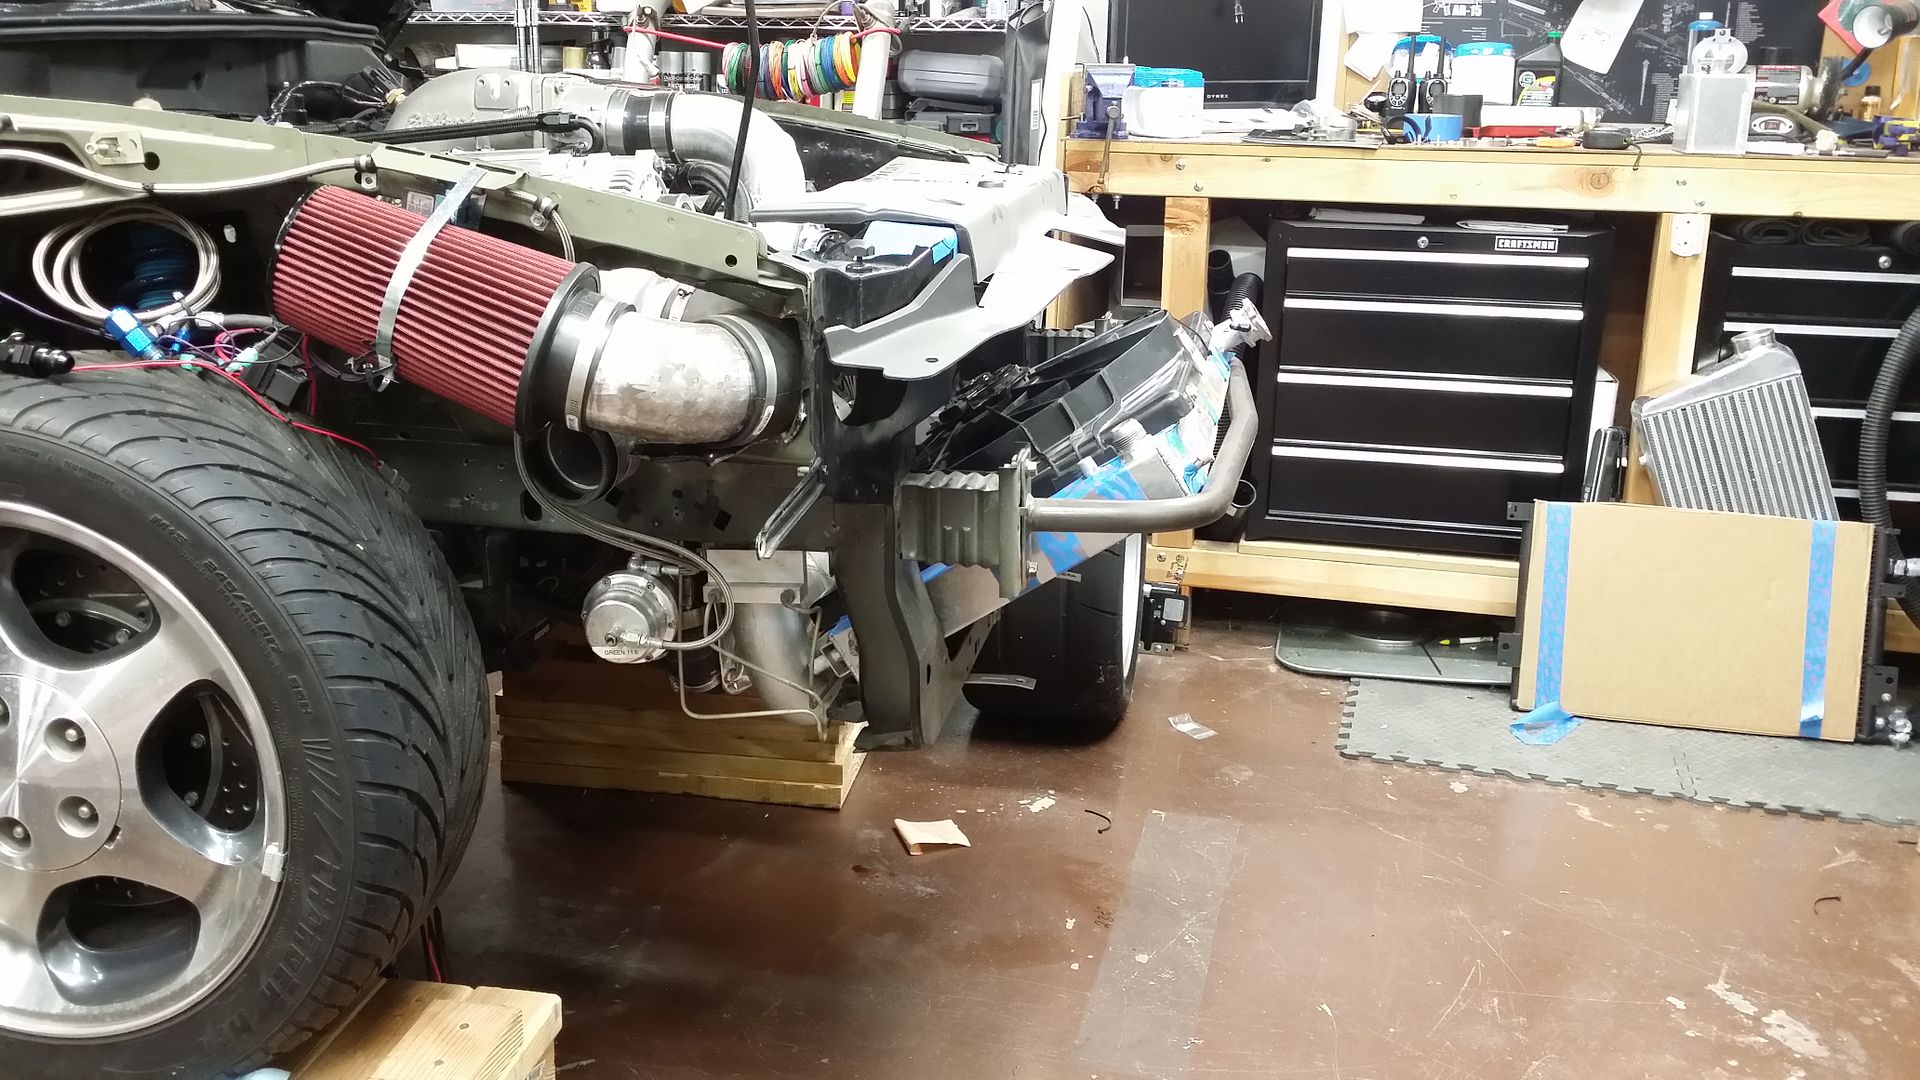
I needed to find out just how much room is behind the bumper cover with the bumper removed and using my tubular stuff. I really wanted to cut the old core support stuff out but the only time I get to work on it is when the baby sleeps and therein lies the problem....the cutting is too loud.
Took a stiff wire and made a template.
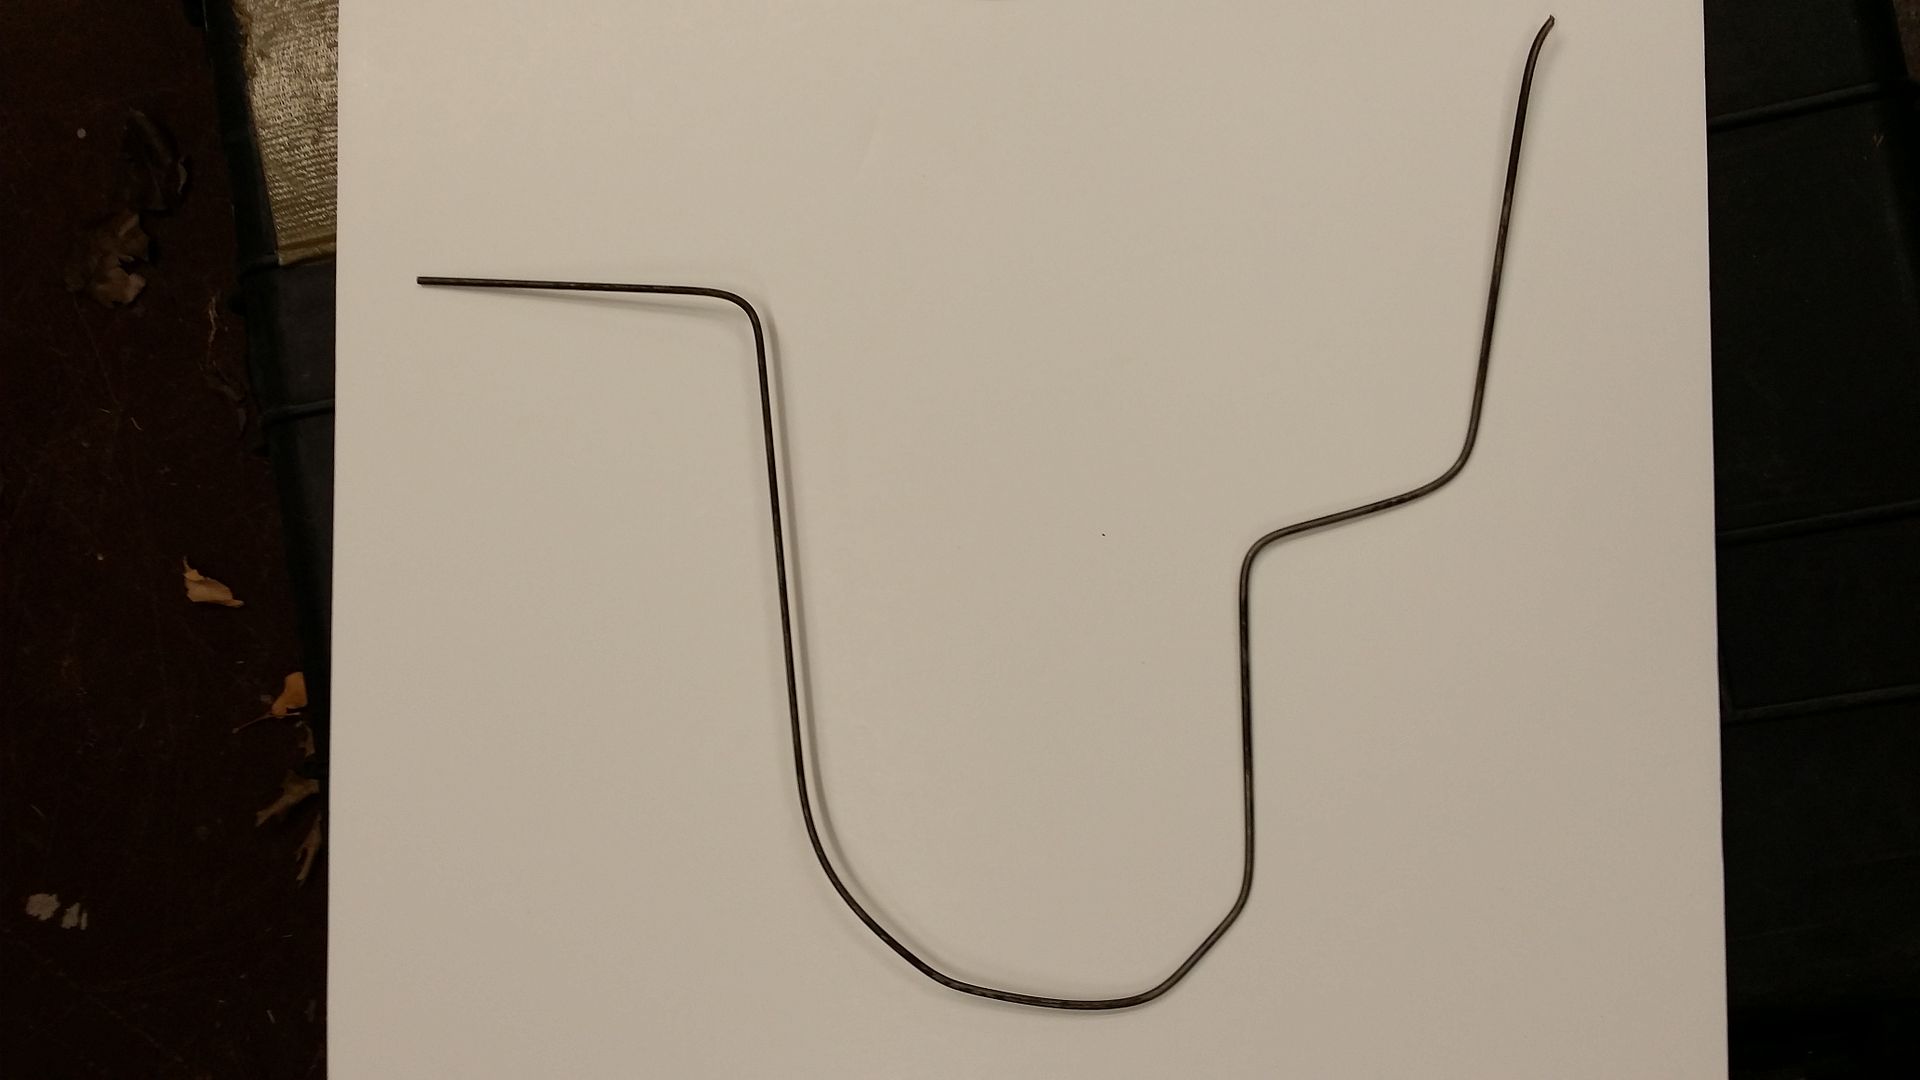
Transferred it to a foam board.
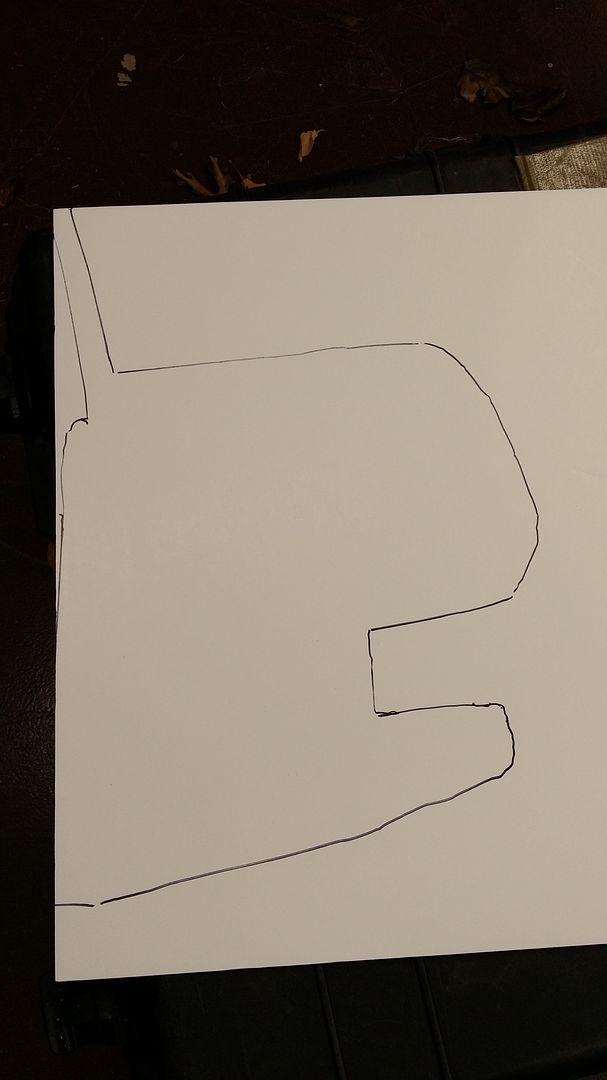
Cut it out and tested the fit. I had to continue to adjust to get a tight fit....these will be used again to box in the radiator and all the core support.
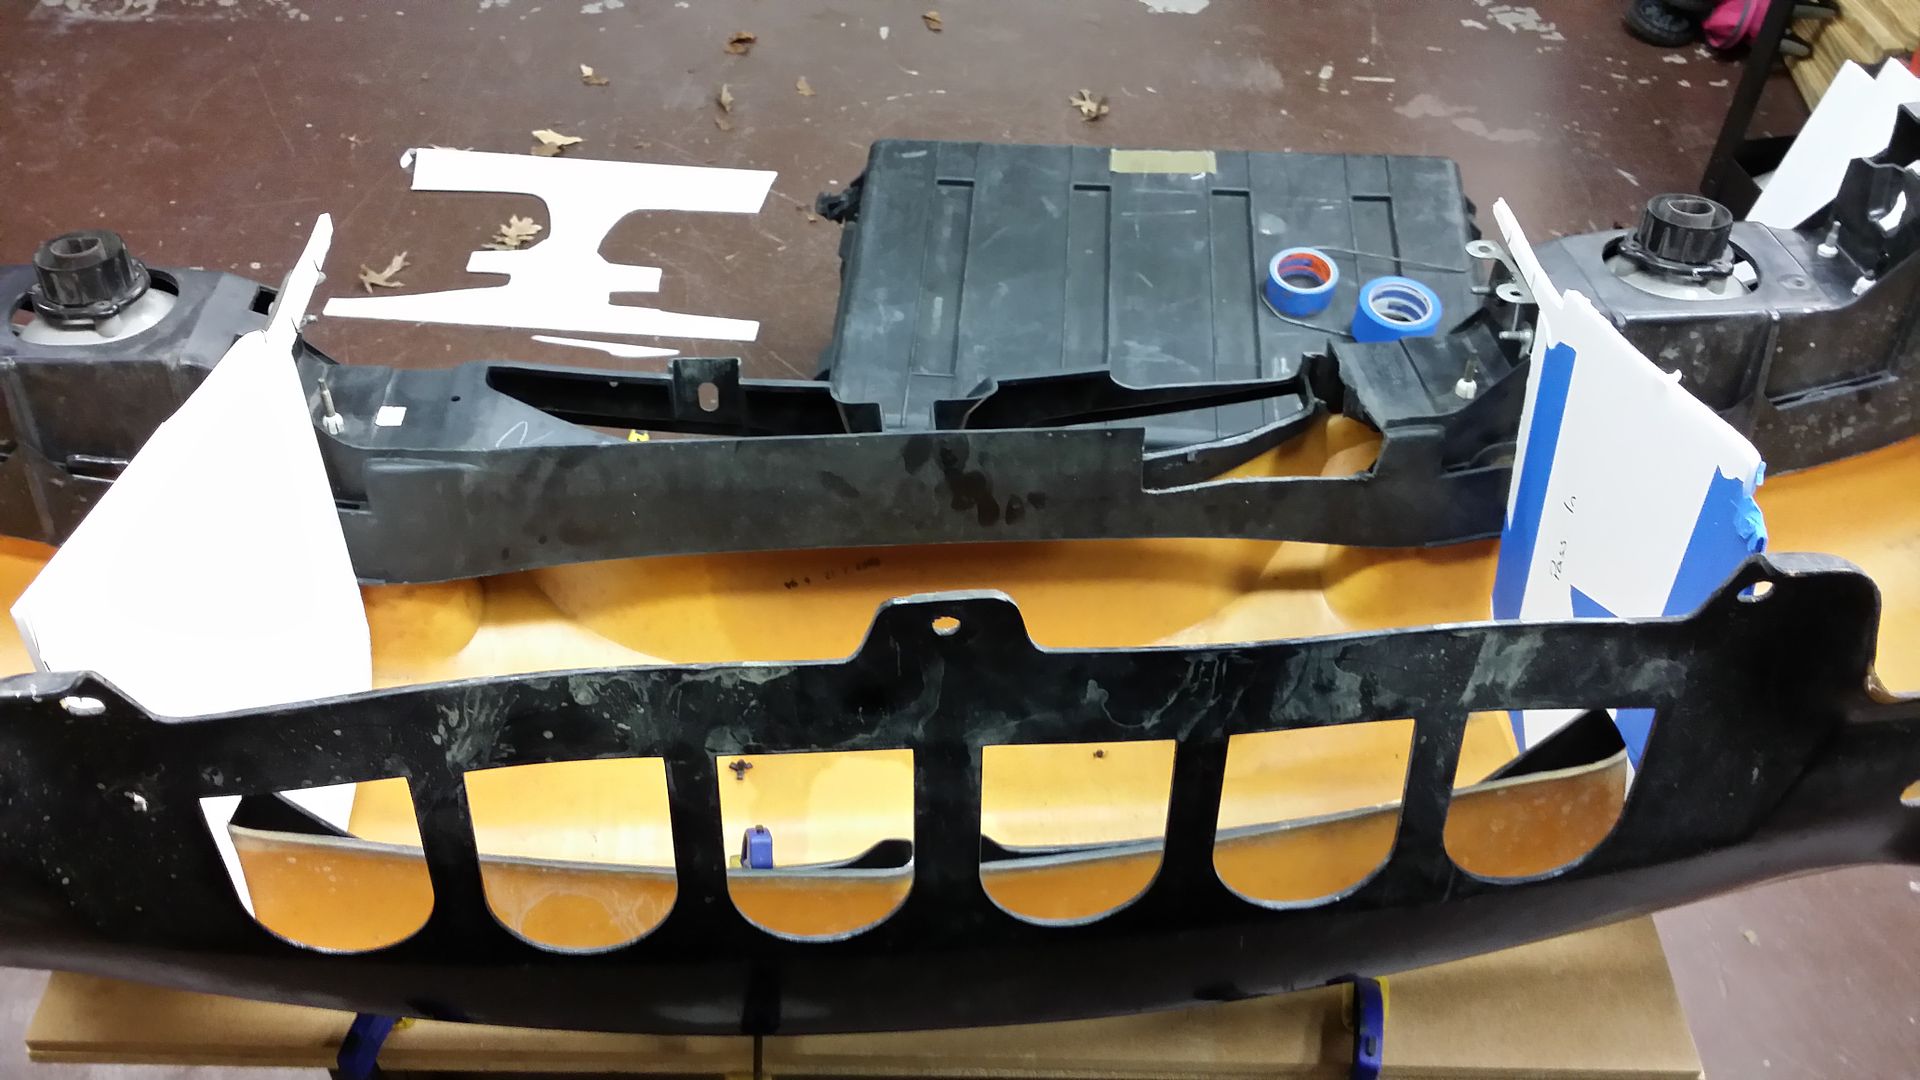
Put the templates on the car and adjusted to fit. Too big - just cut. Too small - just add and tape to the template).
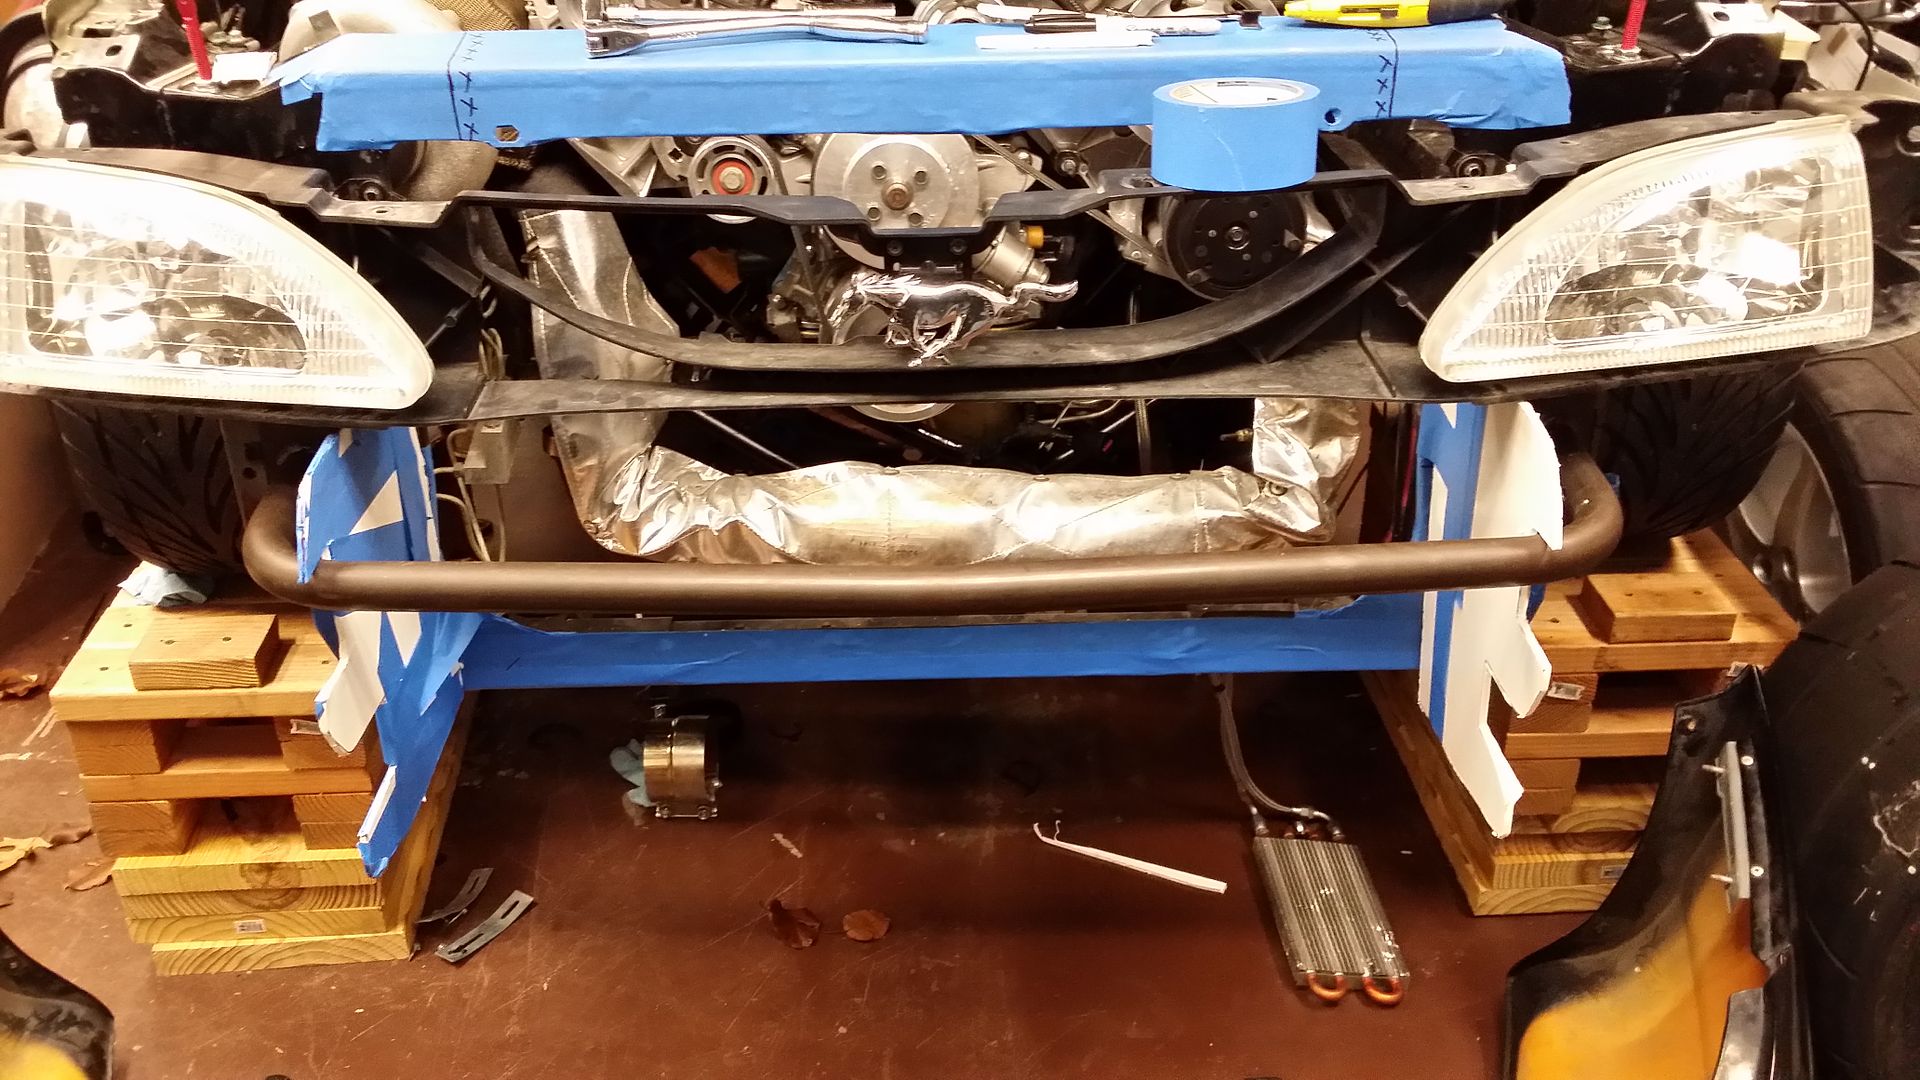
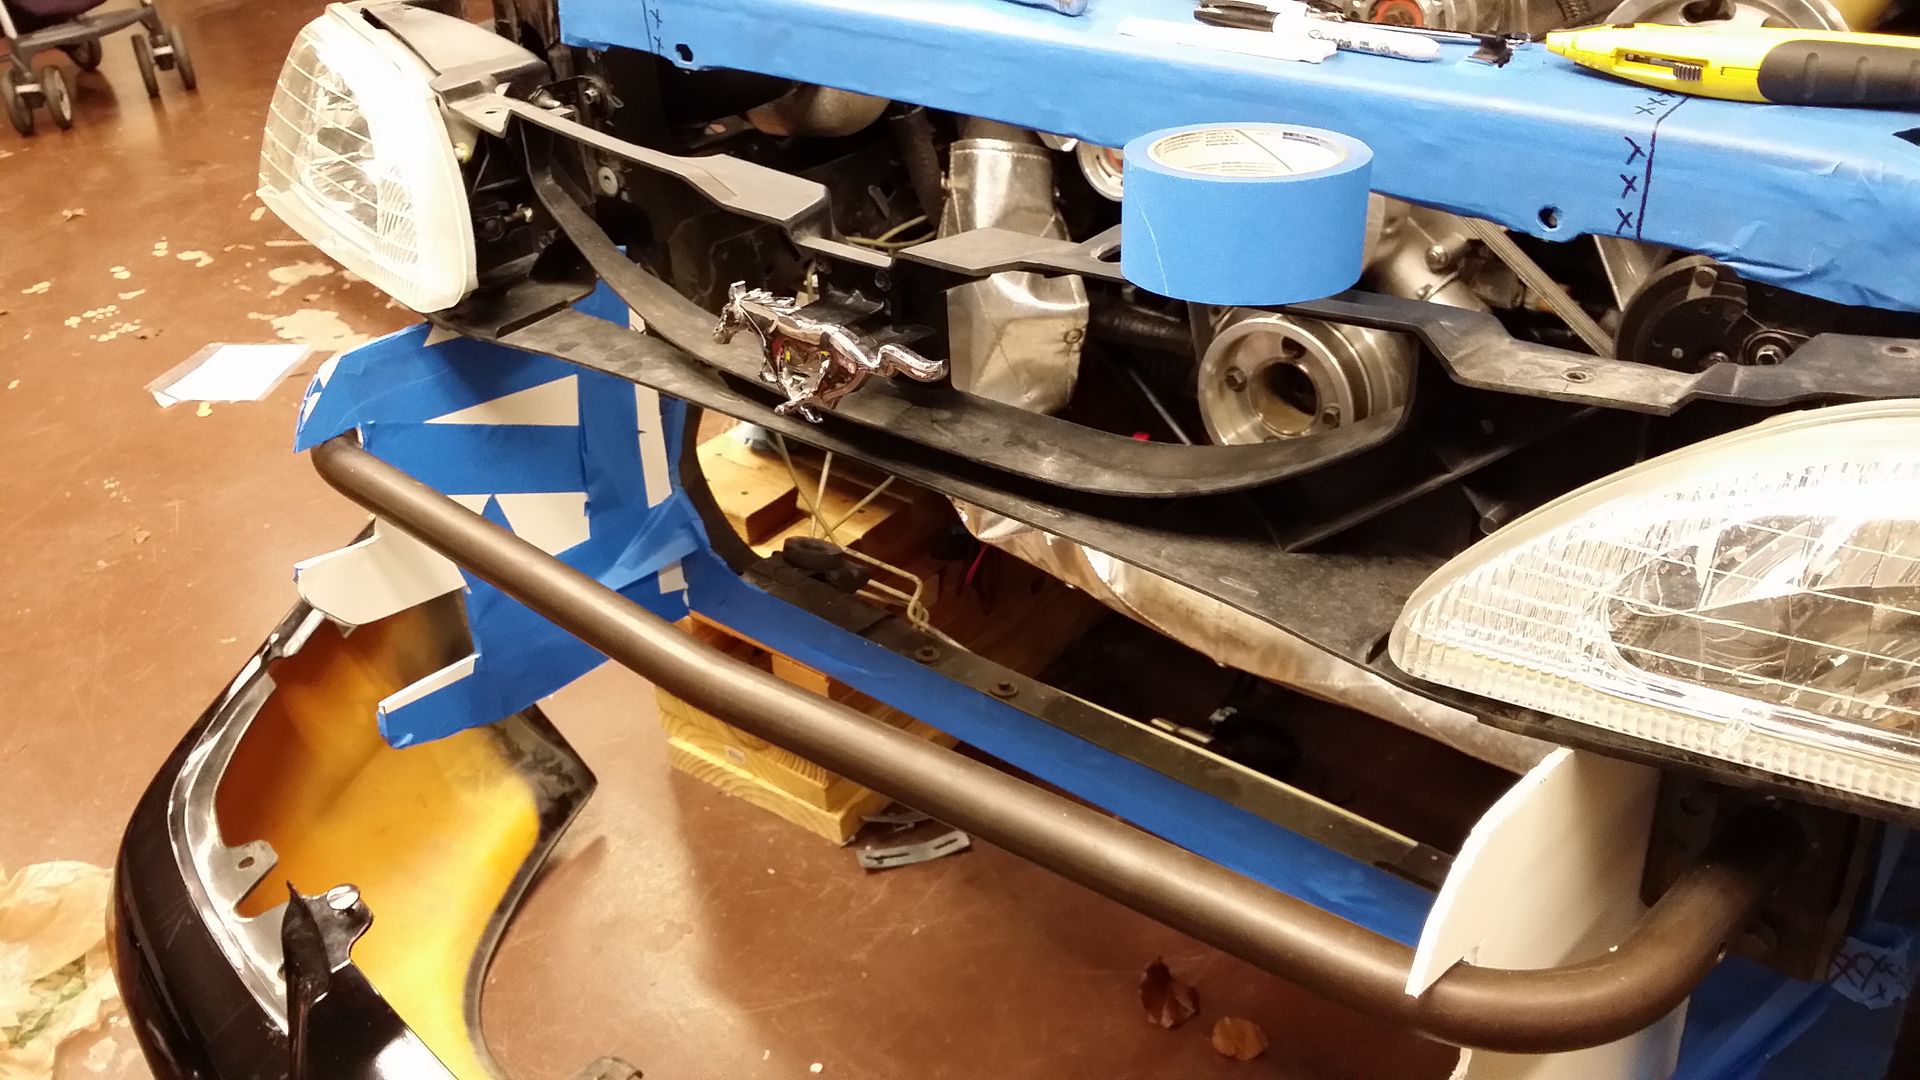
Here is looking from the engine bay. I still need to add some material to get it to seal ALL the way up but this is a close start.
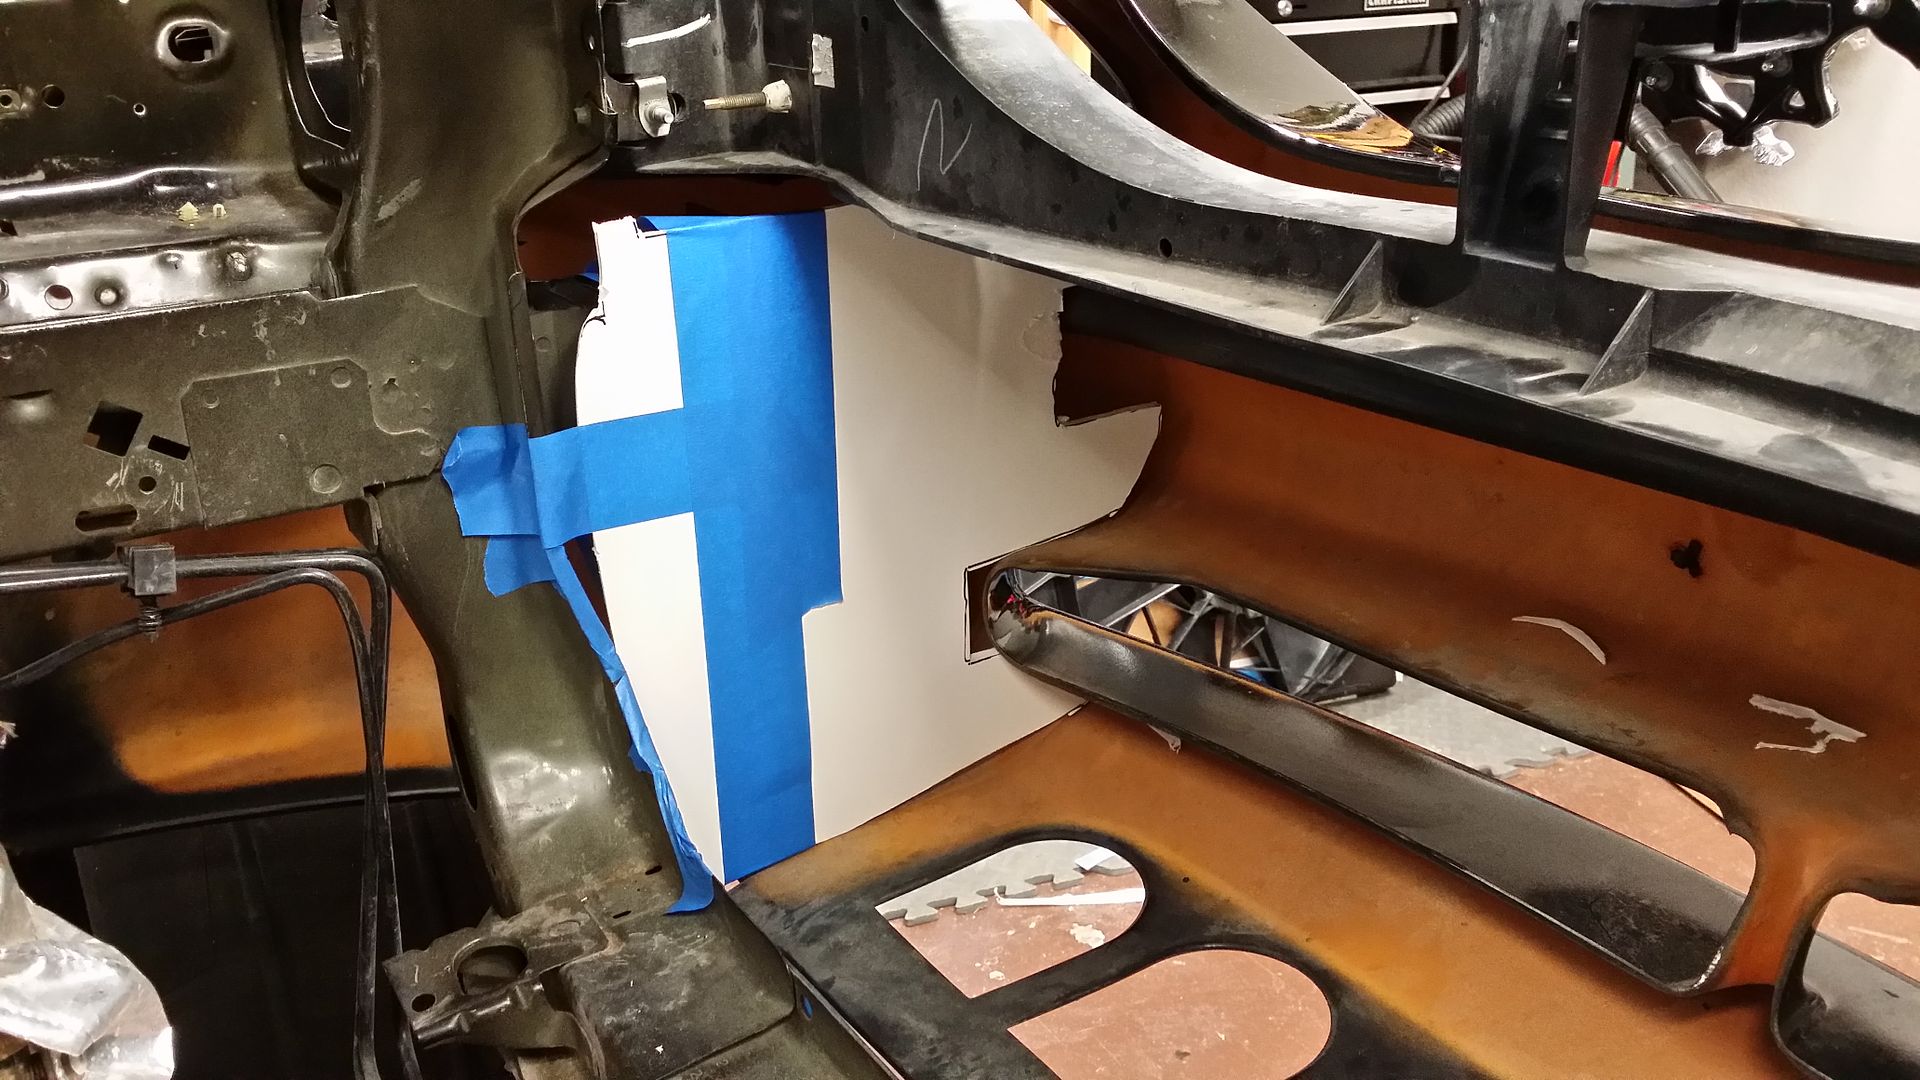
Next is to make the bottom and see how it will seal off.
Maybe tomorrow I can get the top and bottom cut out and start to lay in the radiator/fan.Fuck you. We're going to Costco.
Comment
-
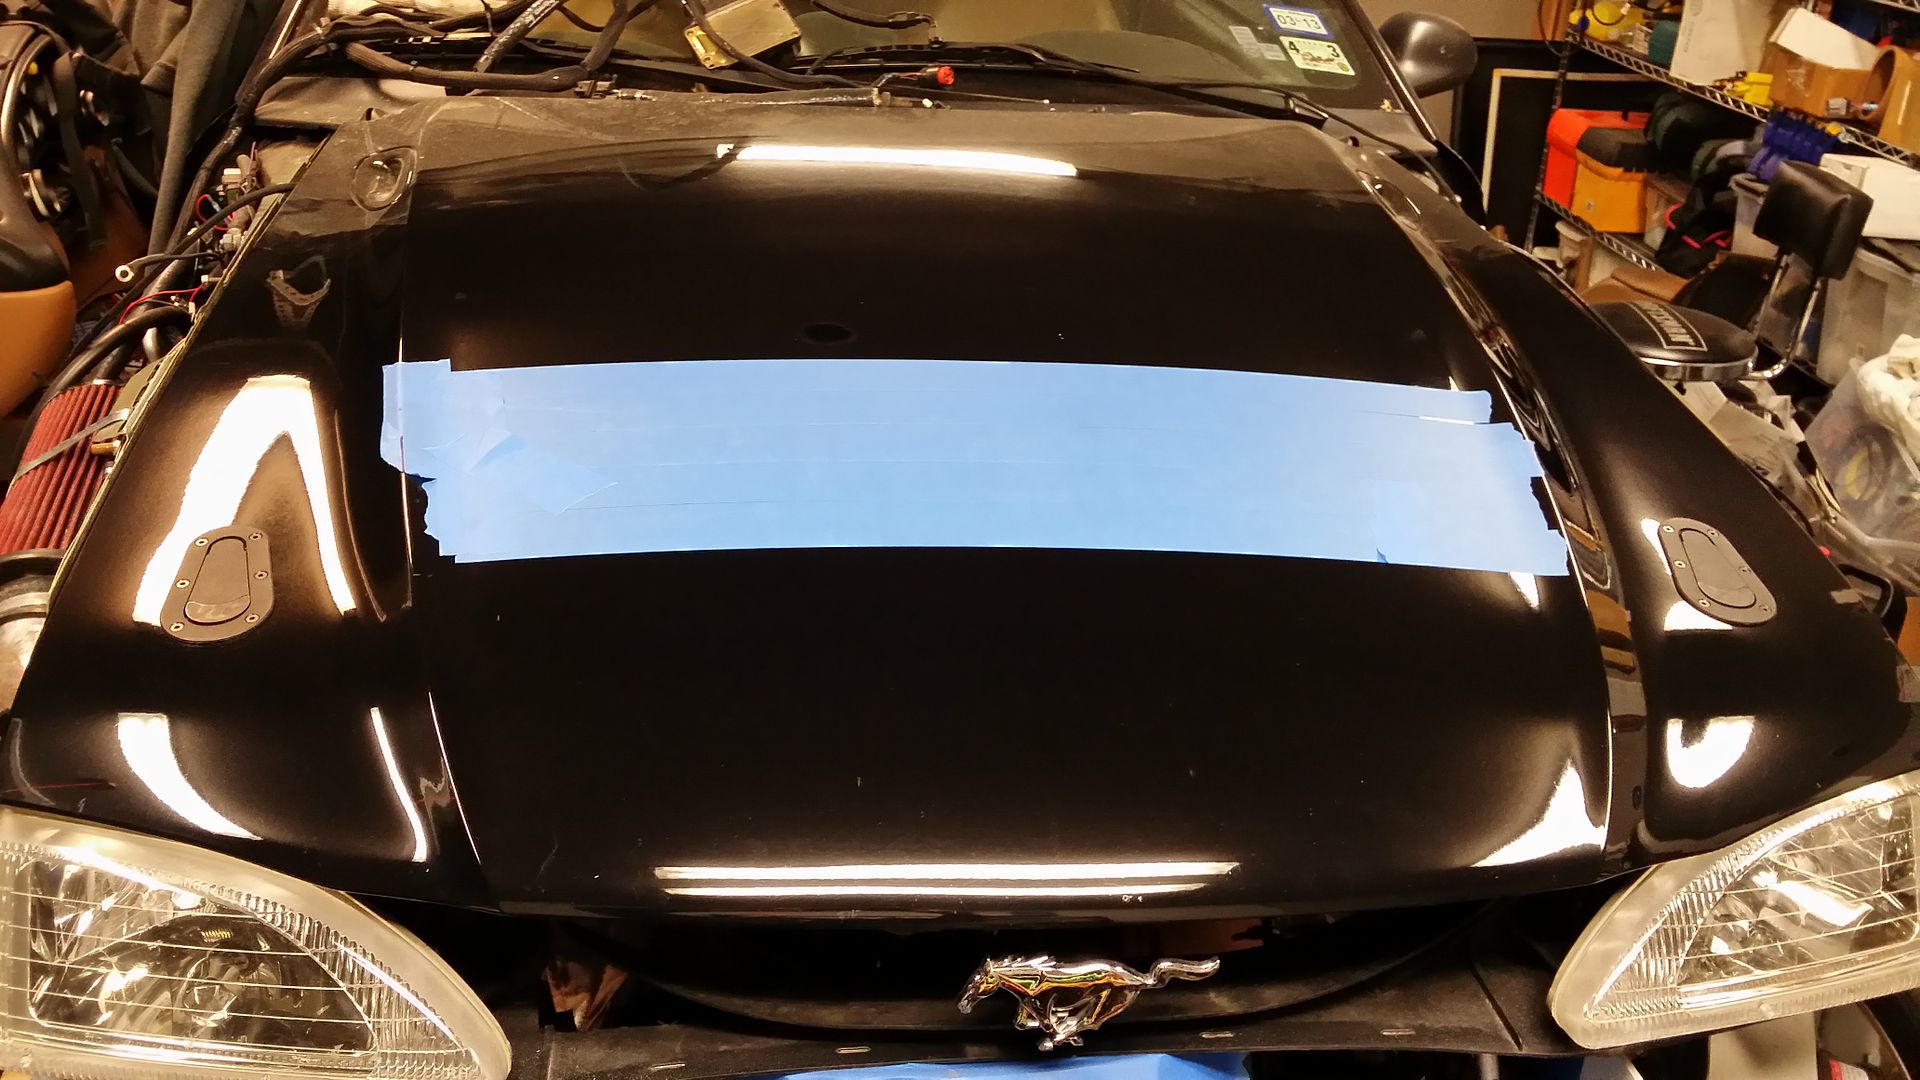
Then I moved up to the hood.
Not measured out yet....in the center will be a GT500 hood vent...more on that later
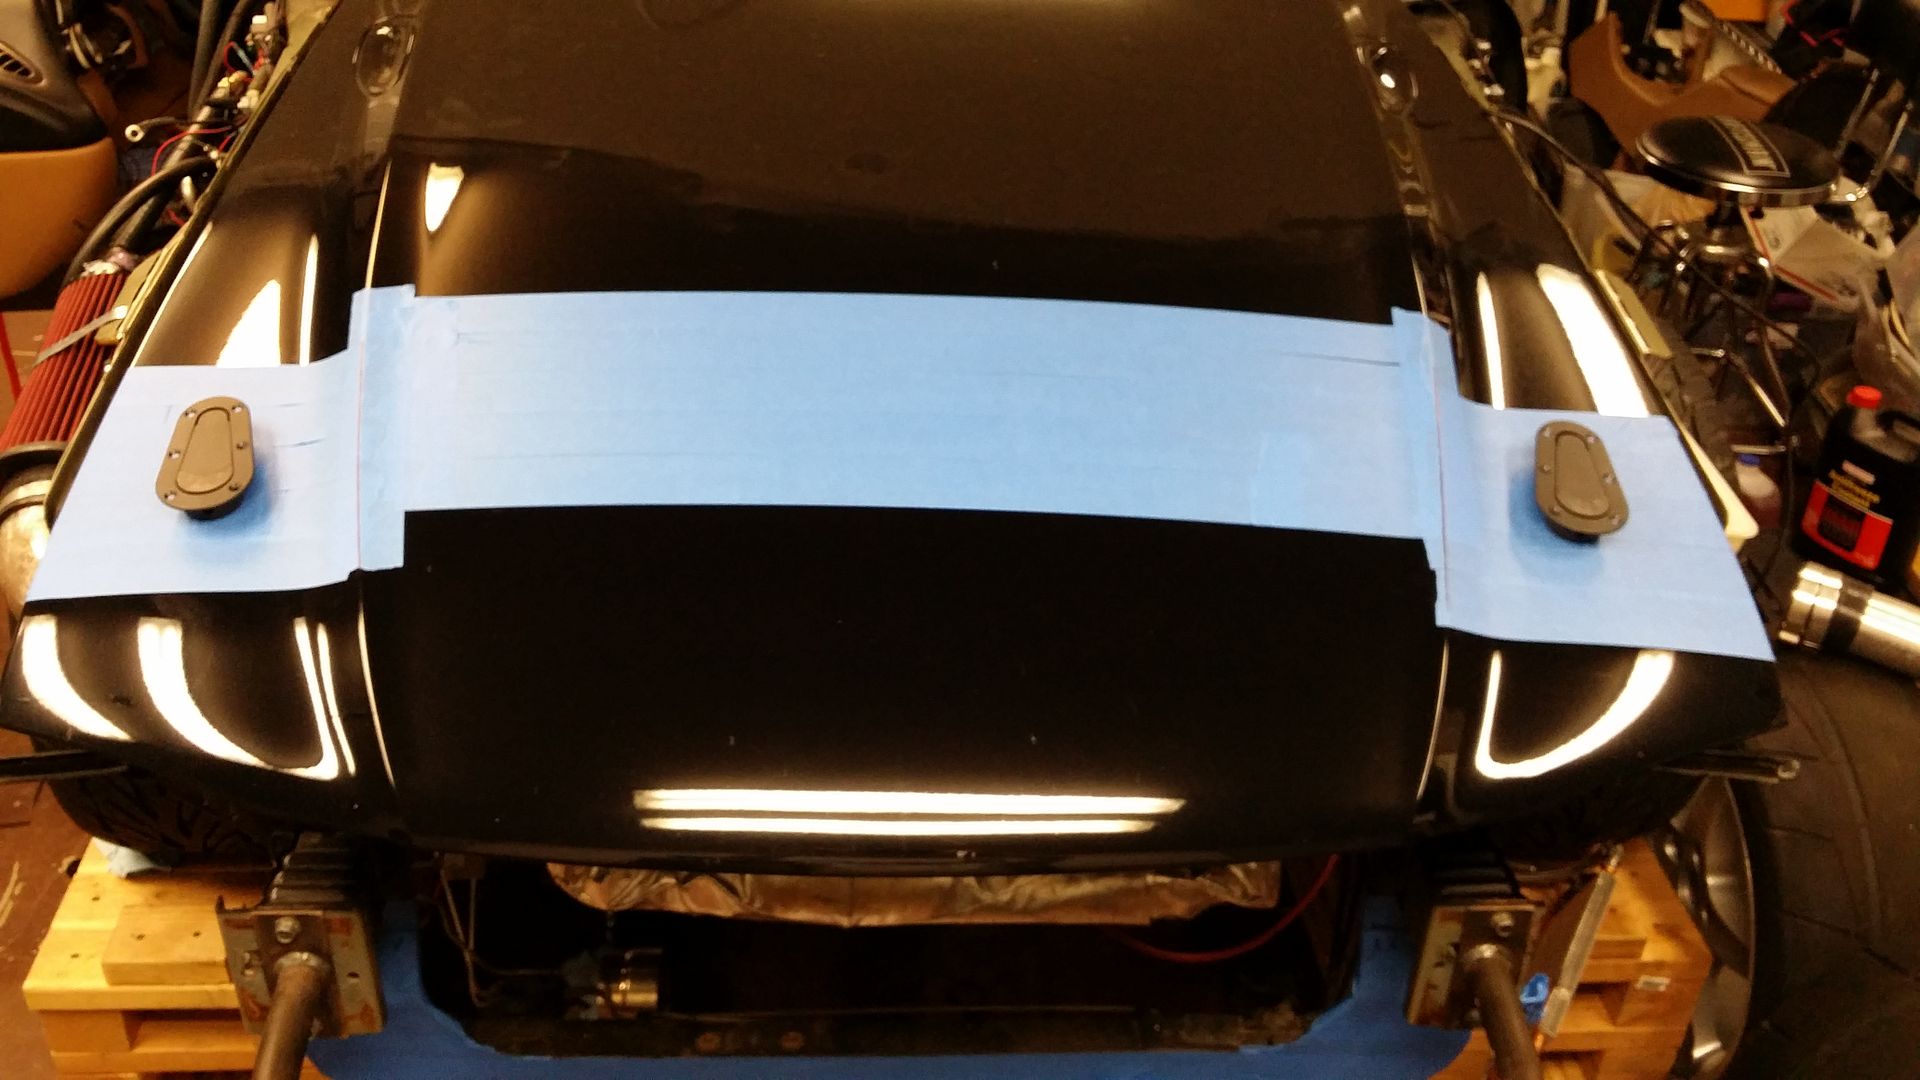
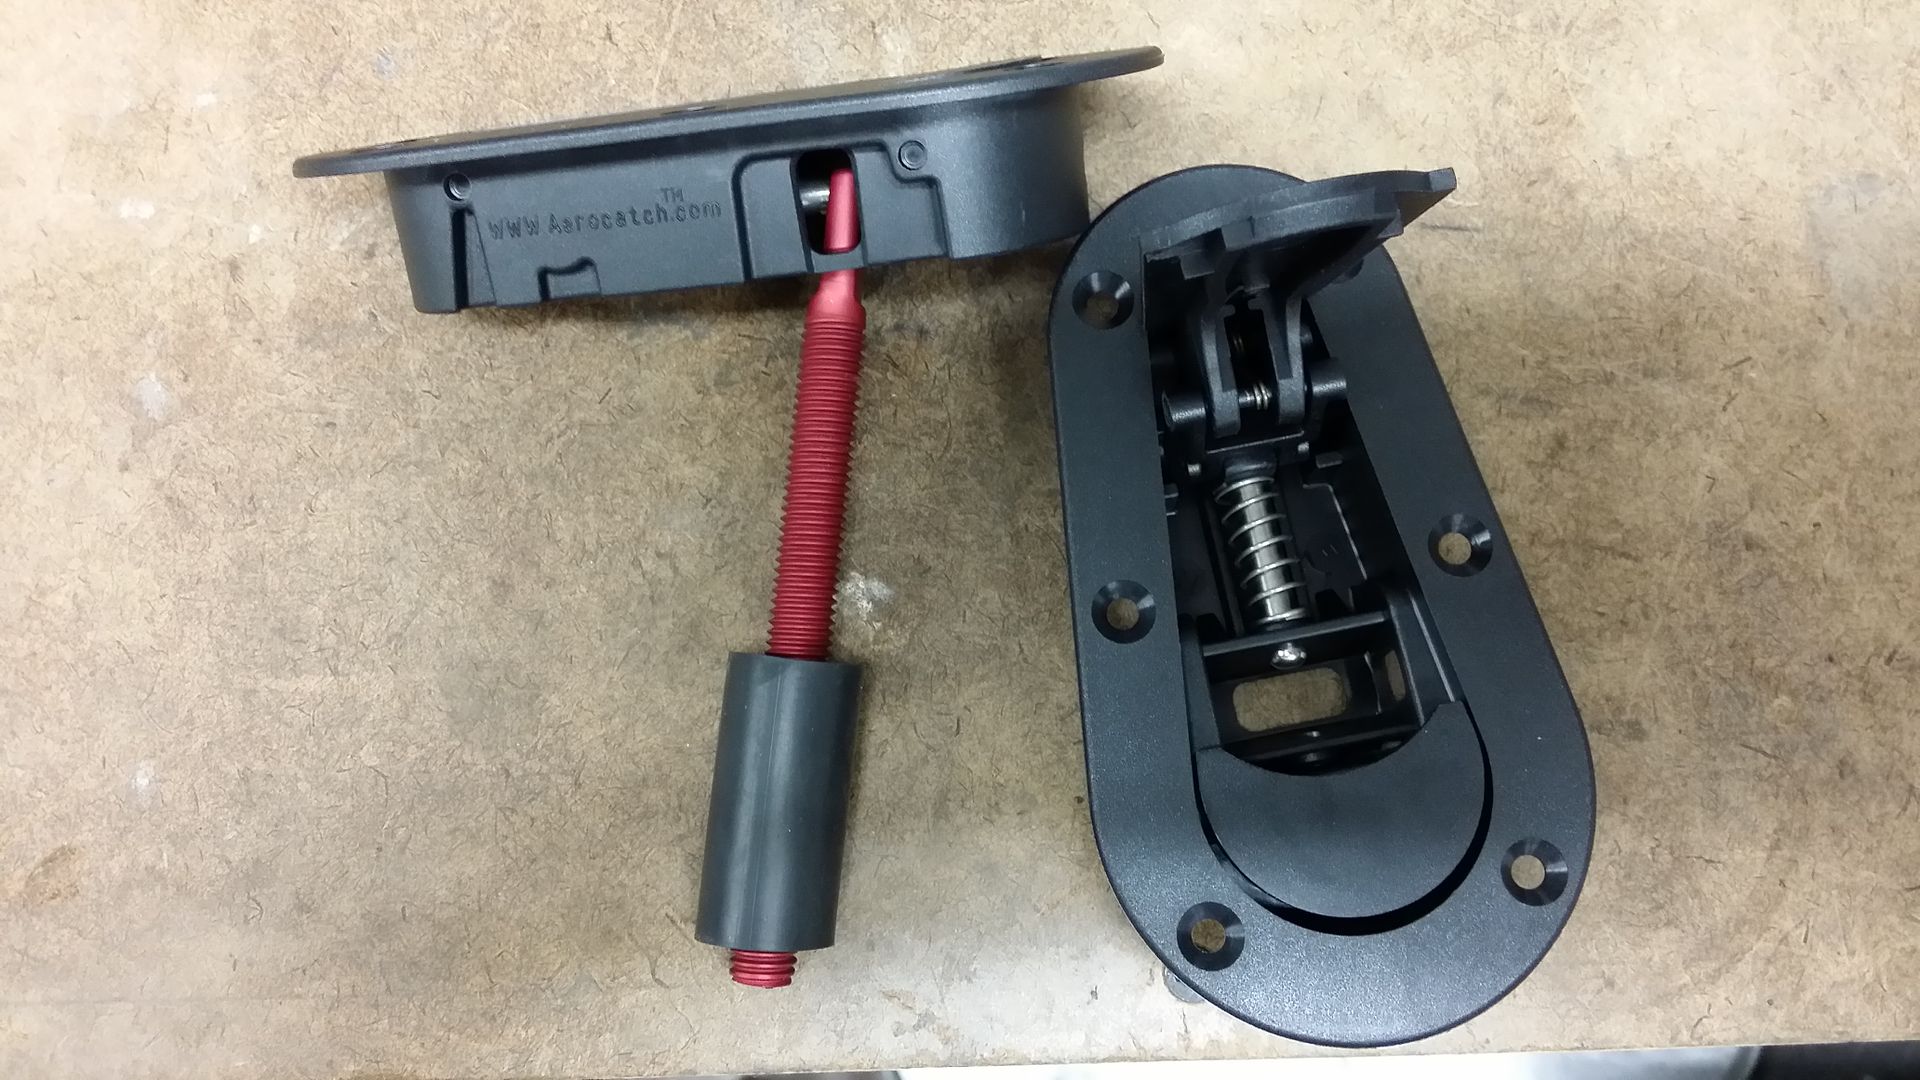
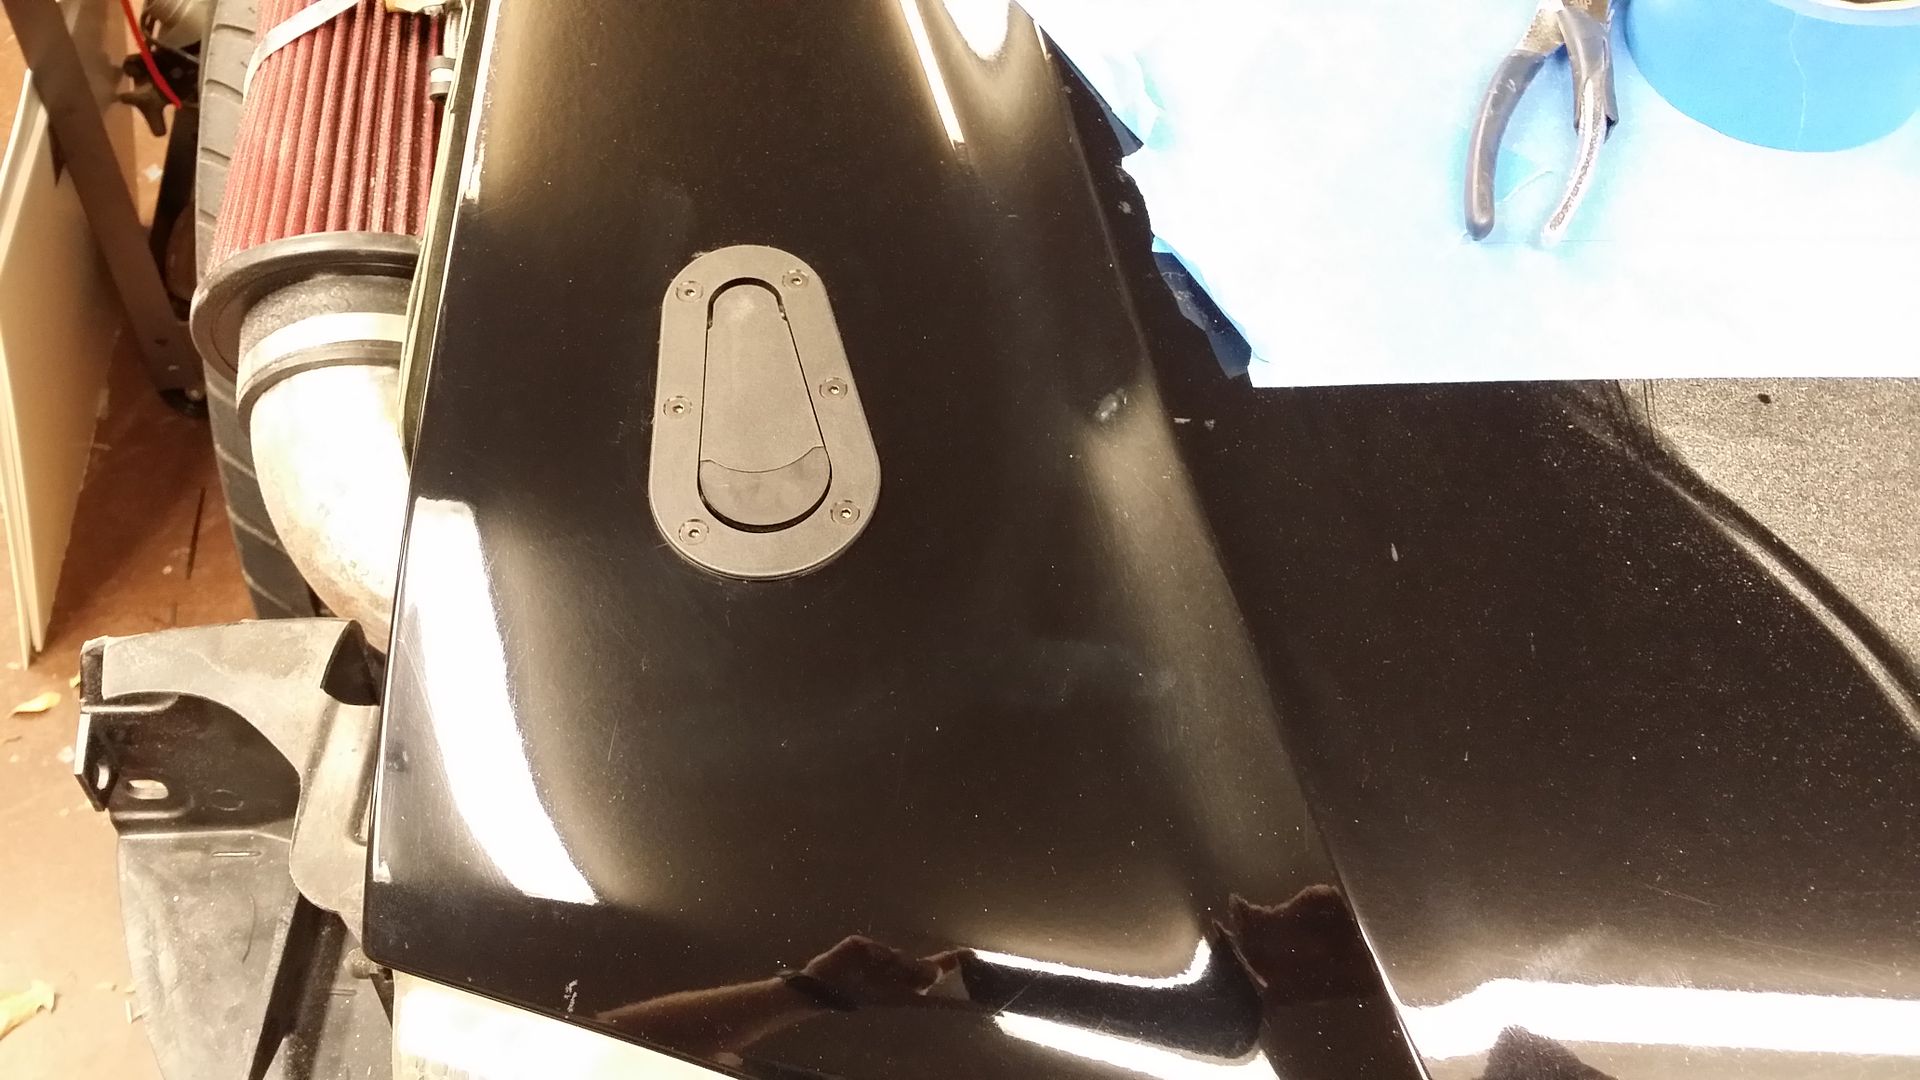
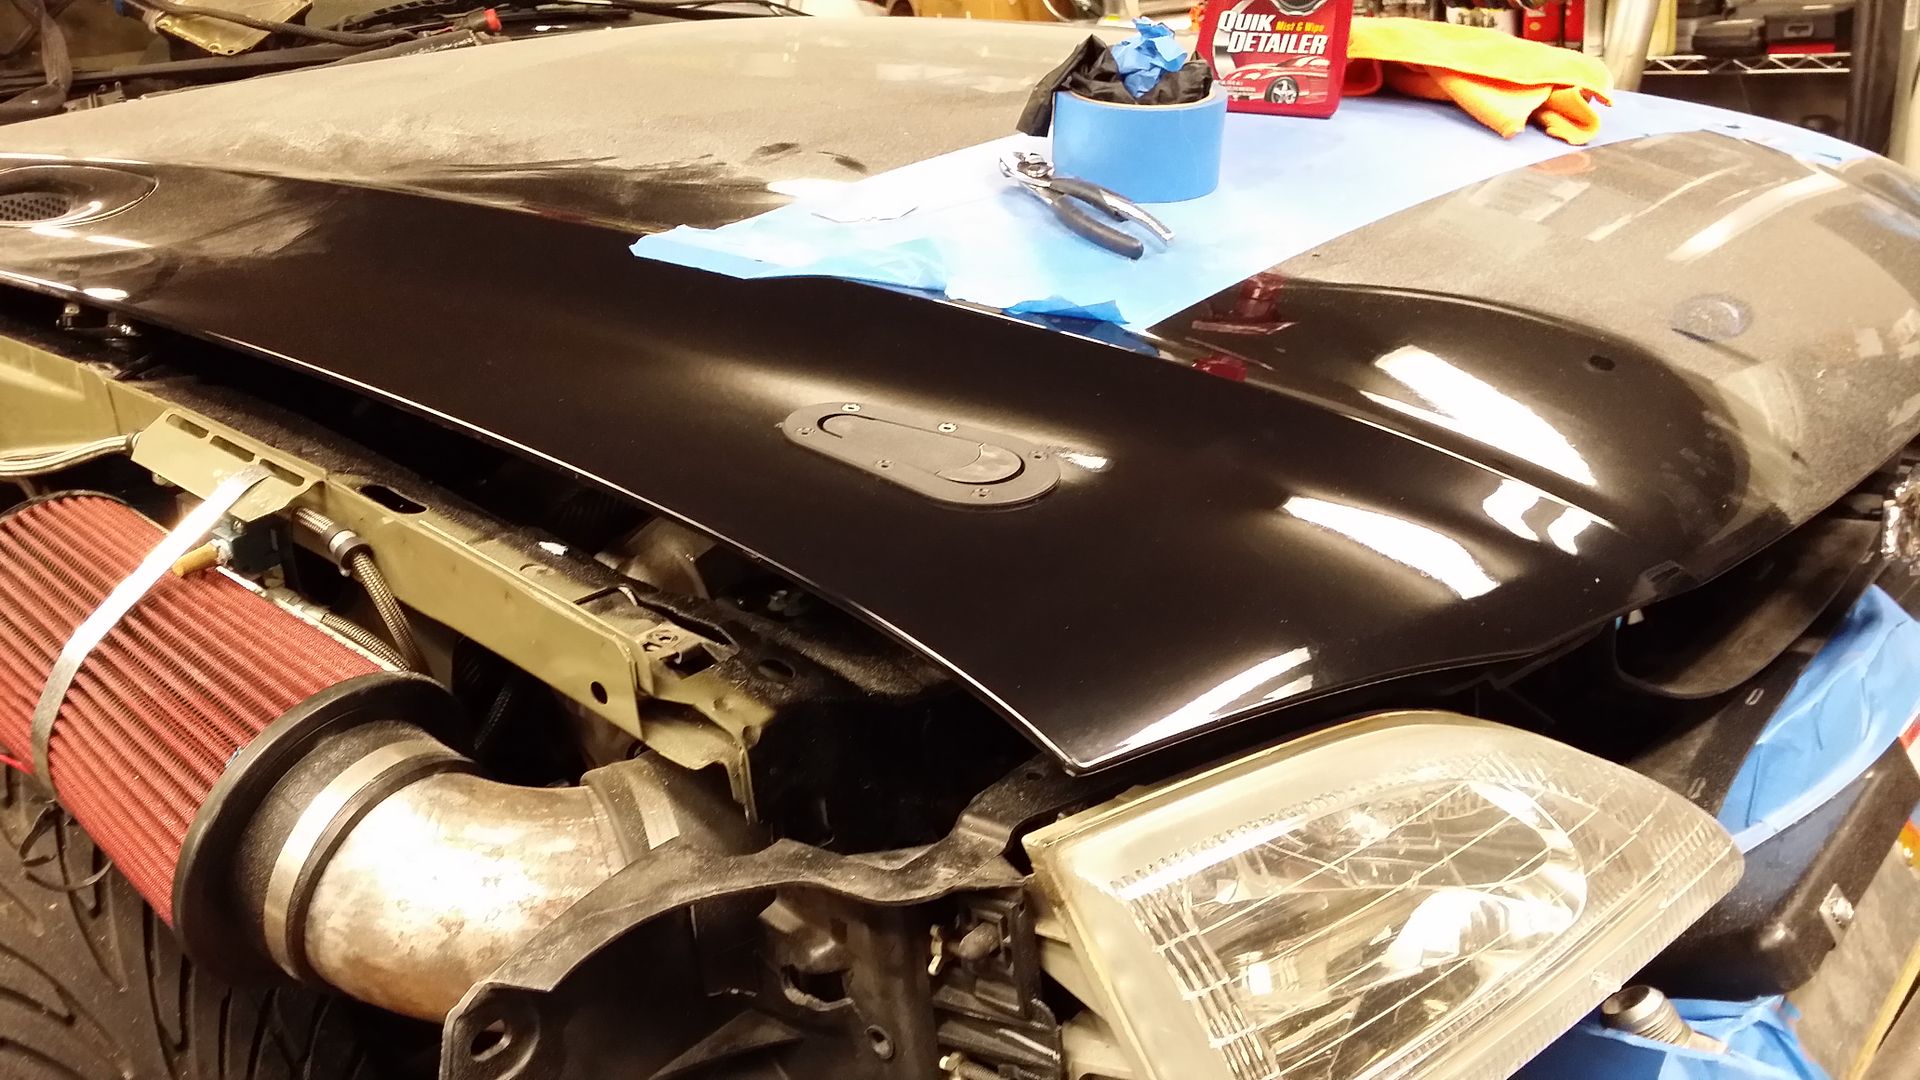
The latches are made by a English company, Aerocatch. Seem to be sturdy as hell and have a double action required latch to let loose of the stud. Less than $100 and I bought mine from a company on Ebay.
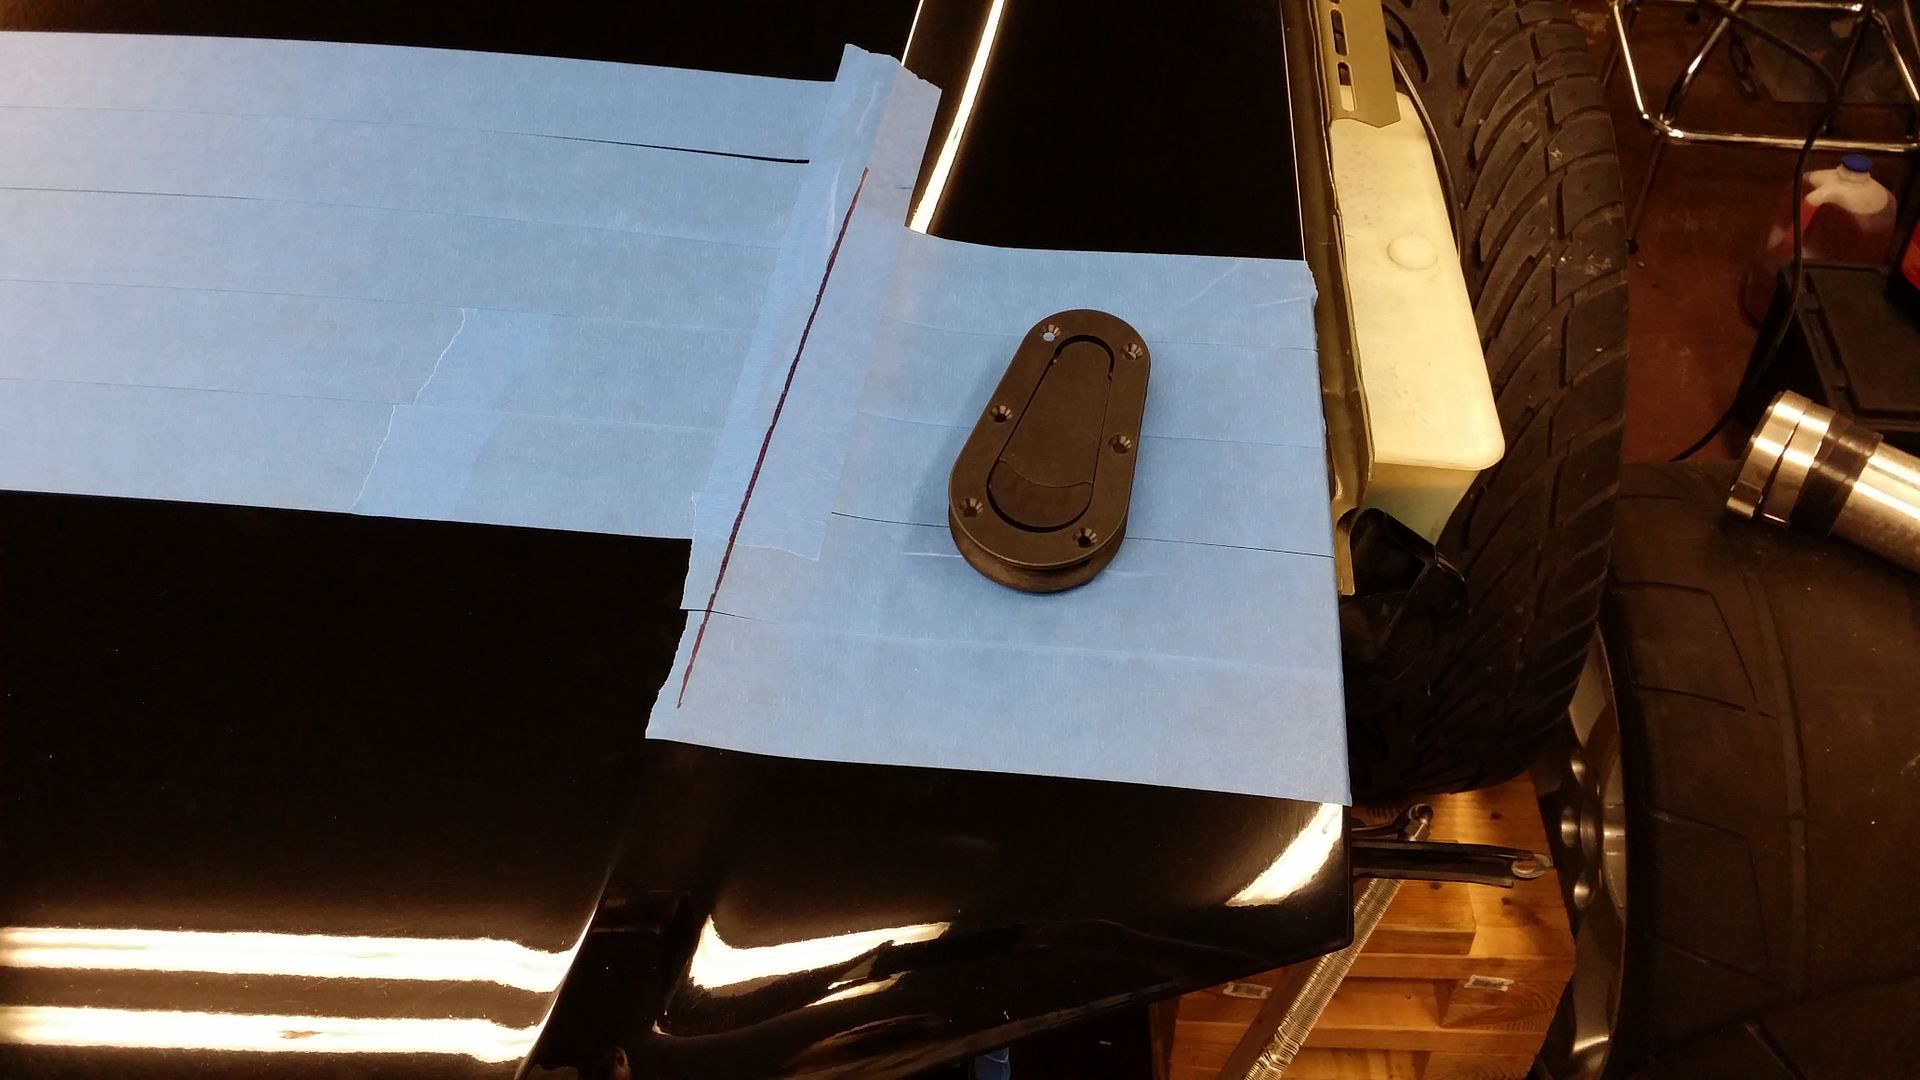
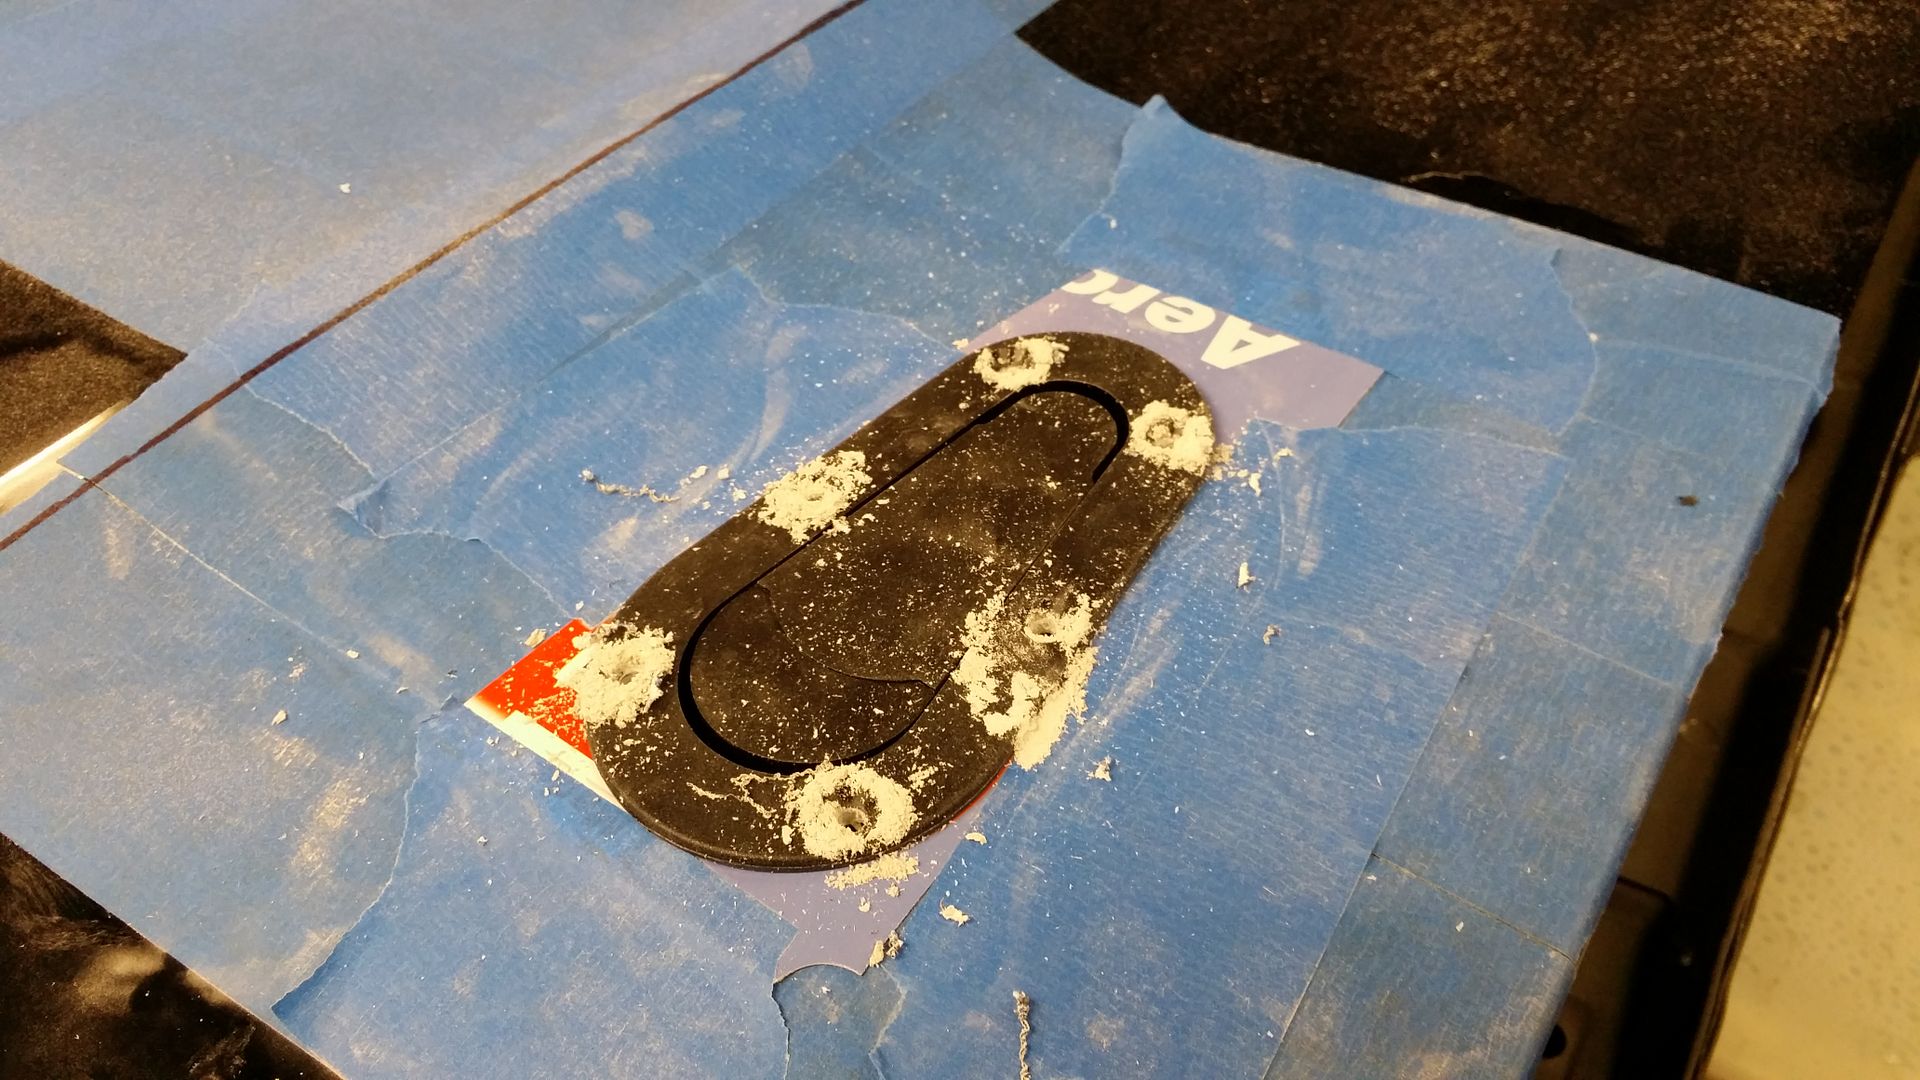
Mounting the Aerocatch latch.....was not any fun.
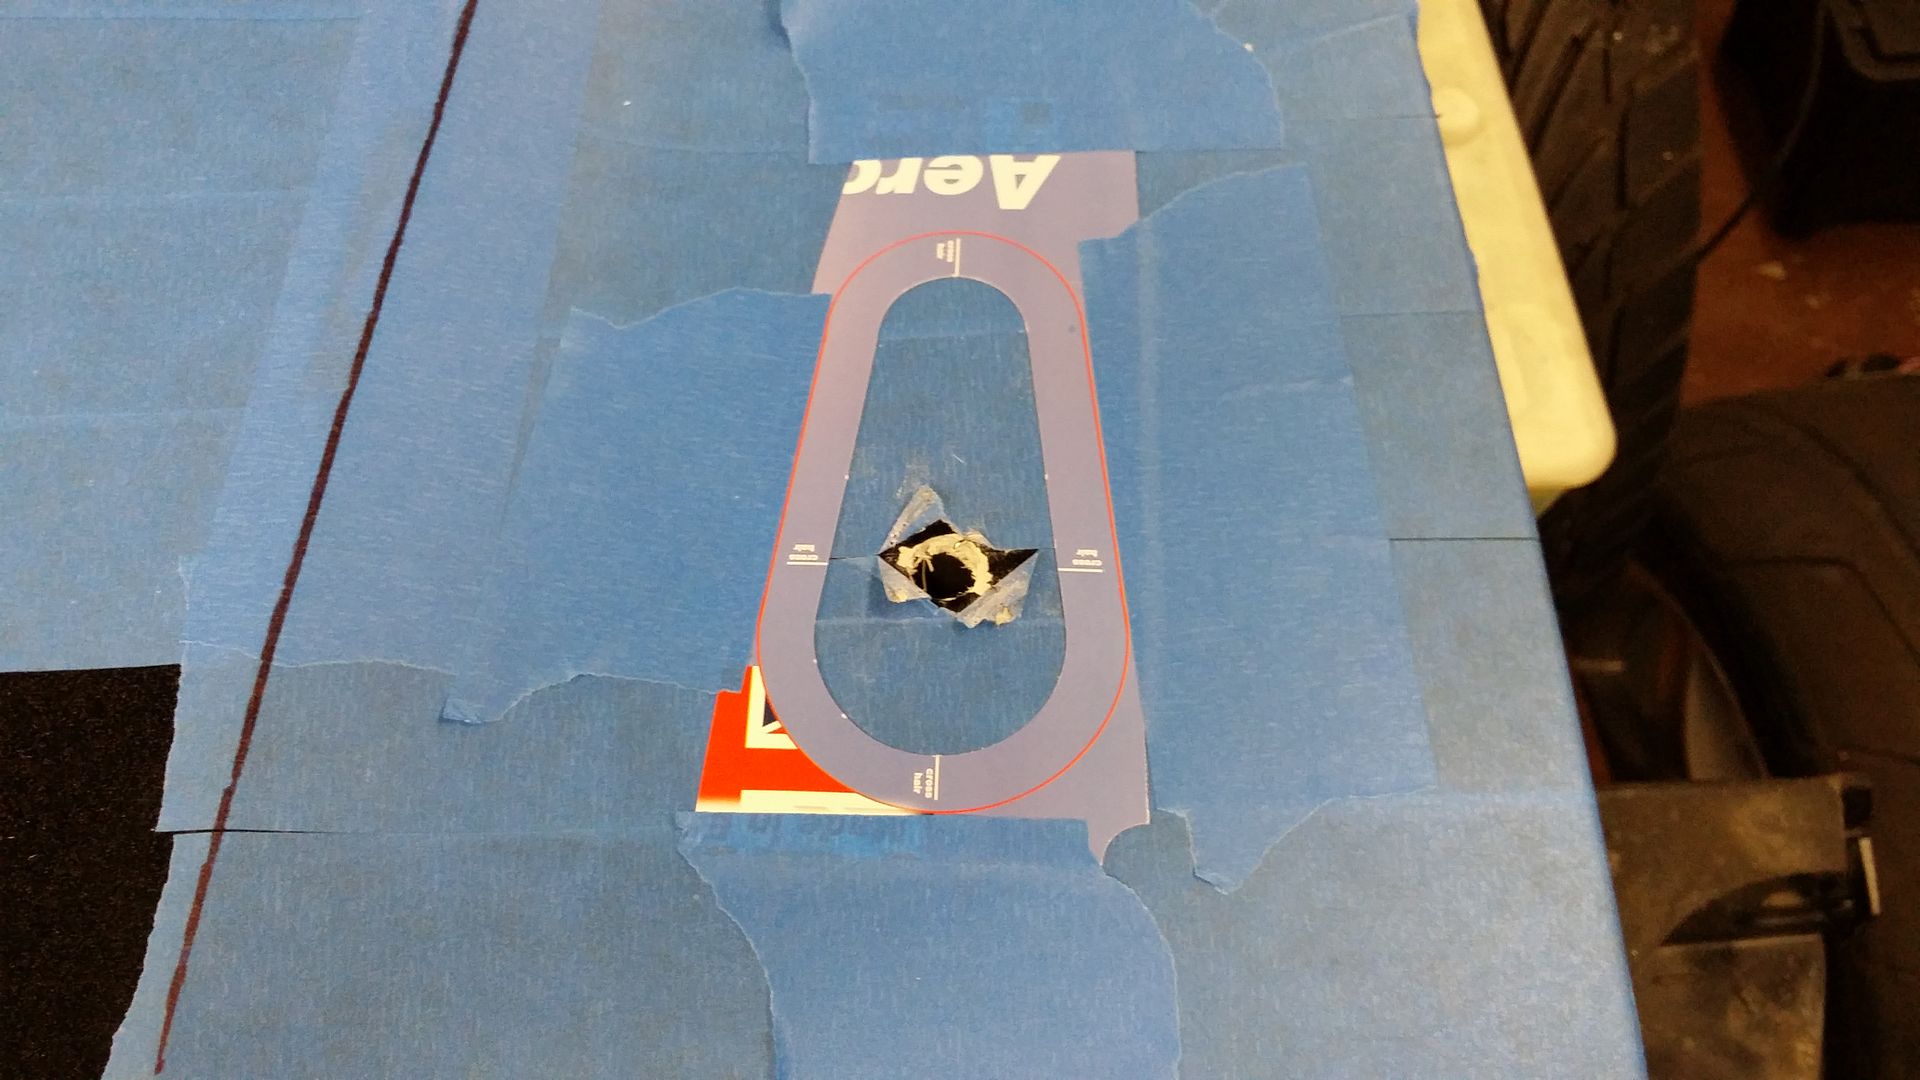
First installed the pins in the original buffer. Measured twice and drilled one time. The pin pokes perfectly through the hole. Not that it matter because this tiny hole soon became a huge one.
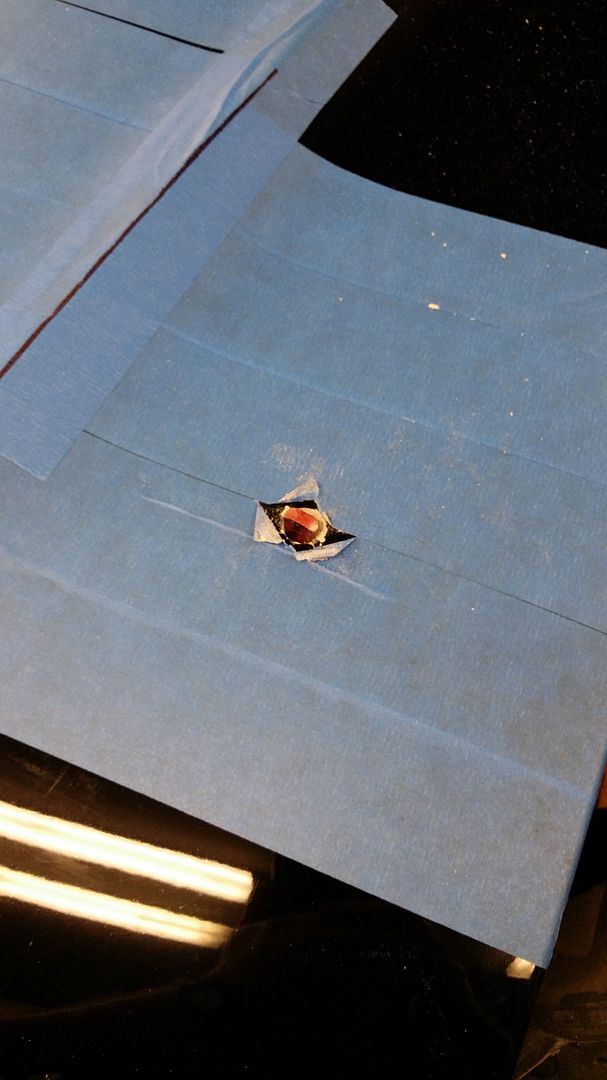
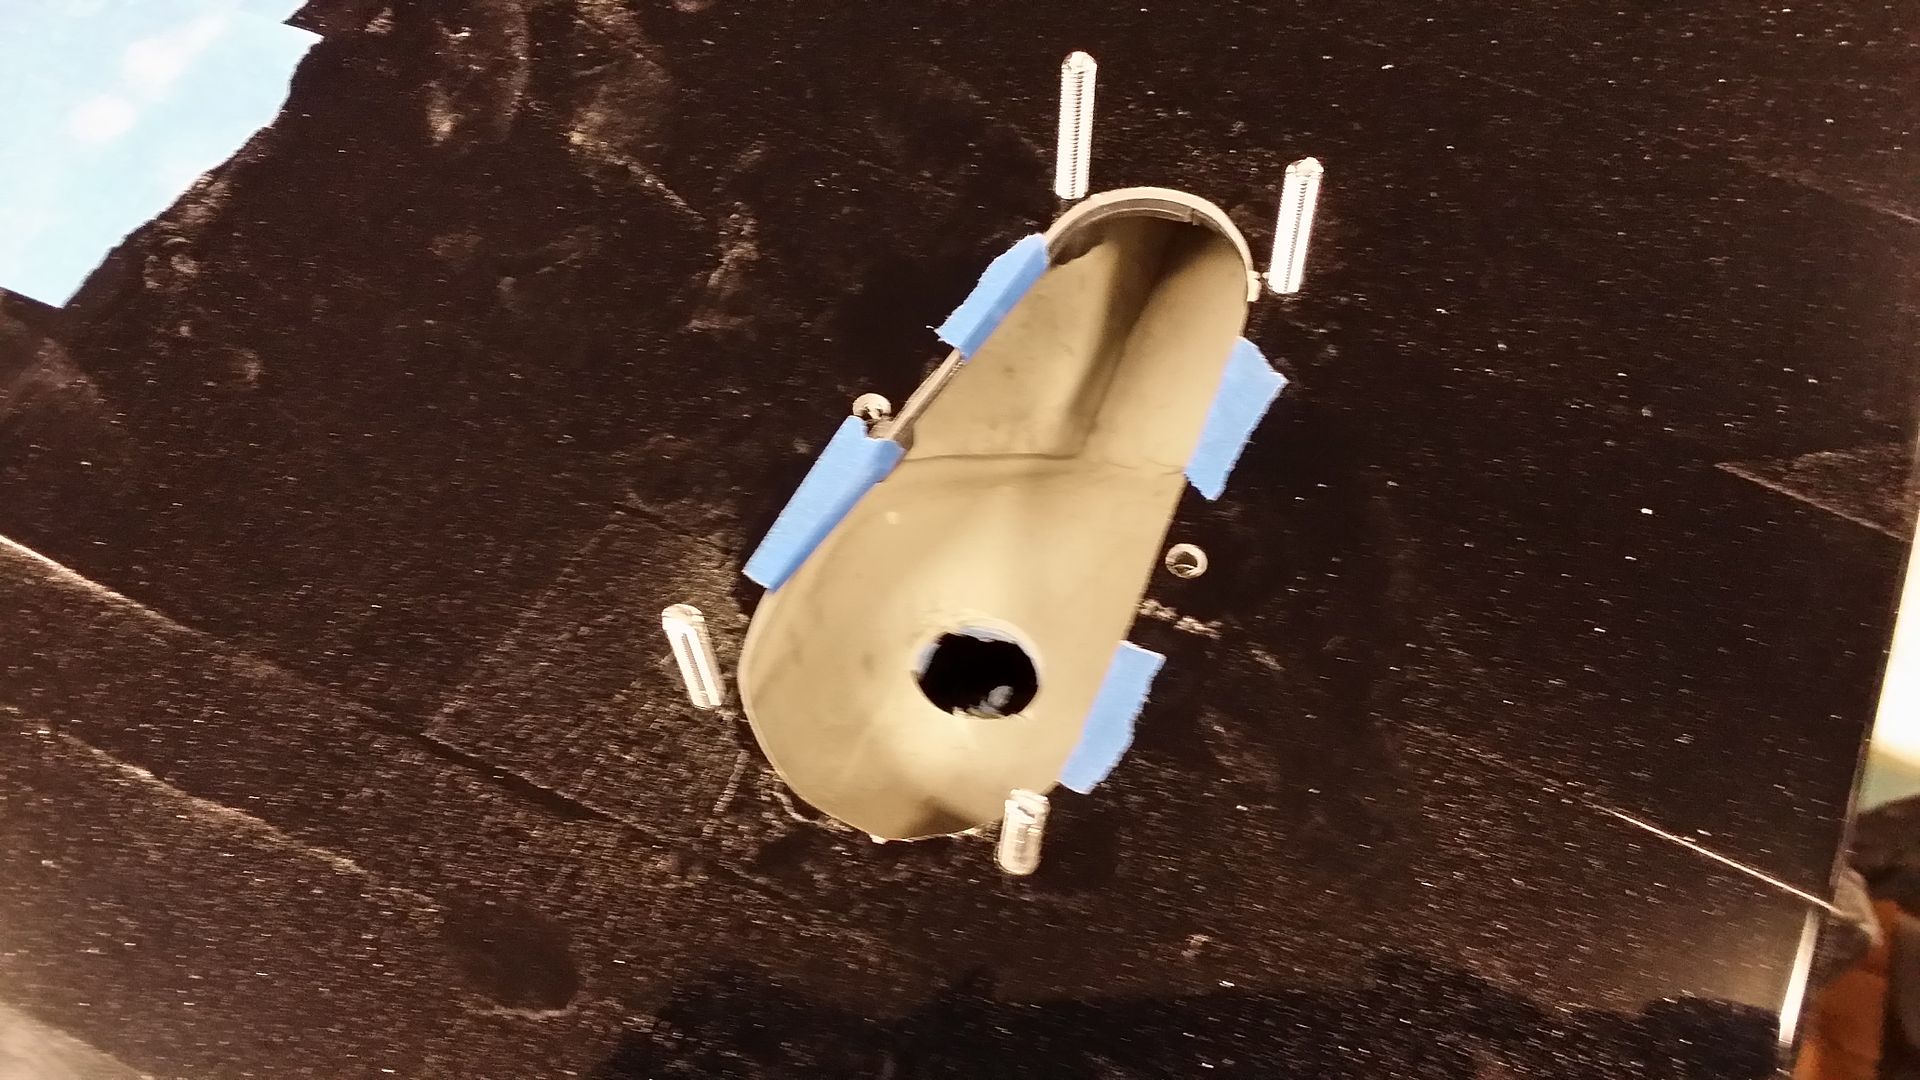
Laid the template and measured it to the edge of the hood and squared it up to that edge. With the dremel I made some dust and got to this point when I realized that the second half that holds the nuts was not going to fit without getting creative, hence it is cut in half.
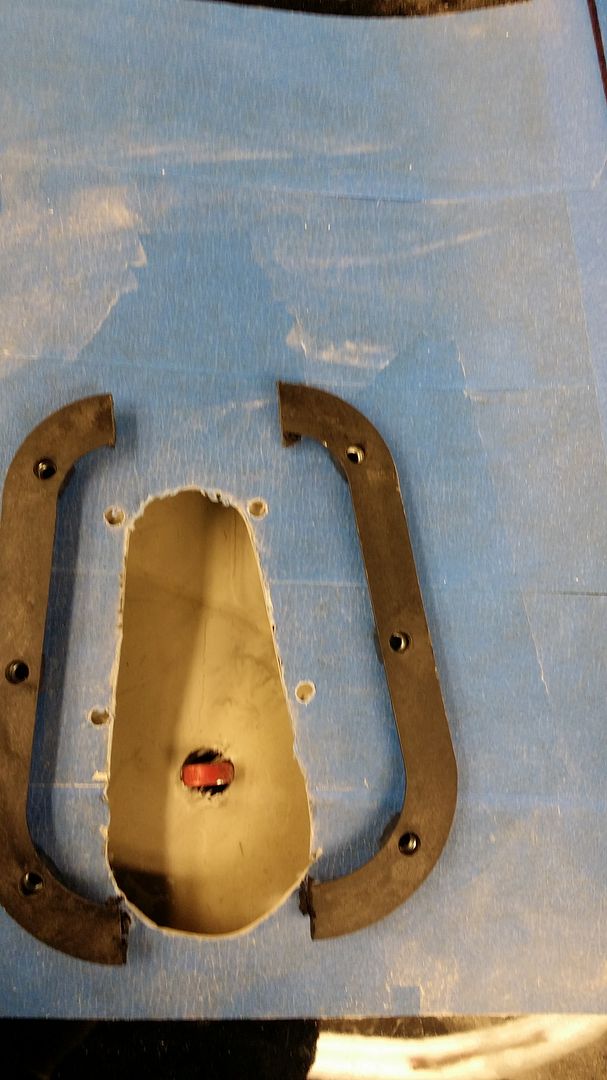
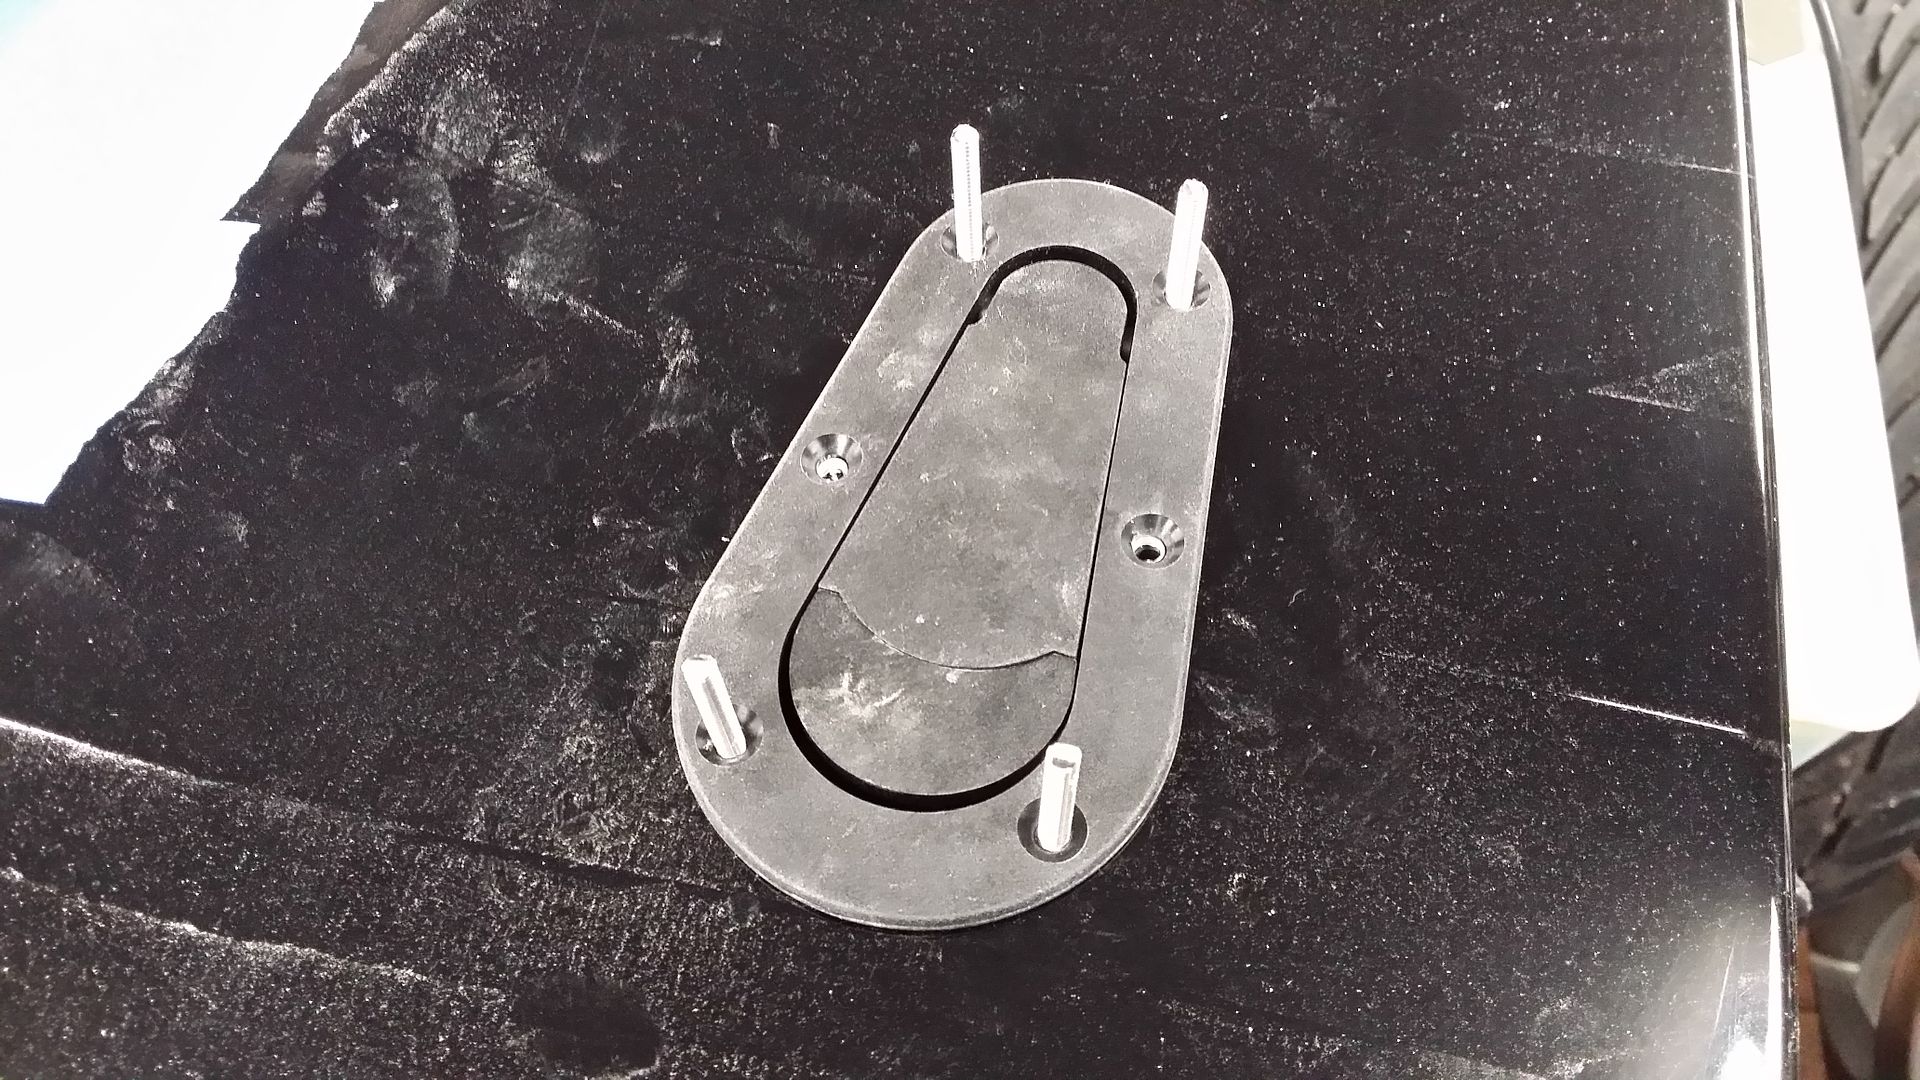
Then I ran into, how the hell do I hold the lower part against the hood when I install the top?.. answer: make alignment studs at the ends, start the middle bolt and take the studs out. Perfect.
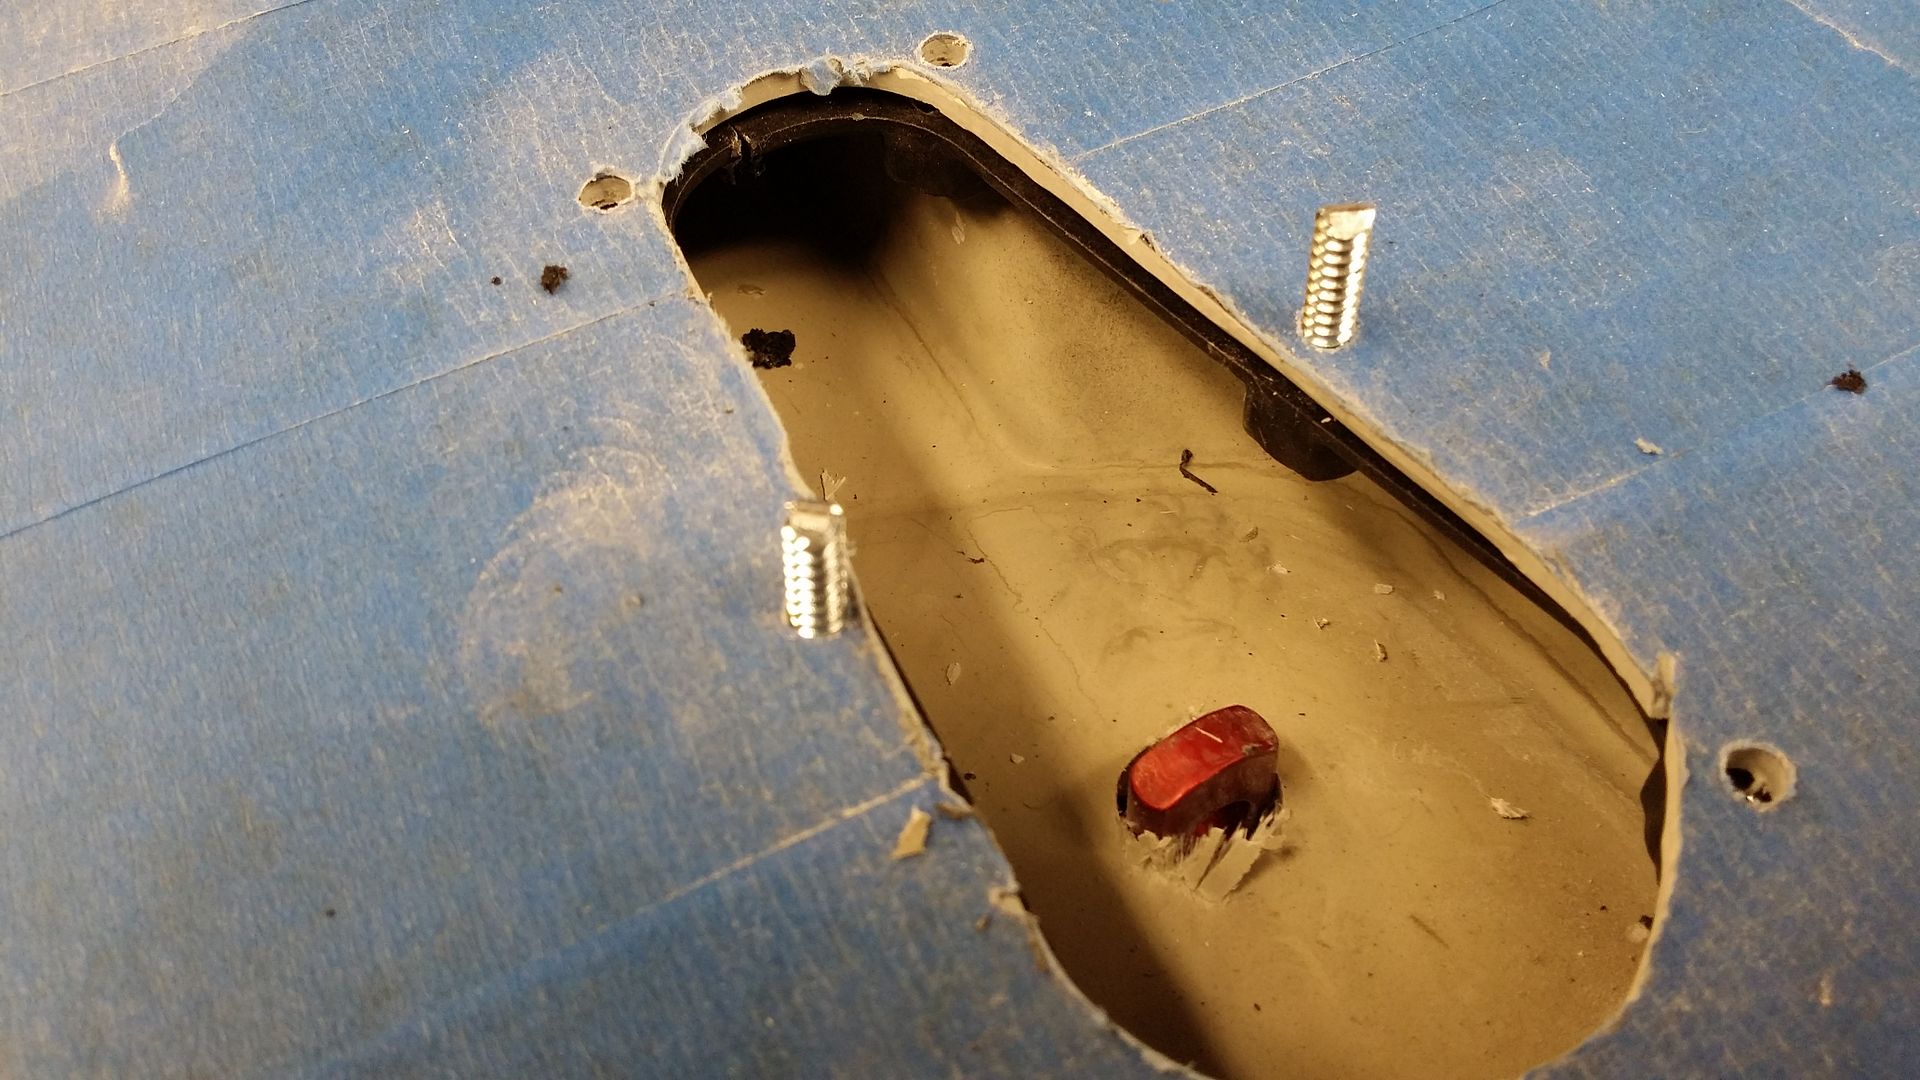
that is a picture of my first go, 1 stud in each half. I soon realized I needed more to line it all up.
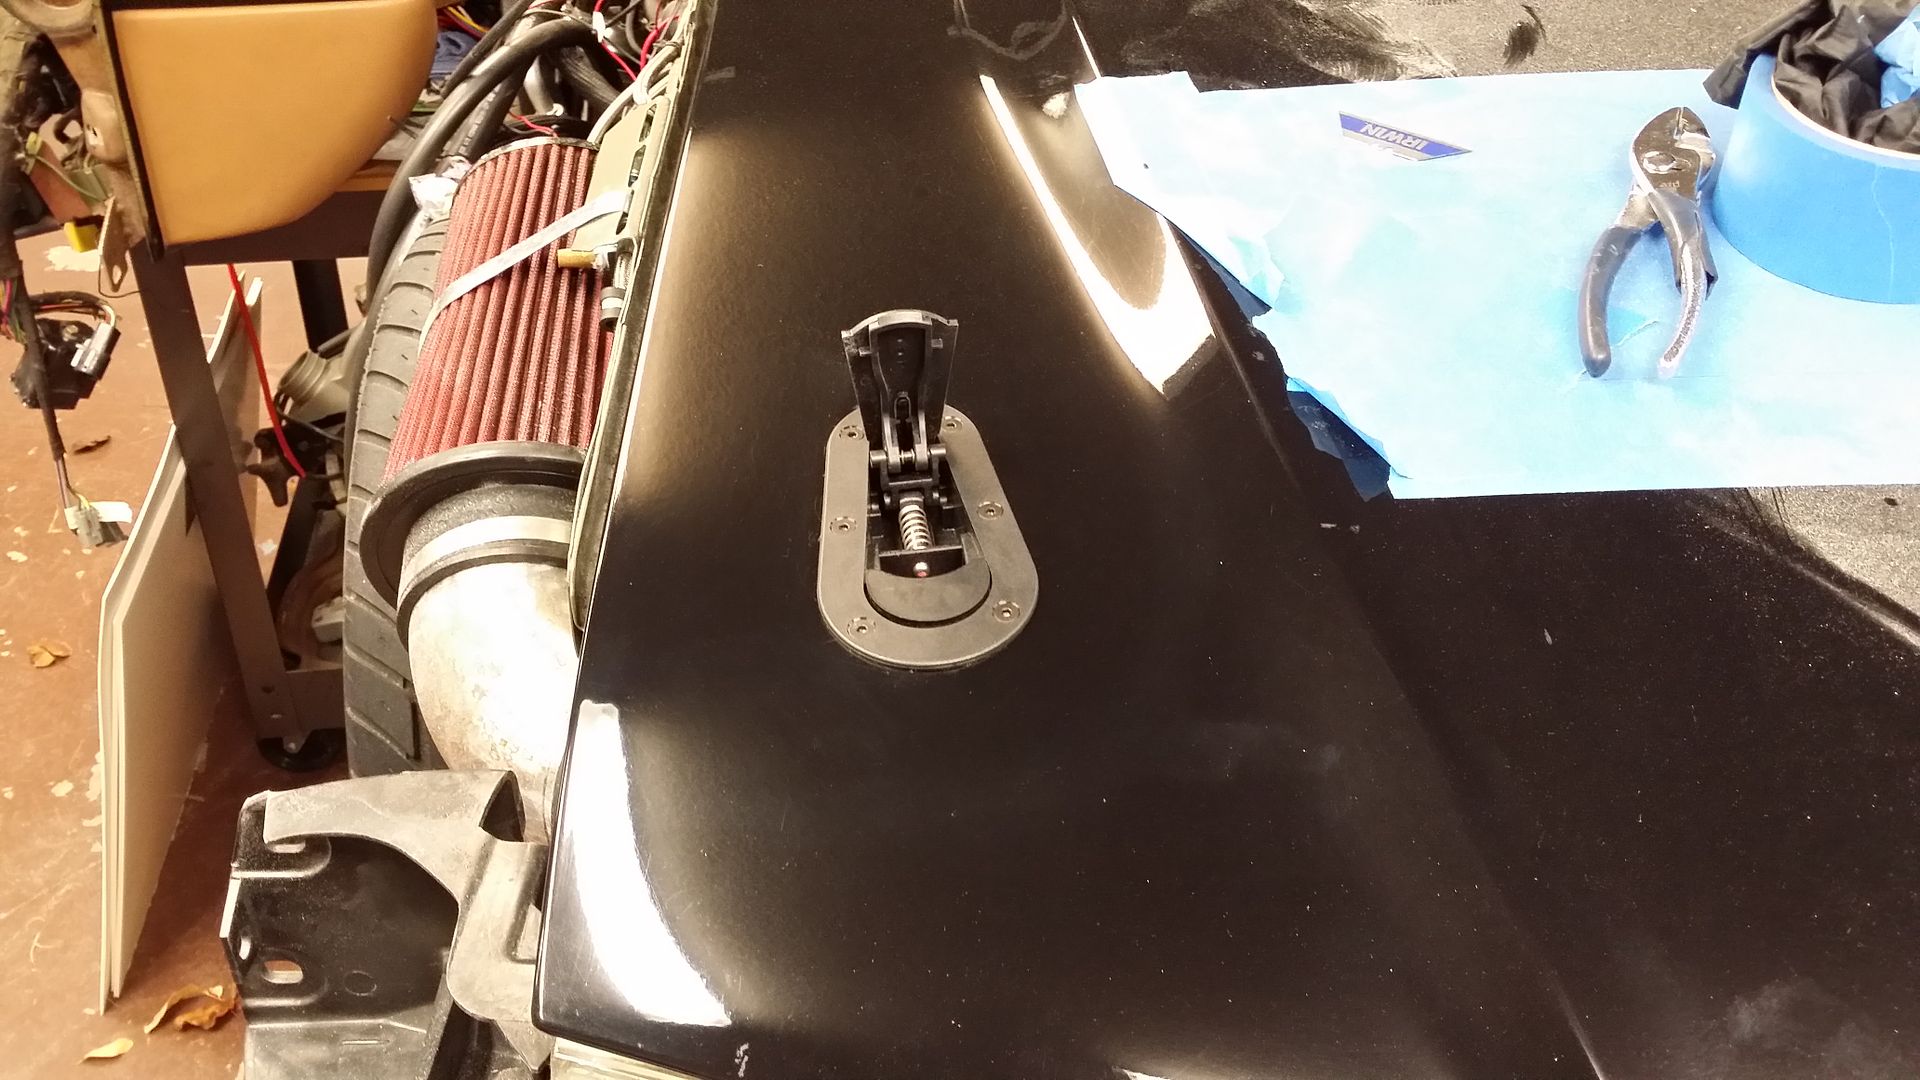
Their is ZERO margin for error in this system, none! So measure, measure, cut slow and sand the opening to a finished product. Oh, and take your tape off before tightening it down.. I had to pull it apart and start over.
 Fuck you. We're going to Costco.
Comment
-
With this dude right here.Originally posted by UserX View PostVery trick, nice work. How are you going to fill and bleed the coolant with the cap in that position? I've always heard that should be the highest point in the system.
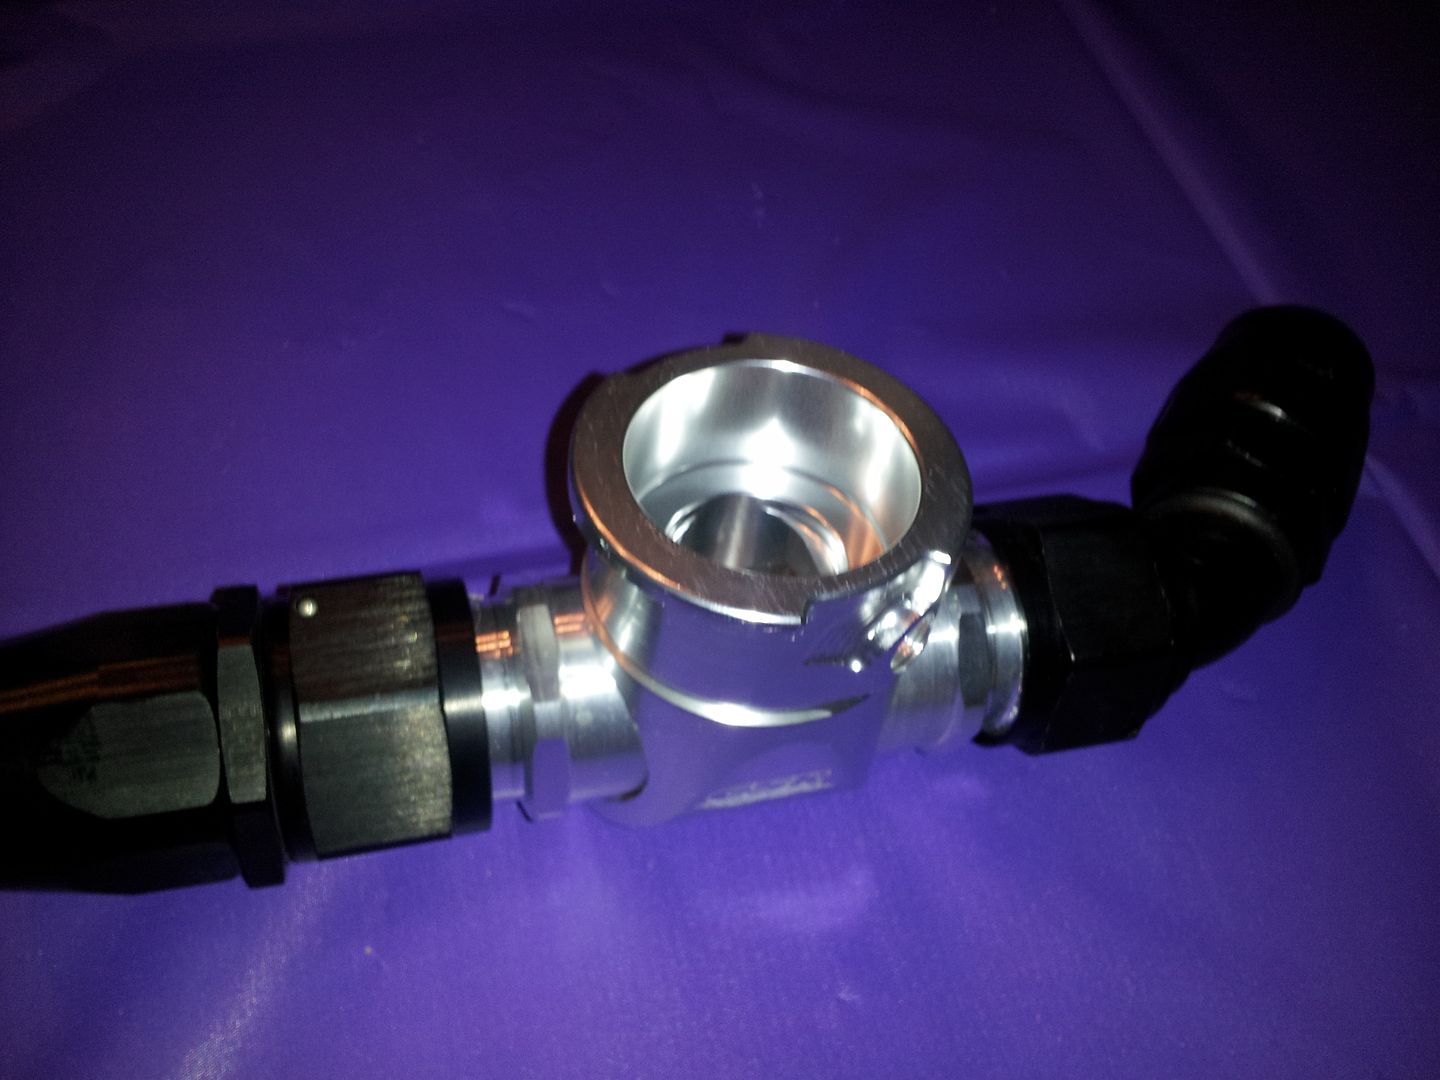
Just gonna mount it up high.Fuck you. We're going to Costco.
Comment
-
Very sic.
Those are the exact latches I am going to install on the shops project Mark. Made a custom one off hood and don't want to lose it. They didn't look like they would be fun to install. Now I know.Good judgment comes from bad decisions and a lot of that comes from bad judgment.
Comment
-
Thanks. They actually weren't that bad. I just did the driver's side and it only took me 20 minutes but I had already drilled the post's hole and laid the template down.Originally posted by LaserSVT View PostVery sic.
Those are the exact latches I am going to install on the shops project Mark. Made a custom one off hood and don't want to lose it. They didn't look like they would be fun to install. Now I know.
Thanks.Originally posted by FOKAI View PostNice work, big money build right there
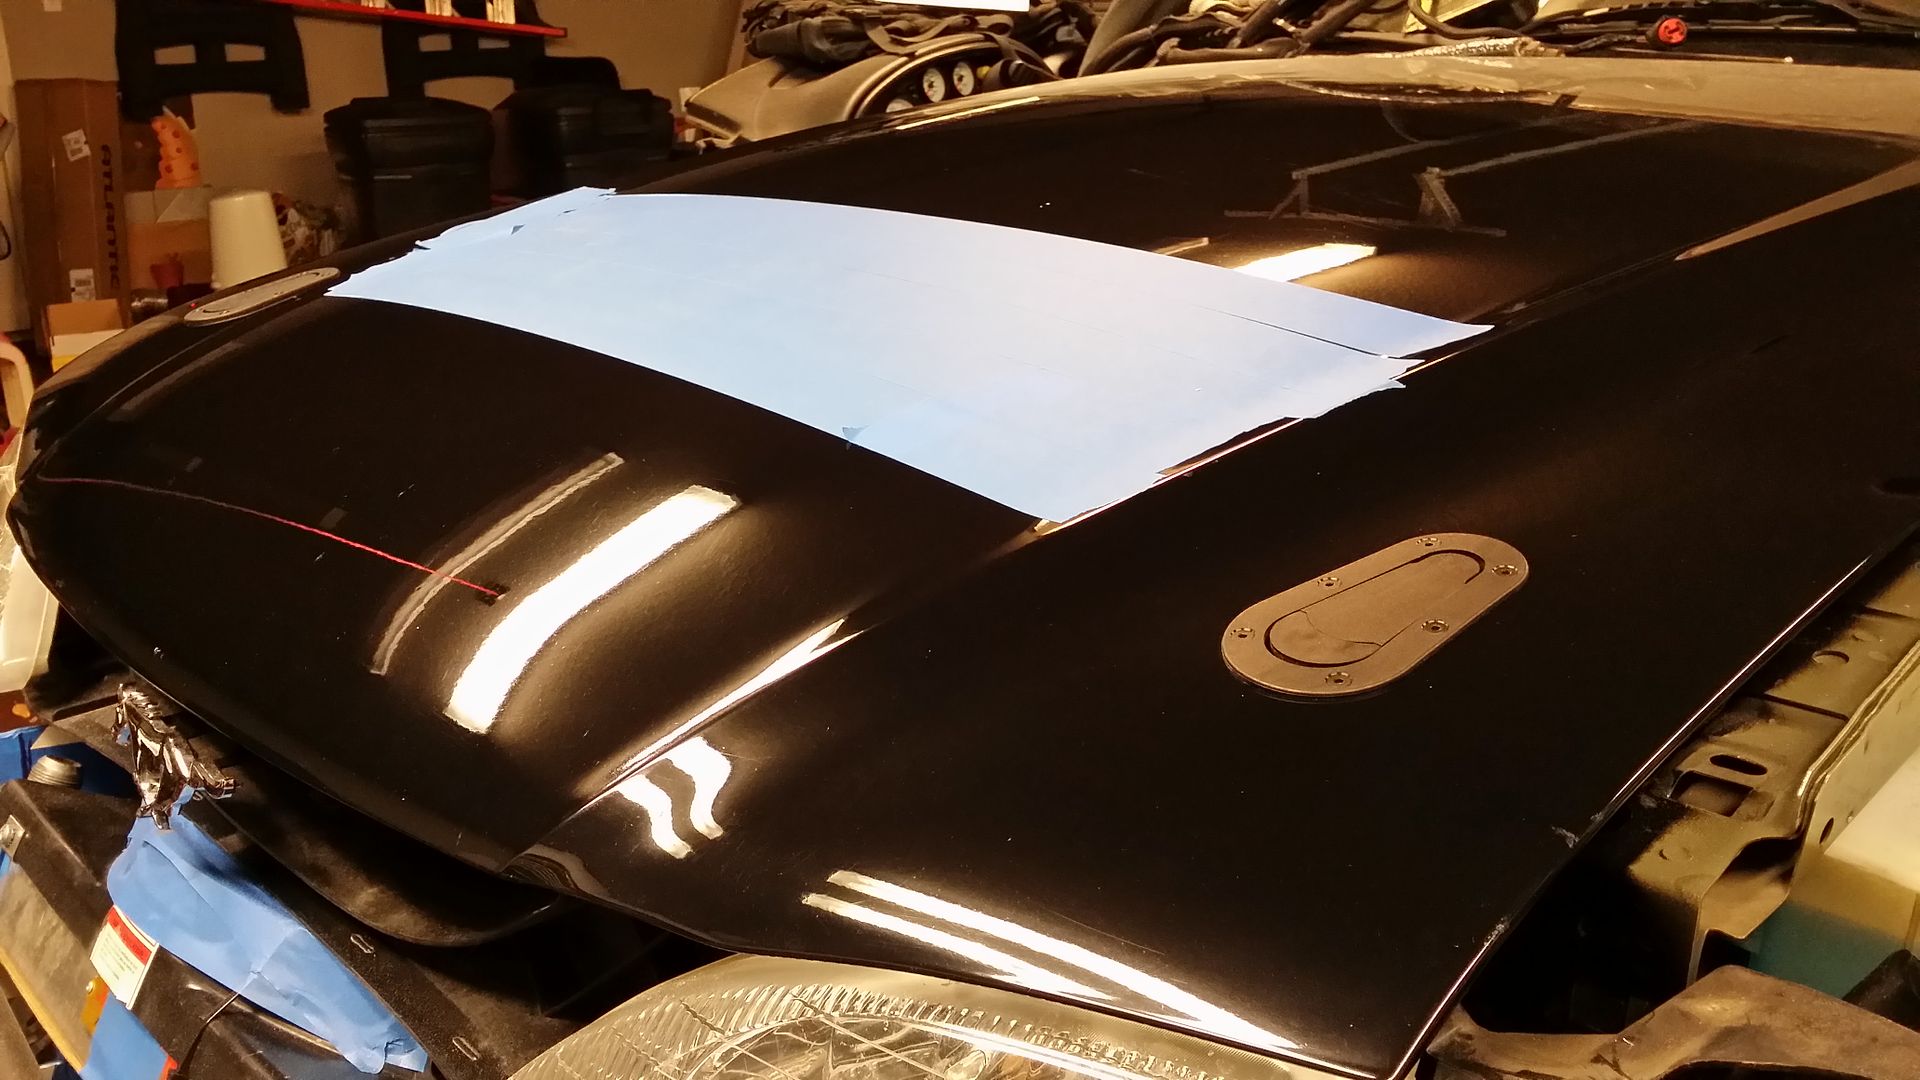
Here is the finished latched product. Of course the hood height won't come until the fenders go back on. Left to right alignment can be made by loosening the post and moving it.
 Last edited by KBScobravert; 01-06-2014, 09:19 PM.Fuck you. We're going to Costco.
Comment
-
Looks good!sigpic18 F150 Supercrew - daily
17 F150 Supercrew - totaled Dec 12, 2018
13 DIB Premium GT, M6, Track Pack, Glass Roof, Nav, Recaros - Sold
86 SVO - Sold
'03 F150 Supercrew - Sold
01 TJ - new toy - Sold
65 F100 (460 + C6) - Sold
Comment
-
The hood just starts to droop there but it all sucked up really flush. I lucked out really.Originally posted by cobrajet69 View PostLOL @ RATT
Keith, was there not a drop n the hood where you mounted the latches?
Looks hella flush though.
David
Now i need to find the hood insert and cut it out. I am feeling pretty confident having successfully installed the latches now. The vent is just a bigger hole. hahaFuck you. We're going to Costco.
Comment
Comment