This was posted some time ago. I worked the trigger on my budget build, but I didn't take any pictures. MY RRA Lower Parts kit showed up Yesterday, so I figured I would polish it up and take some pictures along the way. I used a write up from this thread http://www.dfwmustangs.net/forums/sh...trigger+polish
I used 800, 1000, and 1500 grit wet/dry sand paper and a piece of plexiglass.

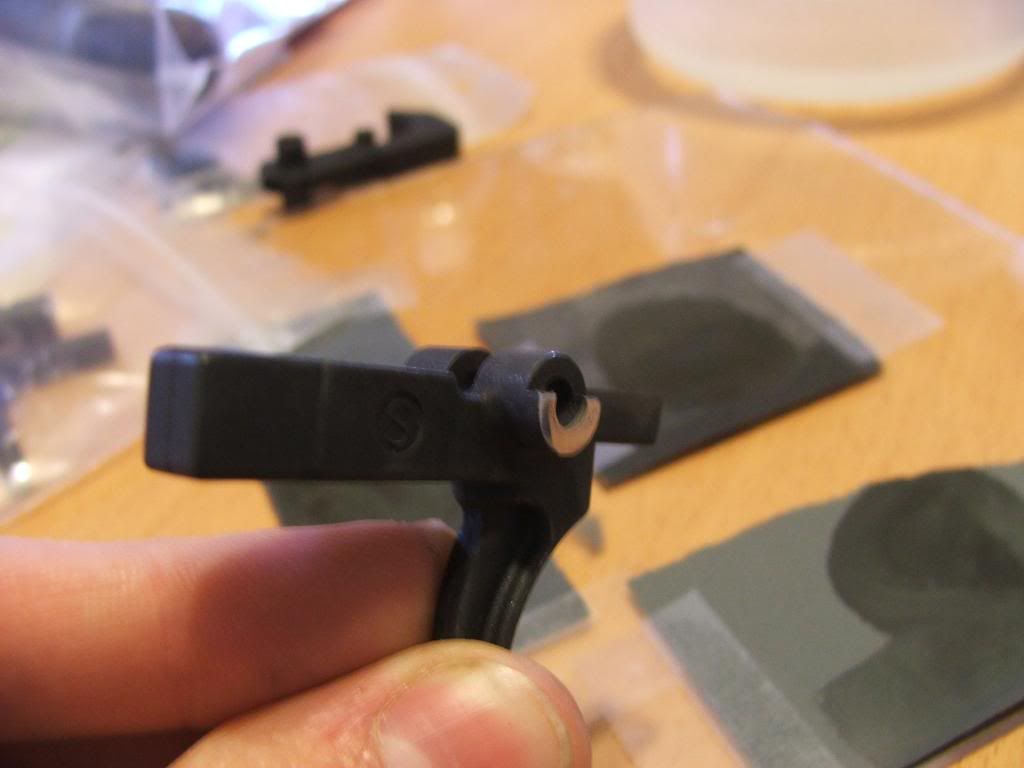
Here you can see the marks left behind from machining the faces on the trigger
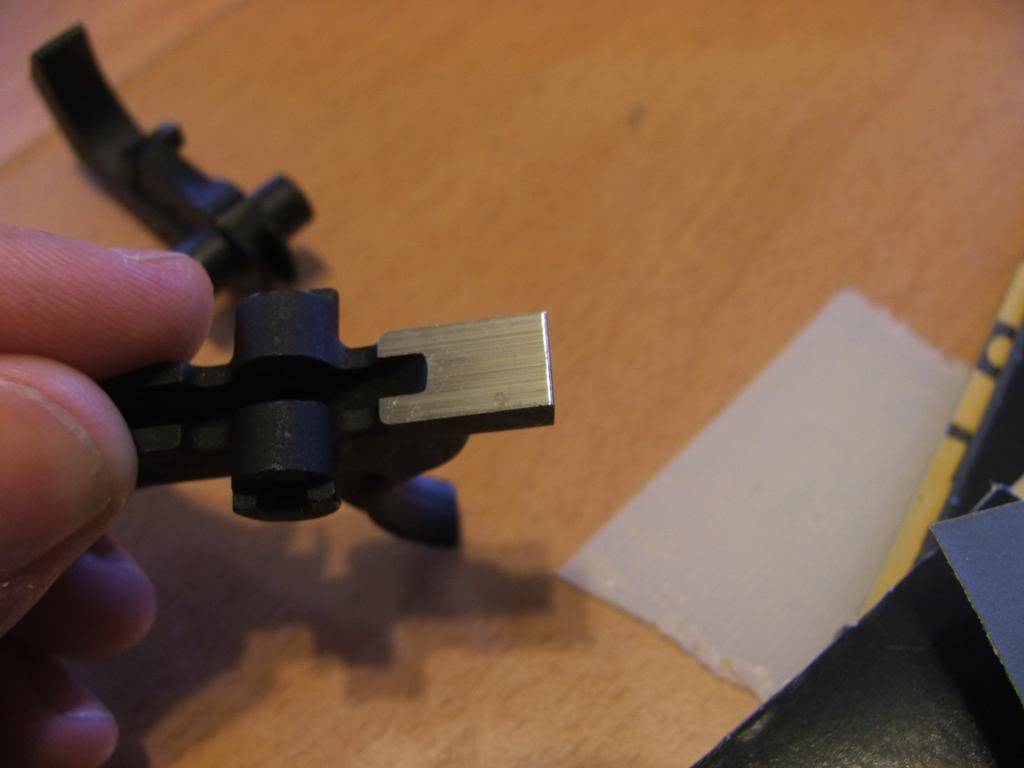
I started with the 800 grit paper
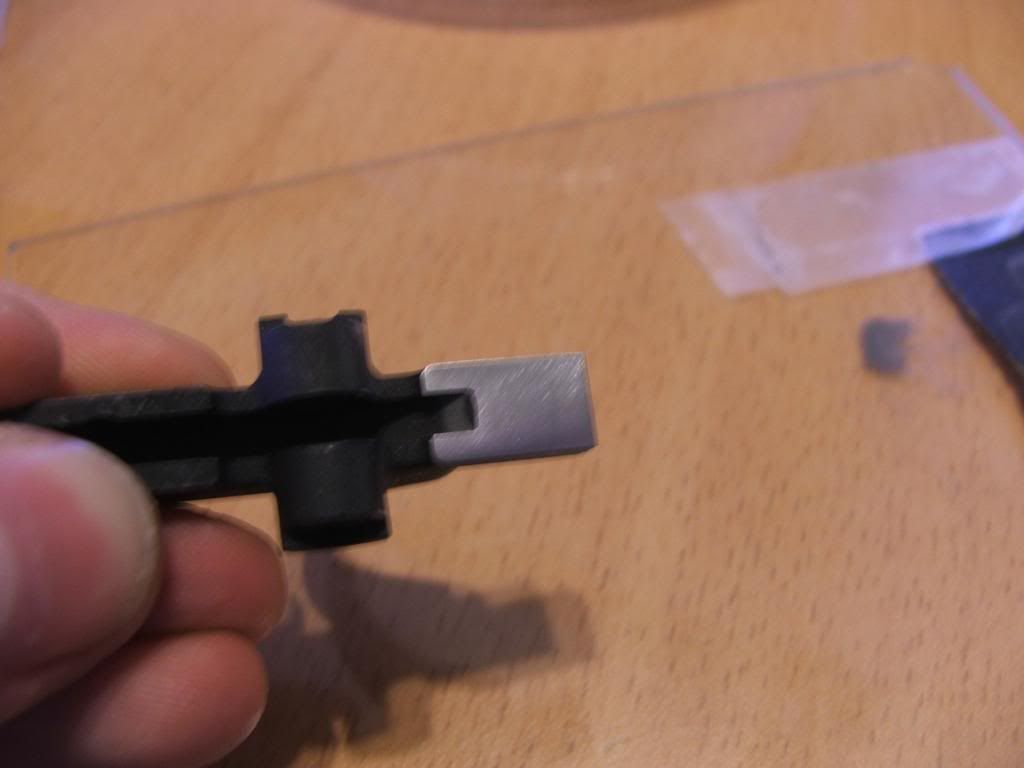
Then progressed to the 1000 and 1500
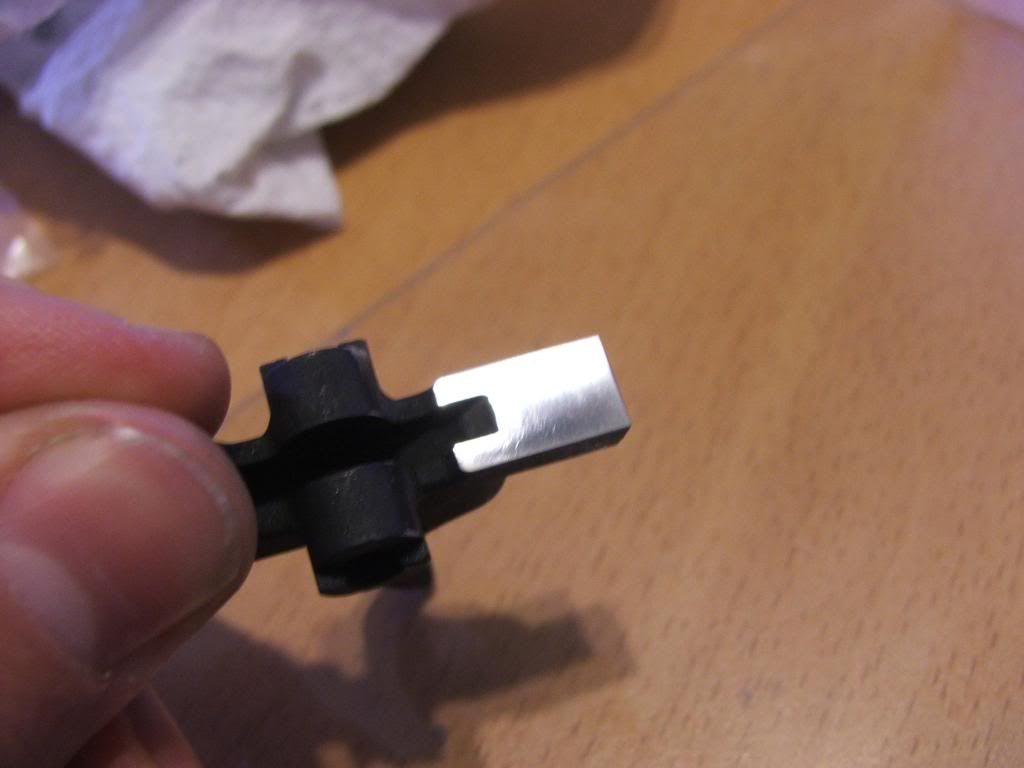
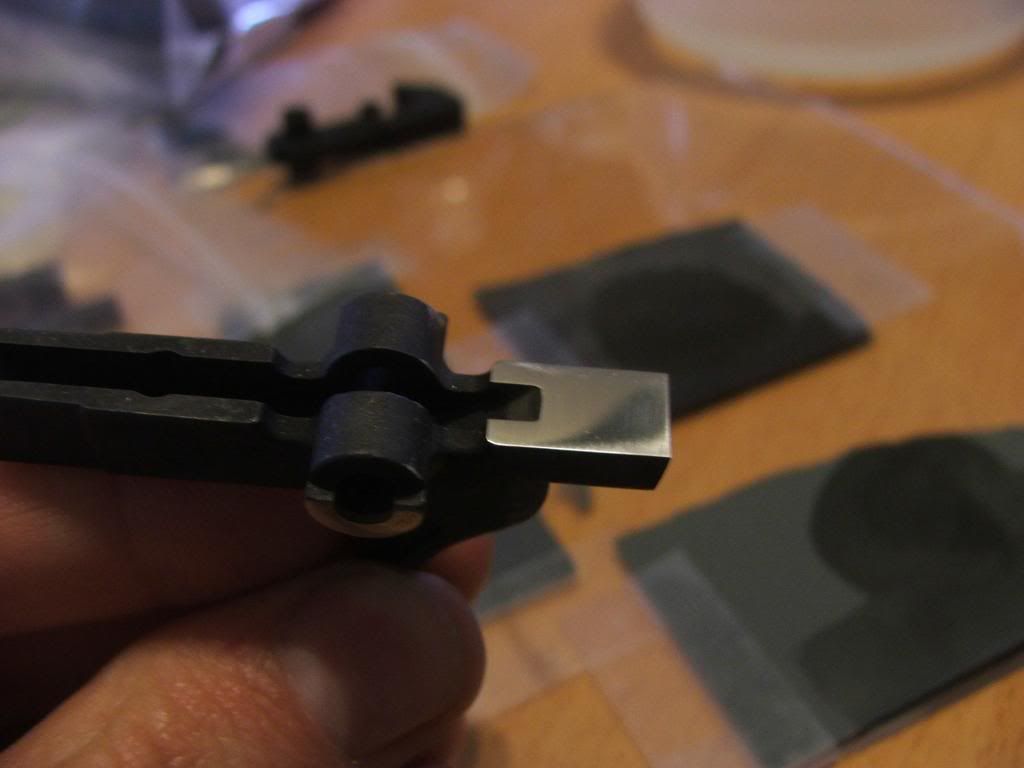
I also cleaned up the sides of the trigger where it would be contacting the lower receiver
I haven't worked the hammer yet, that is next on my to-do list. This only took about an hour.
Originally posted by CJ
View Post

Here you can see the marks left behind from machining the faces on the trigger

I started with the 800 grit paper

Then progressed to the 1000 and 1500


I also cleaned up the sides of the trigger where it would be contacting the lower receiver

I haven't worked the hammer yet, that is next on my to-do list. This only took about an hour.
 You place the glass on the top of the trigger to prevent the sharp edge on the top/front from chamfering. The face (front) of the trigger is your contact piece.

Comment