This is super cool man!
Announcement
Collapse
No announcement yet.
1/12th Scale 1969 Camaro Build
Collapse
X
-
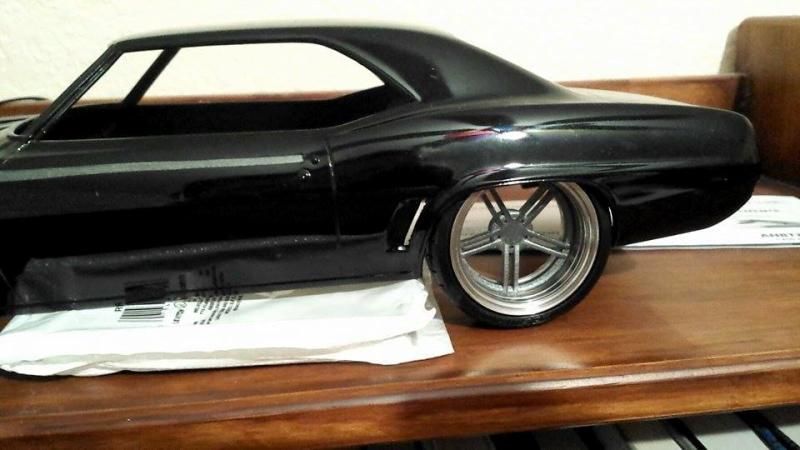
Thanks. This thing has been in and out of storage, left on the shelf, and just looked at for the last few years. I hit a wall because of the wheels. Not being able to find someone capable and willing to do the machine work. Once I get the wheels back and they are good to go, one of each will be sent to a member here to see if he can design some tires in solid works so that I can print them. I am hoping I can find someone able to print in a black rubber like substance. If not, they will get printed in plastic and I will create a mold and cast them from casting rubber.
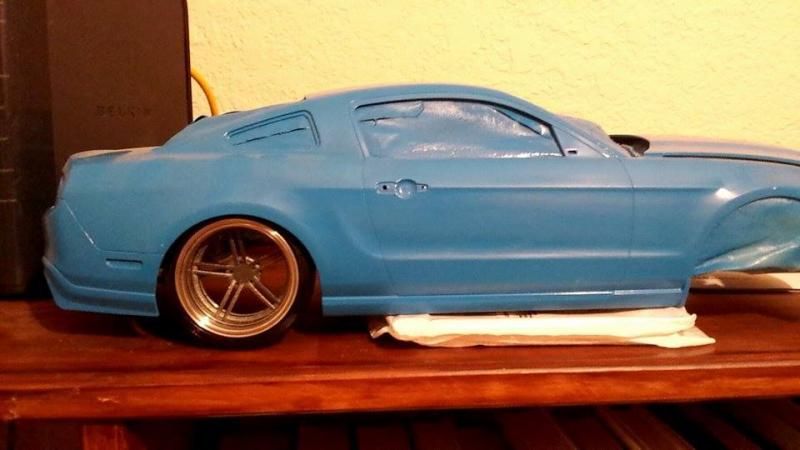
Due to the width of the rear wheels, I will have to narrow part of the chassis tub. Hopefully it is easier than what I had to do for the Mustang I have been working on.Originally posted by LeahBest balls I've had in my mouth in a while.
Comment
-
I wasn't sure where to put this. I need to start a thread for all of my old models...
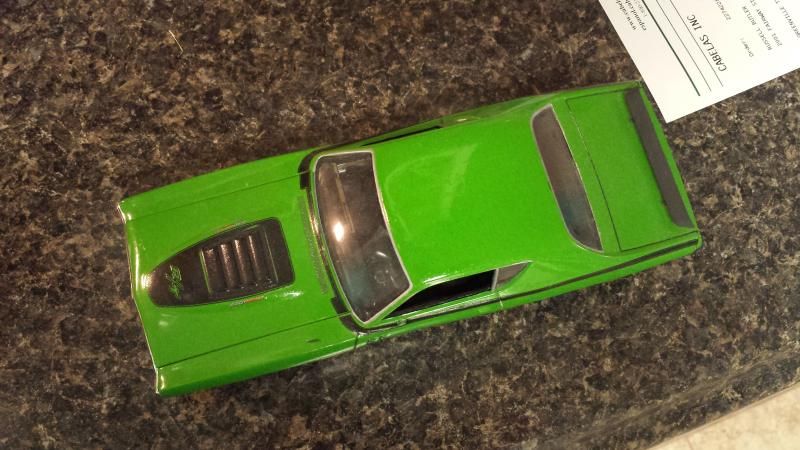
Well, it is not large scale but I need to vent. I packed up my models almost 5 years ago, kits and completed projects. Today I reached a point where they could come out of their boxes. As I began unpacking them damage appeared to be minimal. A few missing mirrors, etc. Then the second box... My pride and joy of each model was a great paint job, shiny finish and smooth as glass. Well, the way I packed them, each one carefully placed into a plastic bag, then into boxes with shredded paper. The paper did its job, but the bags sealed their fate. Anything not sprayed with multiple layers of urethane clear did not fully survive. Many of their finishes are ruined. One of which, my charger which I was VERY proud of, the paint melted in one spot, thank you very much model masters. I was almost in tears, all of that work, ruined. The kicker, both of my C6 Corvettes are hoodless, I no doubt packed them away as they aren't in the same box, and I have absolutely no clue where they are.....Originally posted by LeahBest balls I've had in my mouth in a while.
Comment
-
Well, I picked up a 1/8th scale 65 vette last week. That combined with a somewhat organized and dedicated work space, I have finally gotten the urge to work on this again.
I started cleaning up and adding detail to the resin cast LS1 I got from a friend in California. It is a good starting point, better than my attemp at a master. Most of what it needs are the ribs added for detail throughout. I am also removing any molded bolt heads, those will be replaced with machined aluminum bolts. I also started cleaning up the heads and drilling holes for the spark plugs.
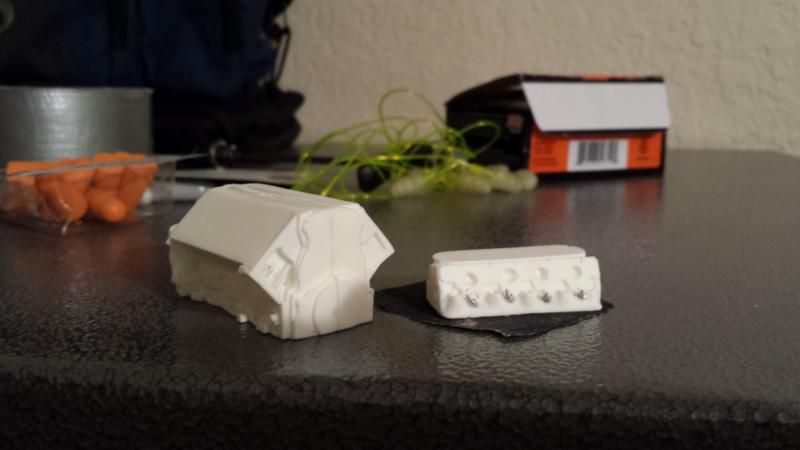 Originally posted by LeahBest balls I've had in my mouth in a while.
Comment
-
A few people have created some one off fairmonts, but I have yet to see a resin body. Hell, it took AGES to get a fox body coupe kitOriginally posted by Sleeper View PostIm still waiting for a box top fairmont kit. I have a feeling ill never get one.Originally posted by LeahBest balls I've had in my mouth in a while.
Comment
-
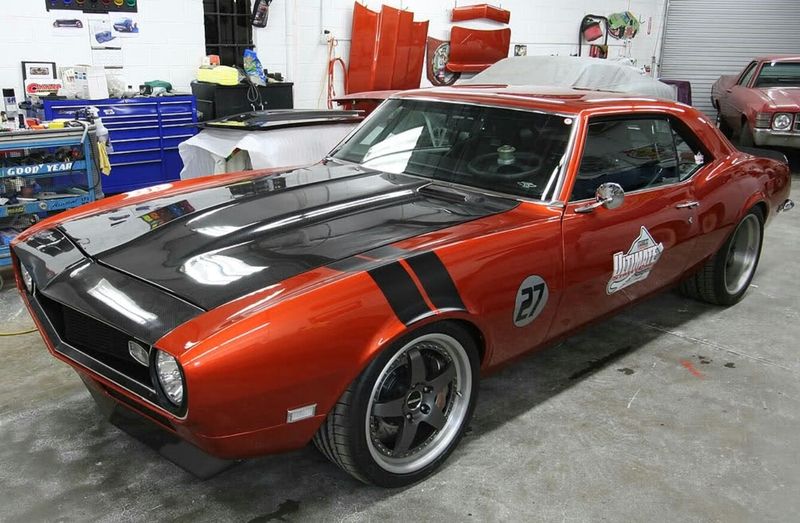
Well, I'm trying to revive this thing and get some work done. I ordered more Sunset Orange Metallic paint, this time in aerosol, and I'm going back to the original color. The market for 3D printed parts is growing by leaps and bounds and I'm not having to create parts myself in Solidworks and send them out to be printed. I've picked up a 3D printed LS1, going to go back to the smaller wheels, and hopefully make some good progress on this thing,
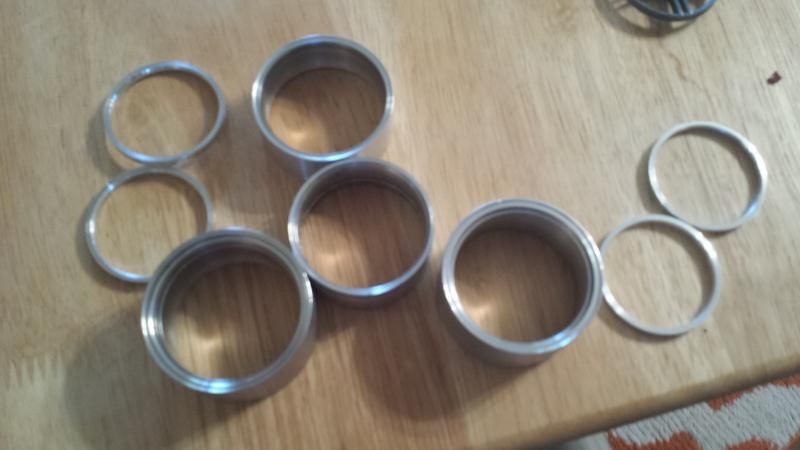
I'm going to use the same wheel that I designed and hopefully find someone to machine some sleeves for them, if not, I'll have to have some printed and try to get the proper effect with polished aluminum.
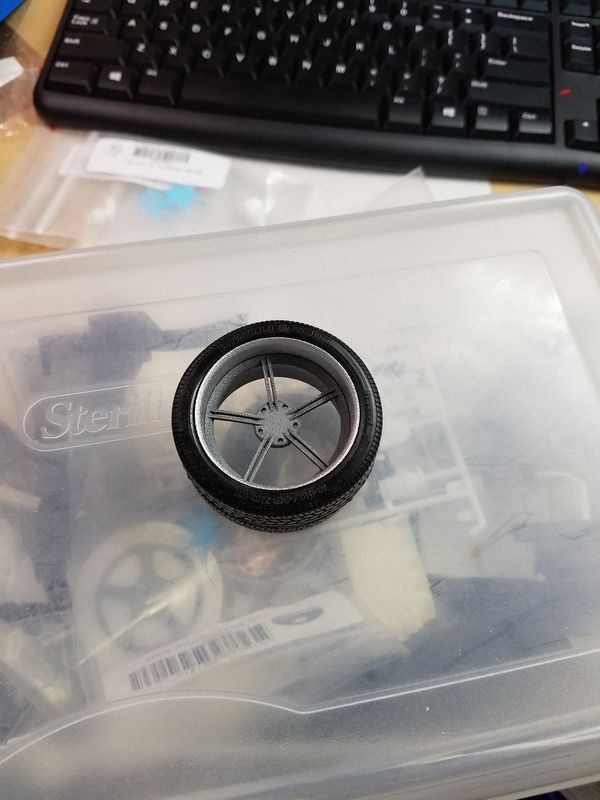
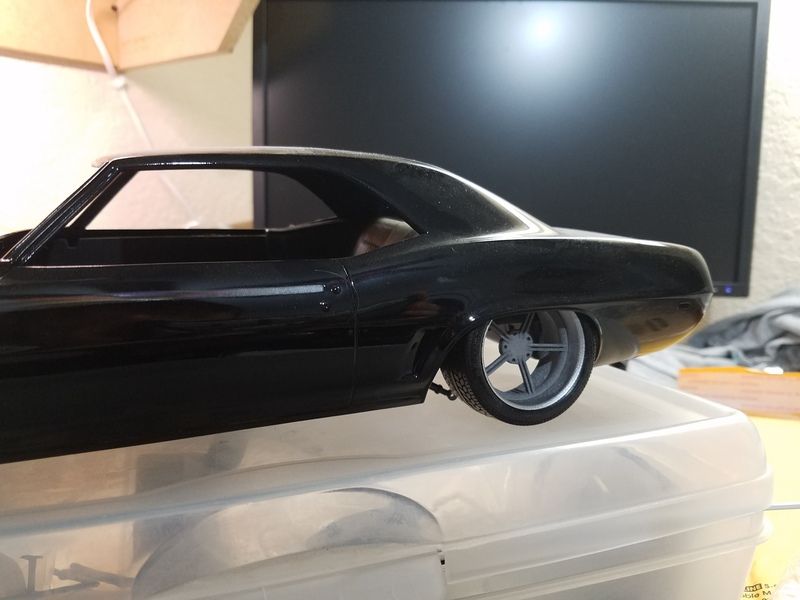
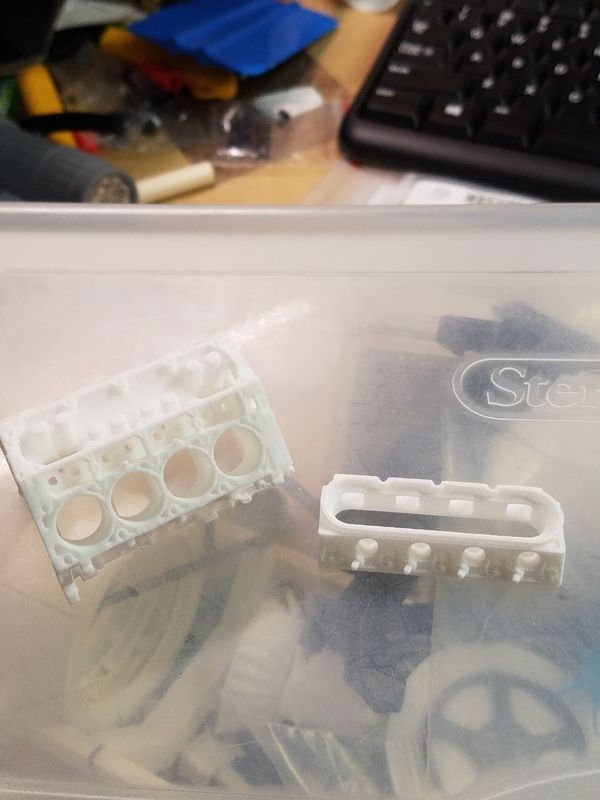
Here is a shot of a few of teh engine components. The detail is CRAZY. I can get full engine kits, though it gets expensive. It would be fun to build a 1/8 or even 1/4 diorama with an engine being assembled.
And the car that has inspired this never ending project. Bad Penny. I'm going to mimic this car. It won't be exact, the color will be a bit darker, wheels different, and no fender stripes. I'm going to add the CF pieces, hood, trunk, etc. The trunk will get an aluminum/sheet metal spoiler instead of the CF one in the pic
 Originally posted by LeahBest balls I've had in my mouth in a while.
Comment
-
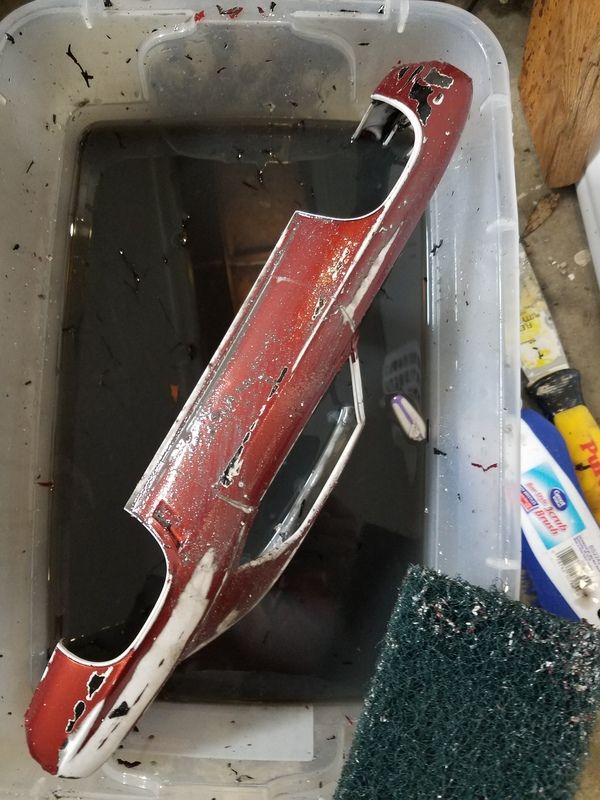
Nothing ground breaking, but it is a start. It took almost a month to strip the paint. The two most common methods in the model world are simple green (or other strong/concentrated degreaser) and brake fluid. I tried the simple green first and it wouldn't touch the urethane clear. Next came the brake fluid, in which it sat for almost 3 weeks. Finally tonight I pulled it out of the simple green I transferred it to last night to clean up th brake fluid and break down the last bit of primer on the shell.
This was mid way through the process
Allmost there
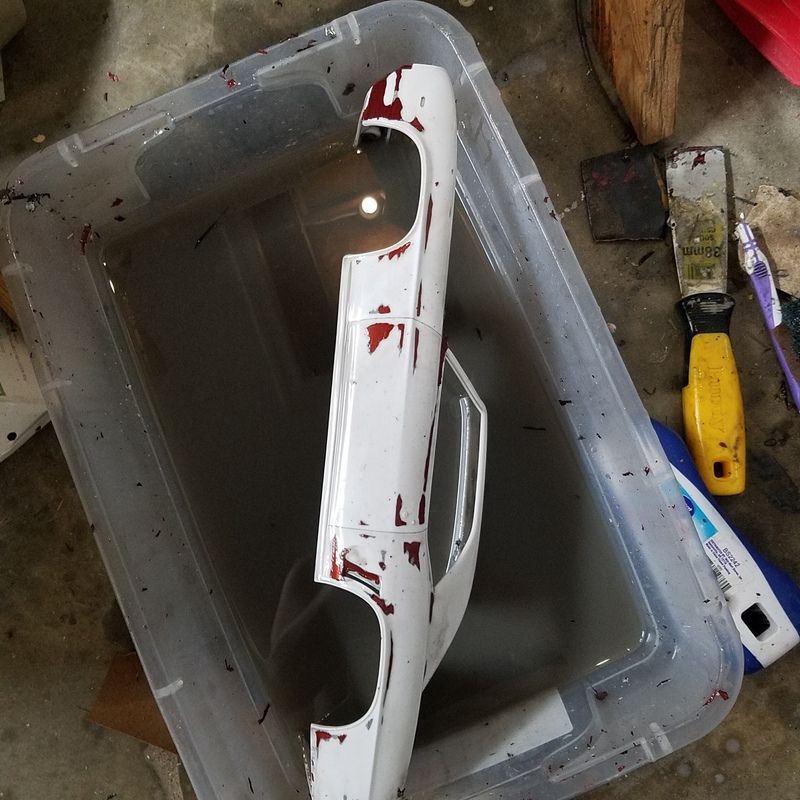
And 2 gallons of simple green, 2 gallons of brake fluid, and 2 green scotch brite pads later I am ready to get pissed off at having to touch up the body work before I paint it.
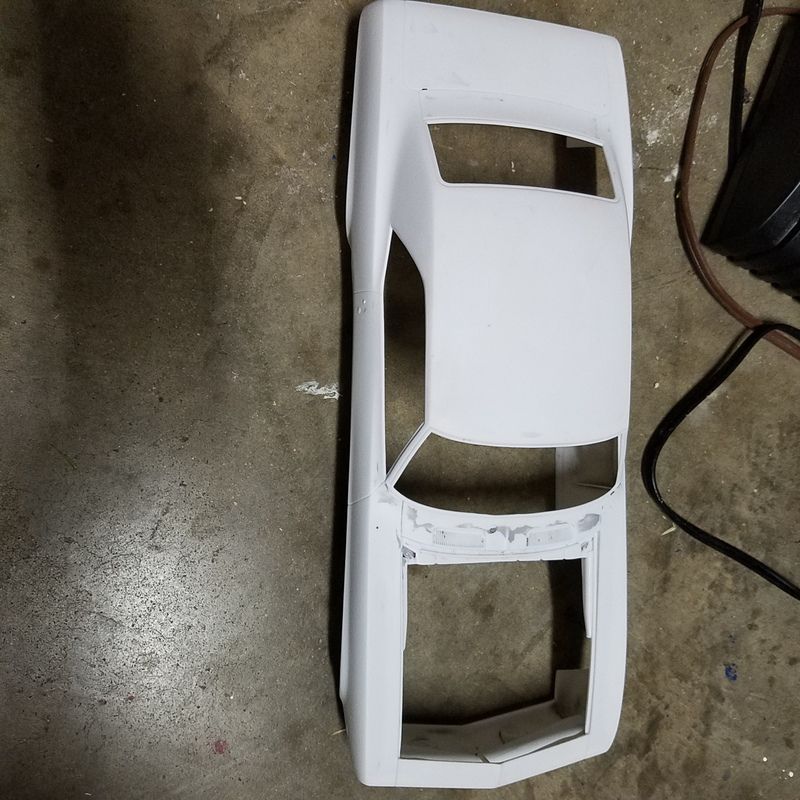
Hopefully over the next week I can find enough time to smooth the body out with 800/1000 grit. Fix the filler that broke loose during stripping, and get it ready for primer and some color.
Sent from my SAMSUNG-SM-G930A using TapatalkOriginally posted by LeahBest balls I've had in my mouth in a while.
Comment
-
As long as I have been working on it, it damn well better! Hopefully once I get it re-painted Sunset Orange Metallic, I'll get excited about it again. It is difficult to find time to work on the projects I have going with a 10 month old running around. But I am determined to make some progress on this thing!Originally posted by Ratt View PostYou have way more patience than I do. I bet that'll turn out fantastic.Originally posted by LeahBest balls I've had in my mouth in a while.
Comment

Comment