I've not done working doors yet. Here is a tutorial from a modelling forum I visit. Although this is for "lambo" style doors, it works for normal function as well. The wire for the hinge can be made from a paper clip, the tube, you want to use a properly sized aluminum or brass tube. The hardest part, I would assume, is getting it all lined up. This is the easiest method for smaller scale stuff. For the Mustang however, I'm going to work on accurate looking hinges. We will see what happens....
Announcement
Collapse
No announcement yet.
A pair of 1:12th Mustangs
Collapse
X
-
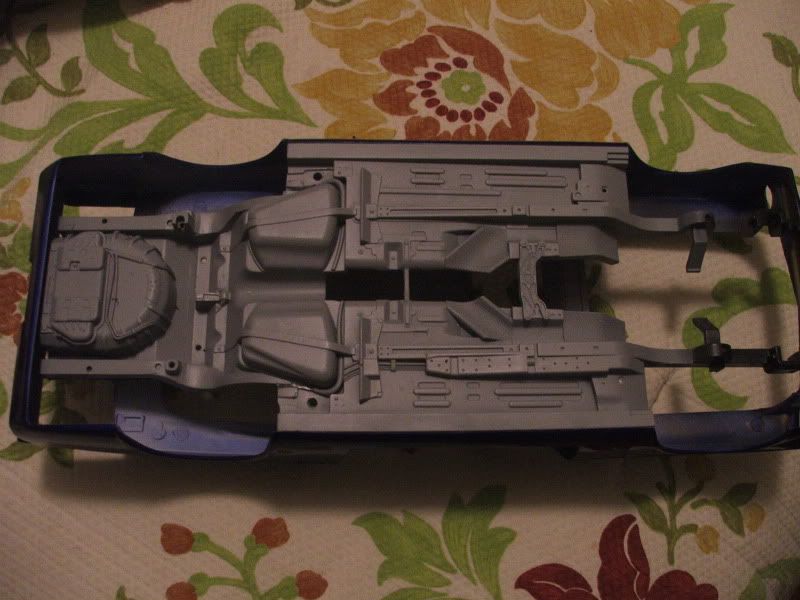
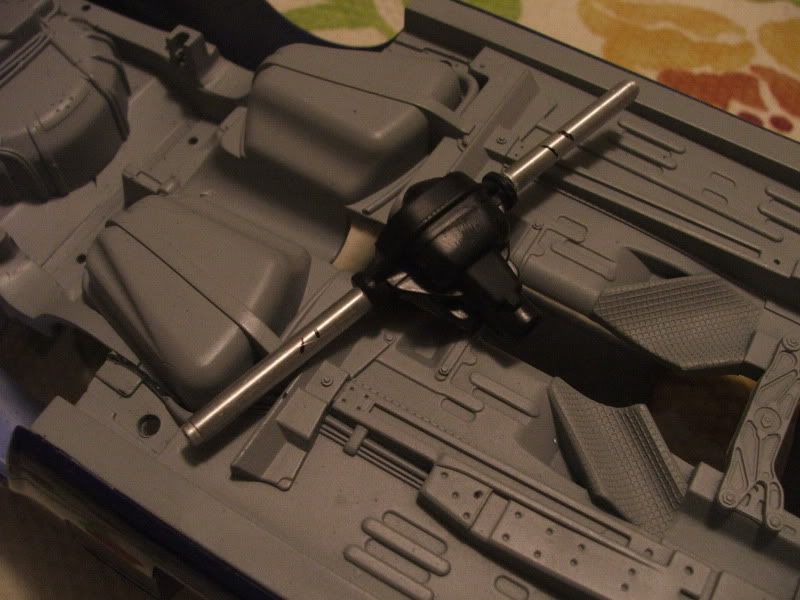
I got a little more work done on the '65 last night and this morning. I have the chassis tub "tacked" to the body so I can get an idea of how the rear suspension is going to work. Since I narrowed the rear of the chassis and frame, I had to make some modifications to the rear-end housing. I removed the plastic axle tubes (which appeared very warped) and added some aluminum ones in their place. I don't think they are 100% square, but they will work. The coil spring mounts are no longer in the frame, as they were removed when I narrowed the rear.
My original idea was to use the arms that came in the kit. however, they just weren't workable. So I removed the chassis mounts, and will use them as the mounting point for some the rod ends for the new links, they will be made from machined rod ends and aluminum tubing. I'm going to use the factory mounting location on the chassis and create new mounts for the rear-end housing. The links will no longer be parallel due to how much more narrow the rear is. To finish it out, I will create a new panhard bar and coil over shocks.
You may also notice that there is a smaller aluminum tube inside of the axle tubes. These allow me to adjust the width of the rear wheels so I can get the rear suspension placed properly.
 Originally posted by LeahBest balls I've had in my mouth in a while.
Comment
-
I really think I have a sickness. Someone posted the Ferrari F-40 thread a couple of weeks ago. It really made me want to track down a 1/12th scale F-40 kit. I stumbled upon this:
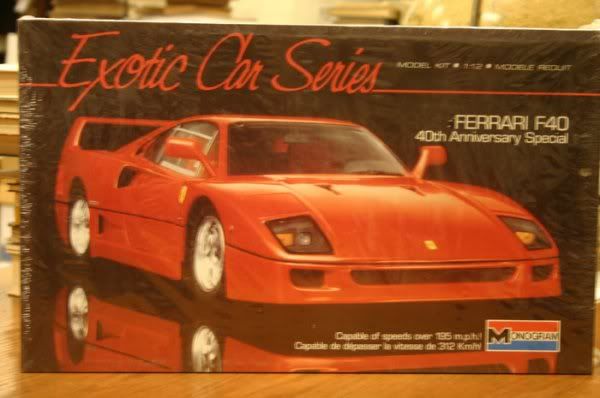
For sale for a really good price. I've seen them go on e-bay from 75-200 plus shipping. After looking for a while, I found one for 29.99 + 15.00 shipping. It should be on its way to my model stash sometime next week. I hear there are some issues with this kit, being an old monogram kit, I expect to find fit/finish issues, as well as some people say that the body dimensions around the rear wheels are wrong. we shall seeOriginally posted by LeahBest balls I've had in my mouth in a while.
Comment
-
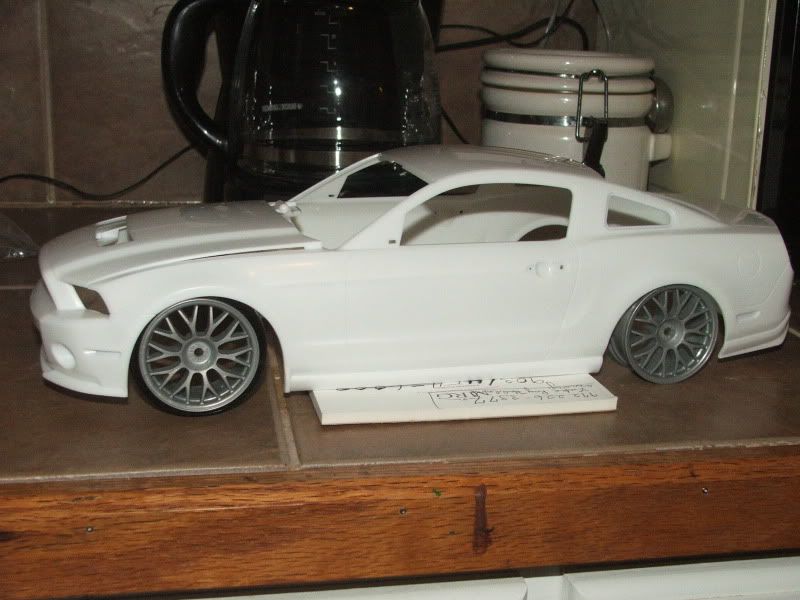
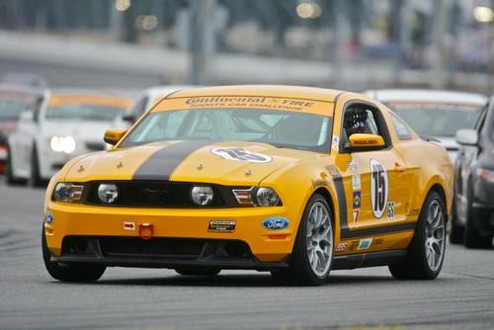
Trying to get motivated to do some building, I pulled the GT500 body and the HPI wheels out this morning. I think I may go from drag to road racer. I shot the body with some white primer to find any molding issues, and the wheels got a coat of satin black. I am sure what color I am going to go with on this build. I want to stay away from dark colors, suggestions? I am not sure if I will pick up another kit and swipe the chassis, or if I will re-work the frame I have built to resemble a road race tube chassis. This pic got me inspired
Sent from my SAMSUNG-SGH-I727 using Tapatalk 2Originally posted by LeahBest balls I've had in my mouth in a while.
Comment
-
It is definitely going road race. Grabber blue is on the short list, just not sure if it has enough pop for me. The other major question is full tube chassis or stock with an added cage. Does anyone have some decent pictures of a road race chassis?Originally posted by UserX View PostI vote road race in Grabber Blue.
Sent from my SAMSUNG-SGH-I727 using Tapatalk 2Originally posted by LeahBest balls I've had in my mouth in a while.
Comment
-
The more pics I look at the more I lean toward Grabber Blue. So, I think that is the plan. Grabber Blue with carbon fiber accents. I don't plan to modify the body any at this point. Hopefully I can get the body prepped tomorrow and painted on Tuesday. While I have the airbrush out, I have 3 engines (two mustangs and he F40 that need shot with alclad aluminum.
Sent from my SAMSUNG-SGH-I727 using Tapatalk 2Originally posted by LeahBest balls I've had in my mouth in a while.
Comment
-
I have come to love the large scale stuff. I have a hard time doing an OOB (out of box or stock) build. Everything gets some kind of scratch built part or modification. They are much easier on large scale stuffOriginally posted by kobuzz View PostCool projects. I'm building a 1/16 Charger and trying to figure out what type of build I want to do. I always stay 1/24-1/25 and this is my first big scale attempt.
Sent from my SAMSUNG-SGH-I727 using Tapatalk 2Last edited by black2002ls; 05-05-2013, 02:57 PM.Originally posted by LeahBest balls I've had in my mouth in a while.
Comment
-
Stopped at vato zone this morning to pick up some primer. I was hoping to find Grabber blue in dupli color shake shake but no luck. I will get some pictures posted once it is in primer and ready to get some real paint. Tomorrow after my Dr. appointment I will be stopping at English Color for 3-4 oz of paint.
Sent from my SAMSUNG-SGH-I727 using Tapatalk 2Originally posted by LeahBest balls I've had in my mouth in a while.
Comment
-
Spent some time on lunch working on this. It ended in a brake fluid bath. The plastic primer I used first didn't agree with the dupli color filler primer. It started crazing in a few spots. As I was wet sanding it was just flaking off. I tried to work with it, but I ended up losing the panel lines, so I made the decision to strip it.
Sent from my SAMSUNG-SGH-I727 using Tapatalk 2Originally posted by LeahBest balls I've had in my mouth in a while.
Comment
-
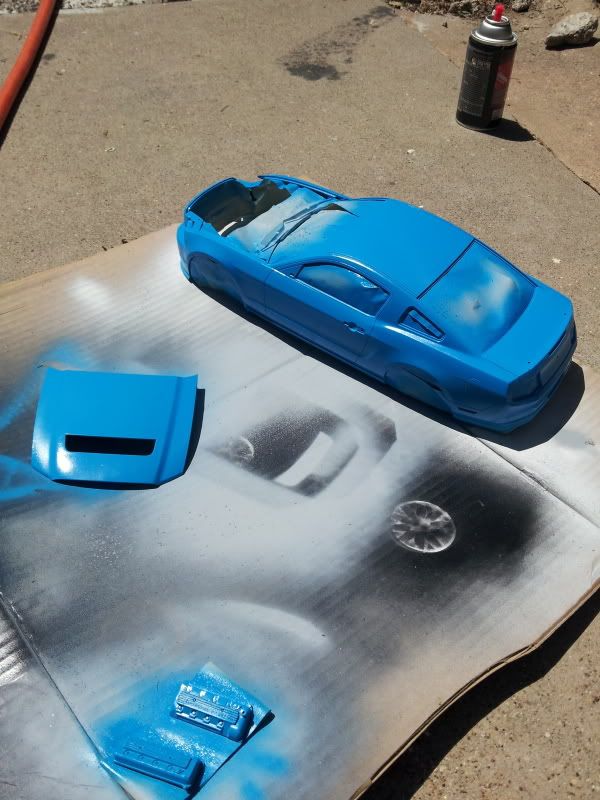
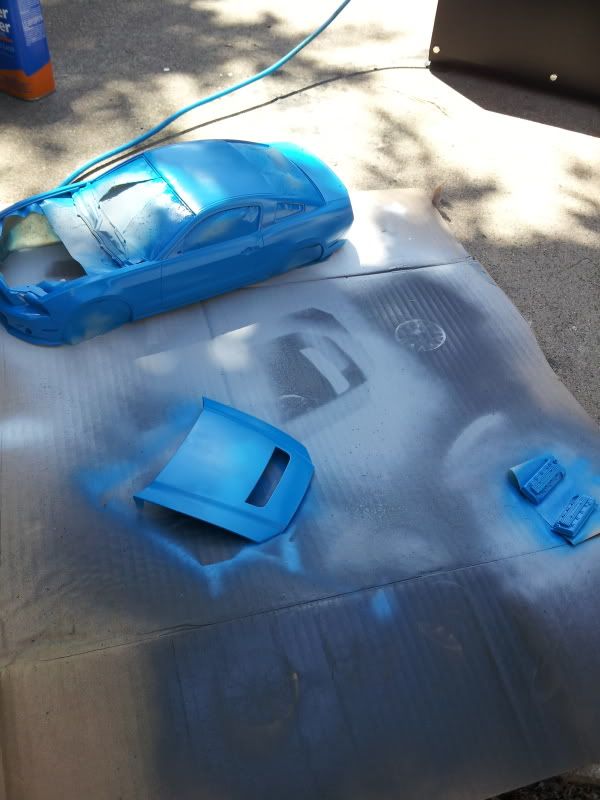
Managed to get some color on this today. I didn't realize until after the first coat that I was spraying WAY too thick. It has been quite a while since I have worked with auto paint through the airbrush. (for those of you who may be concerned this is NOT the same airbrush I use for my cakes!). the second coat I cut the paint 1:1 with lacquer thinner. I did not ask for a touch up bottle at English Color, but that is what I got any way. Hopefully I can get the paint knocked down today and another coat on everything tomorrow. I doubt my omni clear is any good (in storage for 3 years) so I will pick some up later this week.
Sent from my SAMSUNG-SGH-I727 using Tapatalk 2Last edited by black2002ls; 05-07-2013, 03:59 PM.Originally posted by LeahBest balls I've had in my mouth in a while.
Comment
-
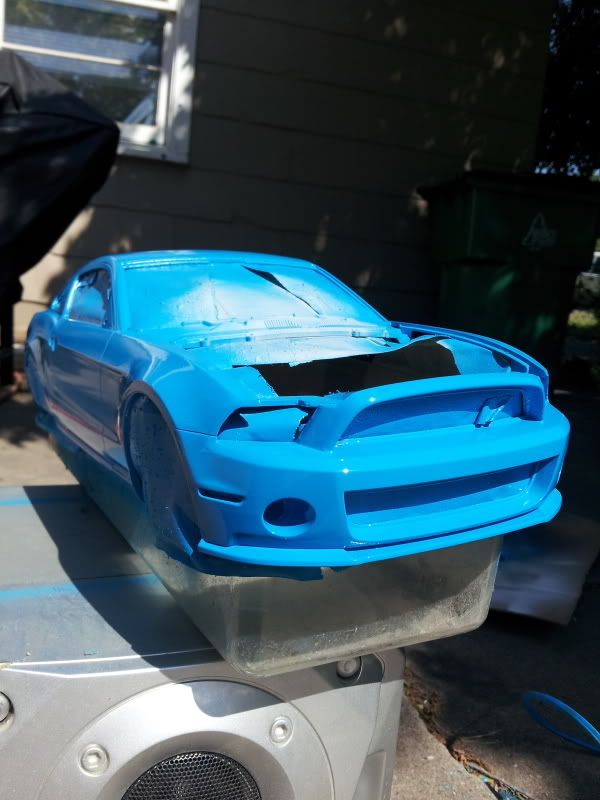
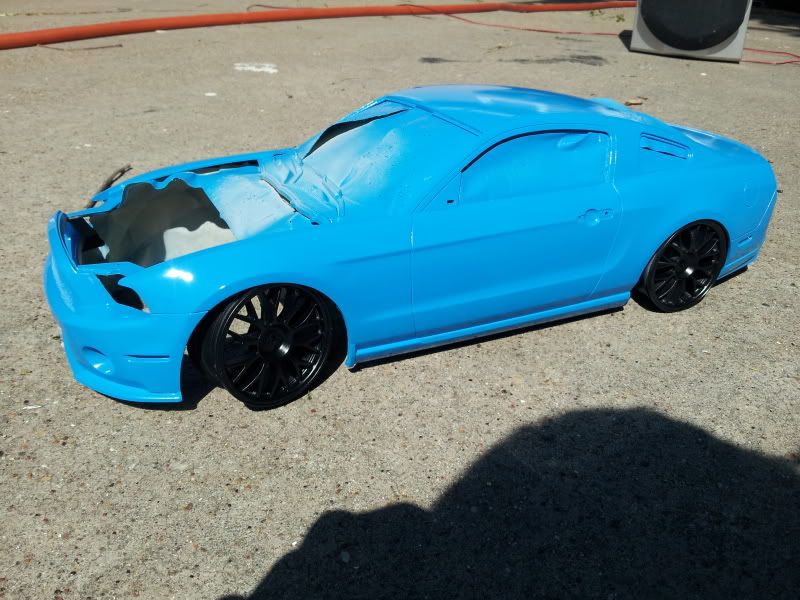
Two more. Wet sanded with 800 grit and 3 more coats of blue. Thinned the paint a bit more this time. 3 parts thinner to 2 parts paint sprayed at 40 psi. The downside to not having a closed environment, there is a little trash in the paint. I should be able to polish it out and then clear it though.
And a money/motivational pic
Sent from my SAMSUNG-SGH-I727 using Tapatalk 2Originally posted by LeahBest balls I've had in my mouth in a while.
Comment
-
Last one for today. For those of you who build models and look for realism, this one is for you. Keep in mind, these pics are taken with my phone. I previously used testors metalizer paints for bare metal parts. This is the first time using Alclad. I have always heard and seen great things, but it was a little pricey for my budget. The engine was painted with Alclad's black base, and followed with Alclad aluminum. It needs some weathering, but I am more than pleased .
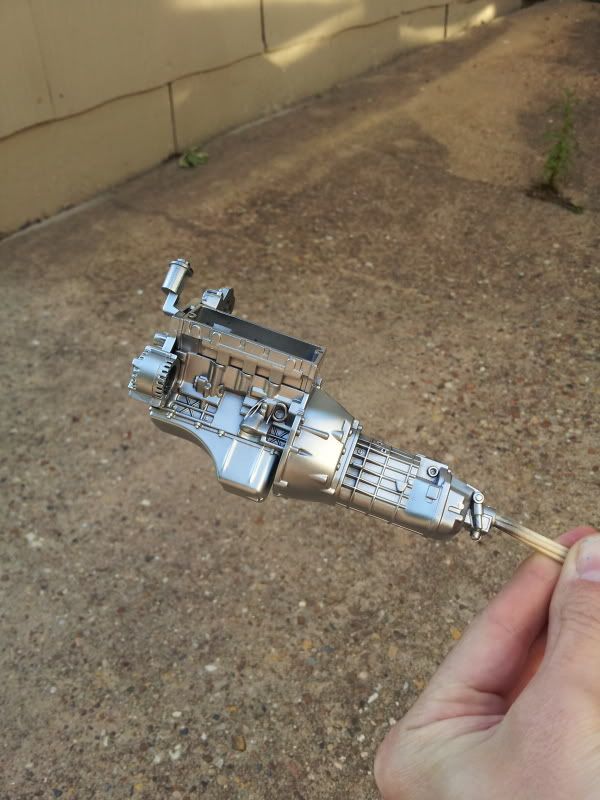
I didn't realize the front of the supercharger is attached to the main motot pieces. I may put together the spare I picked up on ebay with intentions of creating a Kenny Bell instead of the factory piece
Sent from my SAMSUNG-SGH-I727 using Tapatalk 2Originally posted by LeahBest balls I've had in my mouth in a while.
Comment

Comment