Made a hearth with the help of Mustang1200. Didn't take a ton of pics, but here is what ended up with.
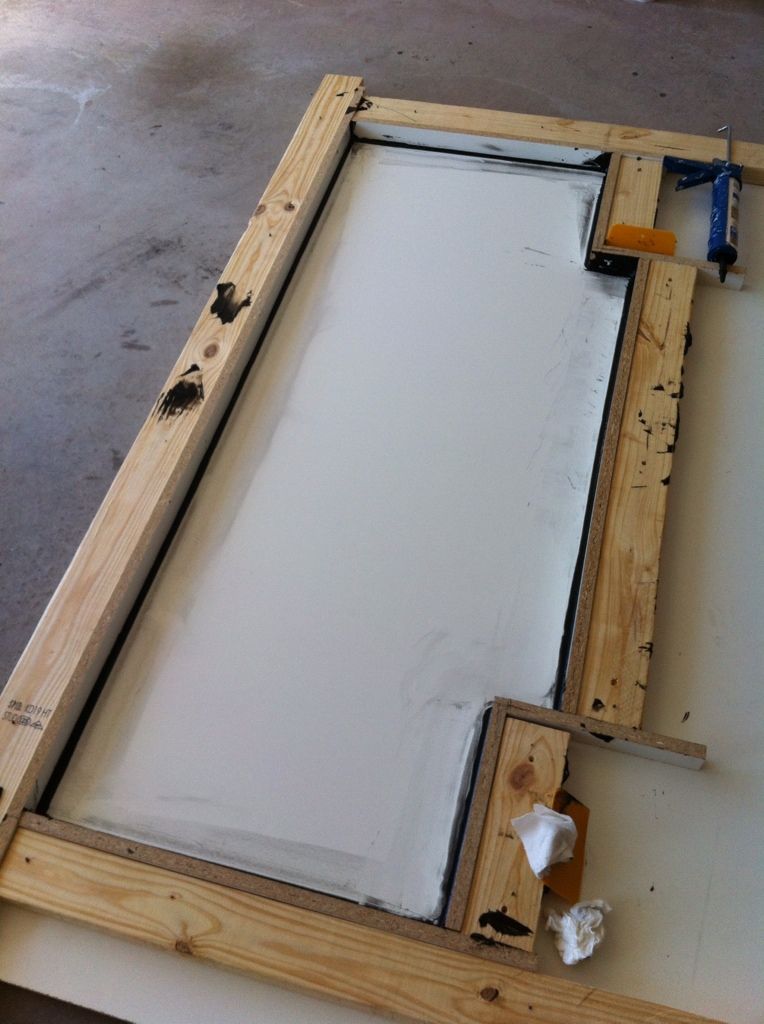
started with a 4'x8' sheet of melamine, didn't need it all, but used most of it. The overall shape of the piece was roughly 60"x22"x1.75". 2x4s were screwed to the melamine base for bracing. Melamine strips were used for the sides
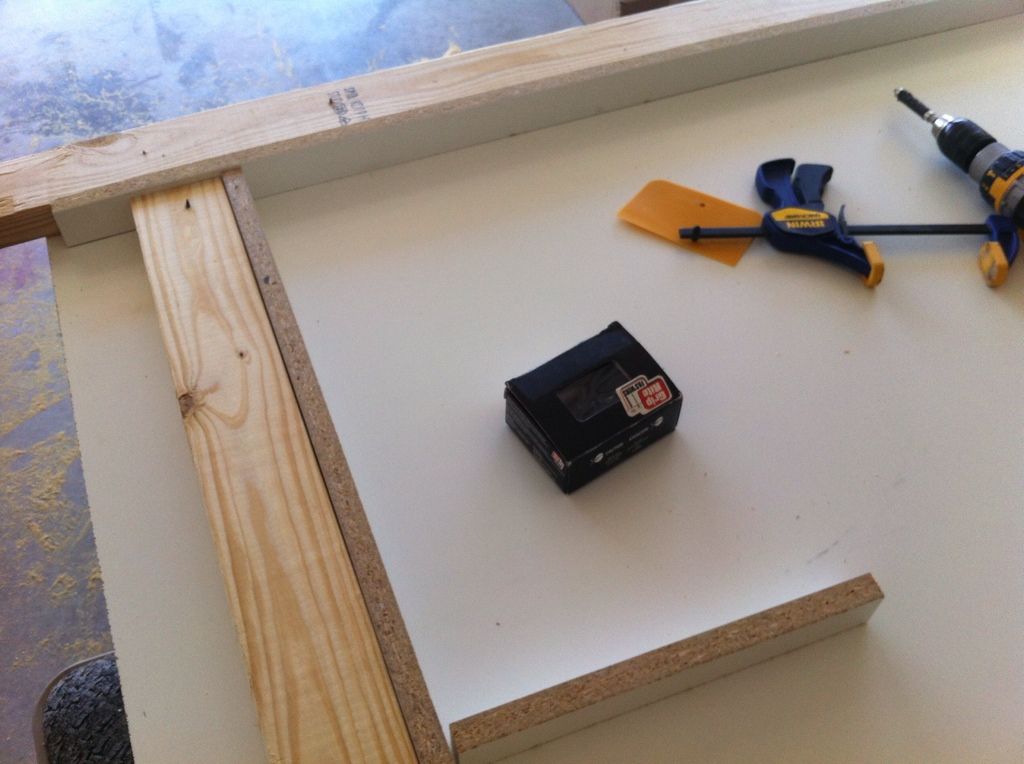
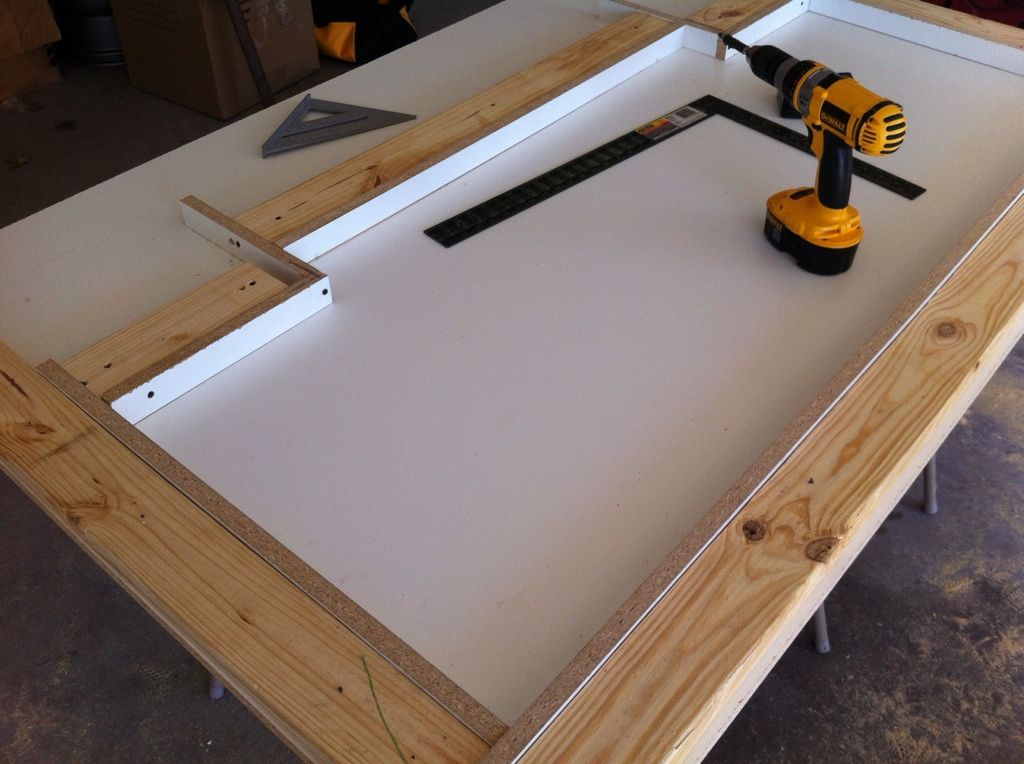
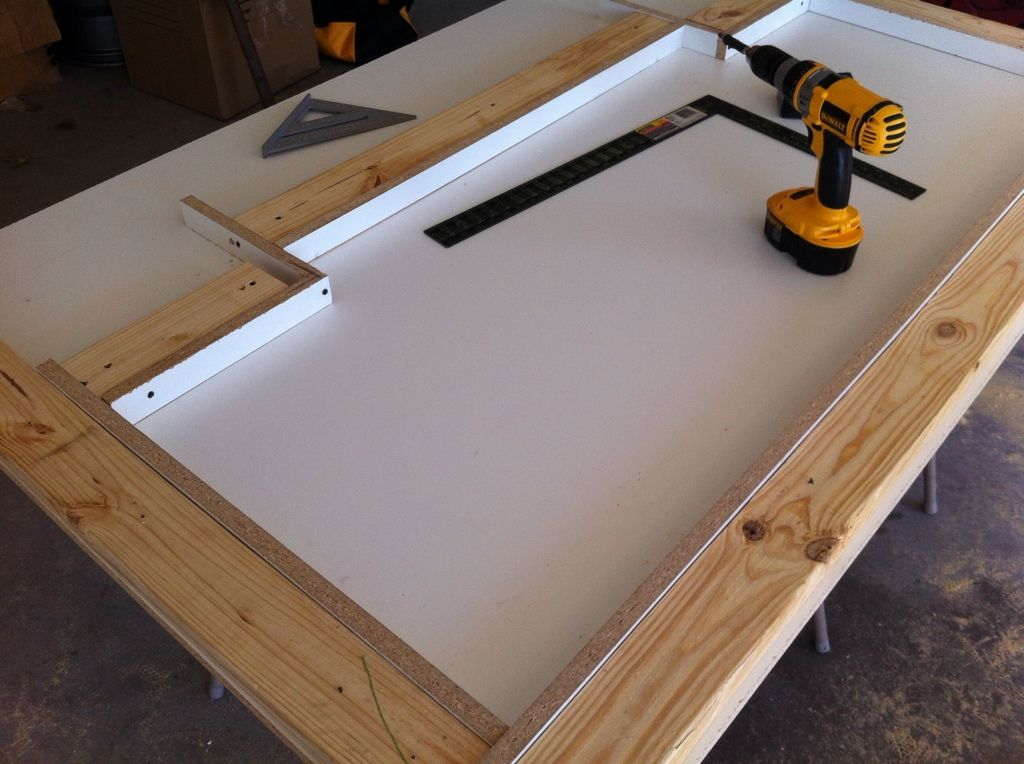
siliconed the gaps to make sure it didn't leak and could hold the shape I was going for. Used black silicon so it would be easier to see and clean up. If I could do anything over again I would take more time cleaning this up and taking more time to get the edges correct, but it was hot as hell in the garage and my patience was running low.
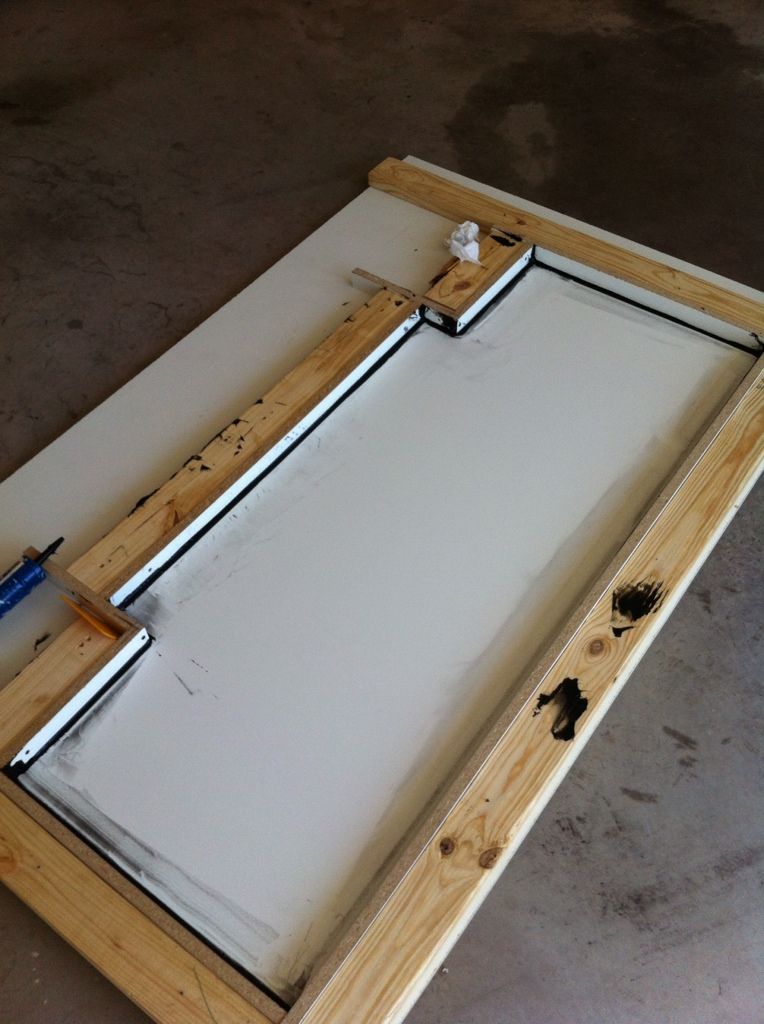
Poured 1/2 the concrete added the metal lath(not pictured), poured the second half, screeded(sp?)it , smacked it with a rubber mallet a few times, and let it set up/cure for a few days. The concrete didn't stick at all and it came out of the wodden form super easy, I was impressed.
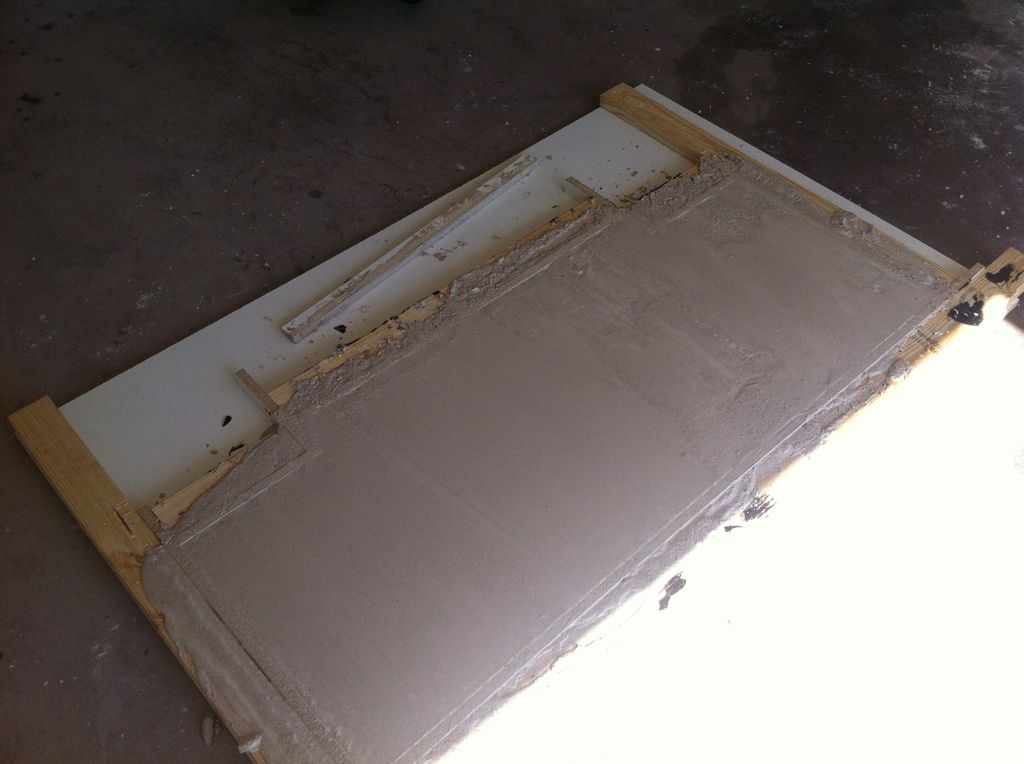
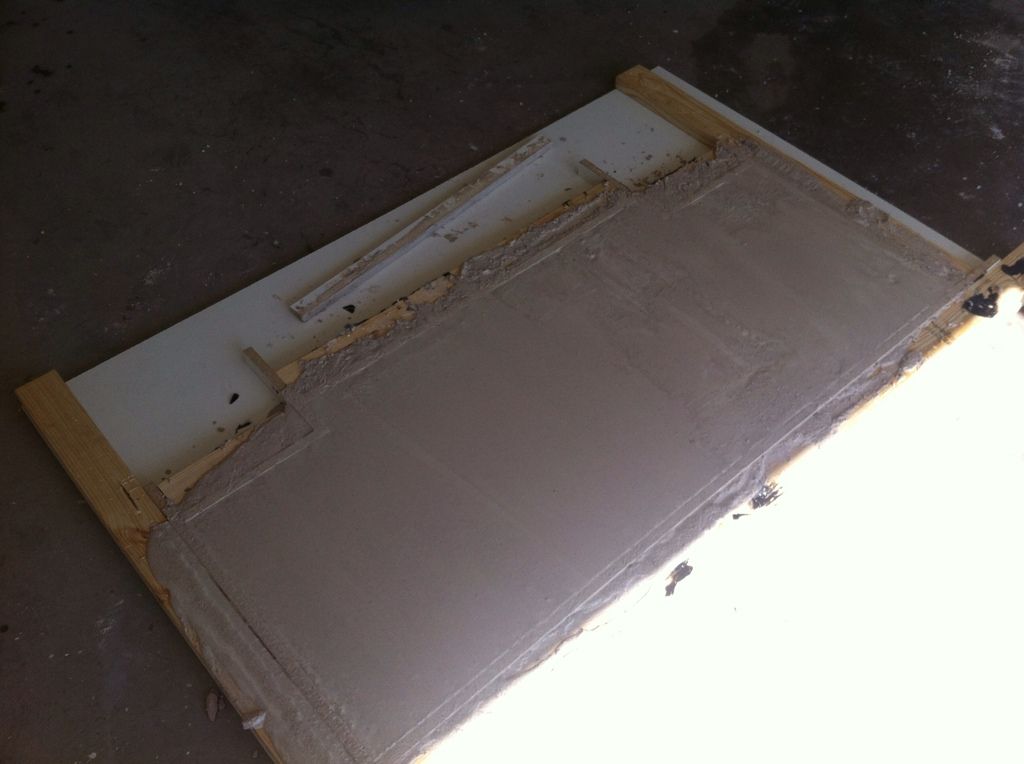
the (almost) finished product. The concrete itself is done, just gonna clean it, seal it and epoxy it in place. The picture looks stained, but just hasn't been cleaned yet.
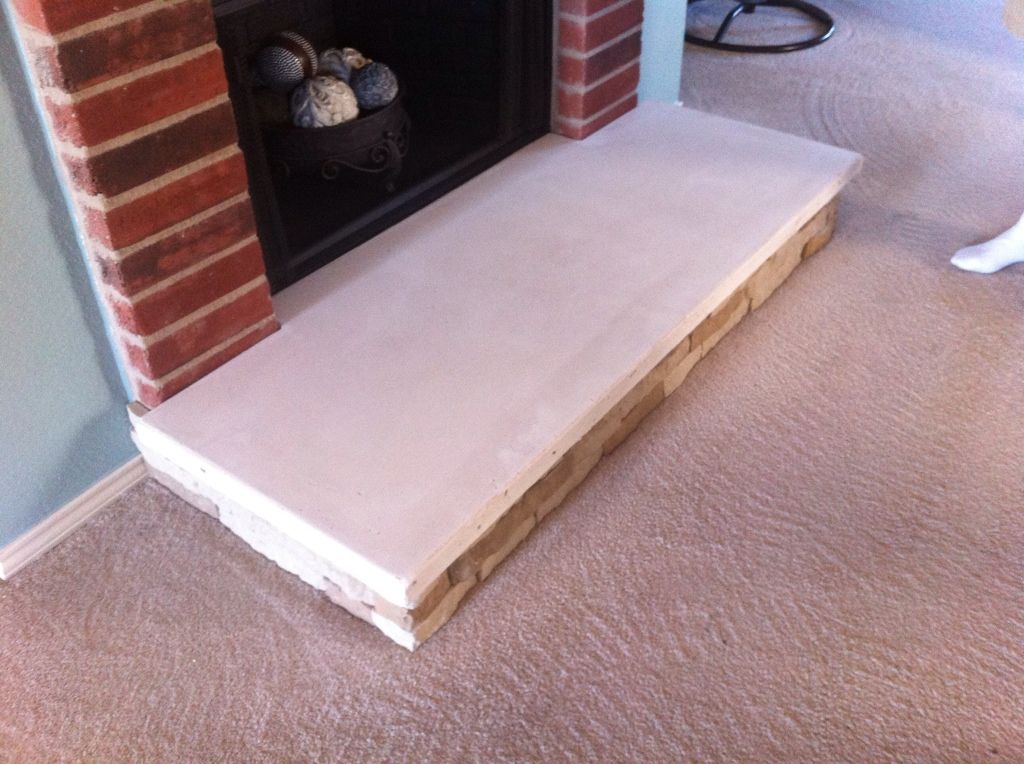
this project is really about covering up the red brick with a faux stone that you can see below the new hearth, that pattern will continue up and complete the look
materials used:
(1) square shovel
(1) mixing bin
(6) bags of Quikcrete purpose sand
(1) bag of Portland white cement
(1) 4'x8' sheet of 3/4" melamine
(4) 8' 2'x4's
(1) bottle Quikcrete fortifier
(1) 8' sheet of metal lath
total cost was ~$120 because I had to buy everything on the list, including a shovel
All in all I'm very happy with it and I'm glad it was a DIY project that I decided to tackle. I've never messed with concrete before and I think we did pretty good.
started with a 4'x8' sheet of melamine, didn't need it all, but used most of it. The overall shape of the piece was roughly 60"x22"x1.75". 2x4s were screwed to the melamine base for bracing. Melamine strips were used for the sides


siliconed the gaps to make sure it didn't leak and could hold the shape I was going for. Used black silicon so it would be easier to see and clean up. If I could do anything over again I would take more time cleaning this up and taking more time to get the edges correct, but it was hot as hell in the garage and my patience was running low.


Poured 1/2 the concrete added the metal lath(not pictured), poured the second half, screeded(sp?)it , smacked it with a rubber mallet a few times, and let it set up/cure for a few days. The concrete didn't stick at all and it came out of the wodden form super easy, I was impressed.


the (almost) finished product. The concrete itself is done, just gonna clean it, seal it and epoxy it in place. The picture looks stained, but just hasn't been cleaned yet.

this project is really about covering up the red brick with a faux stone that you can see below the new hearth, that pattern will continue up and complete the look
materials used:
(1) square shovel
(1) mixing bin
(6) bags of Quikcrete purpose sand
(1) bag of Portland white cement
(1) 4'x8' sheet of 3/4" melamine
(4) 8' 2'x4's
(1) bottle Quikcrete fortifier
(1) 8' sheet of metal lath
total cost was ~$120 because I had to buy everything on the list, including a shovel
All in all I'm very happy with it and I'm glad it was a DIY project that I decided to tackle. I've never messed with concrete before and I think we did pretty good.


 4 door
Comment